Welcome to the eighth installment of our ARKit tutorial series. Starting from iOS 12, ARKit has the capability to persist world mapping data. In the past, you can’t save the AR world mapping data. iOS 12 has given developers the power to create a peristence AR experience. If you are interested in learning about building apps that persist world mapping data in augmented reality, this tutorial is written for you.
Here is what you are going to build.

As you can see from the video, what I mean by persisting world mapping data is that you can save the AR world map and restore the mapping data later, even the app is terminated. This has been one of the deficiencies in iOS 11. Now you can always allow users to return to the previous AR experience by saving the world mapping data.
Prerequisites
This tutorial requires you to have a solid understanding of the previous ARKit tutorial we discussed. If you are new to ARKit, please do check out our ARKit tutorial series here.
In order to follow this tutorial, you will need to have Xcode running on version 10 beta (or later) and an Apple device running on iOS 12 beta (or later).
Without further ado, let’s dive in.
Getting Started
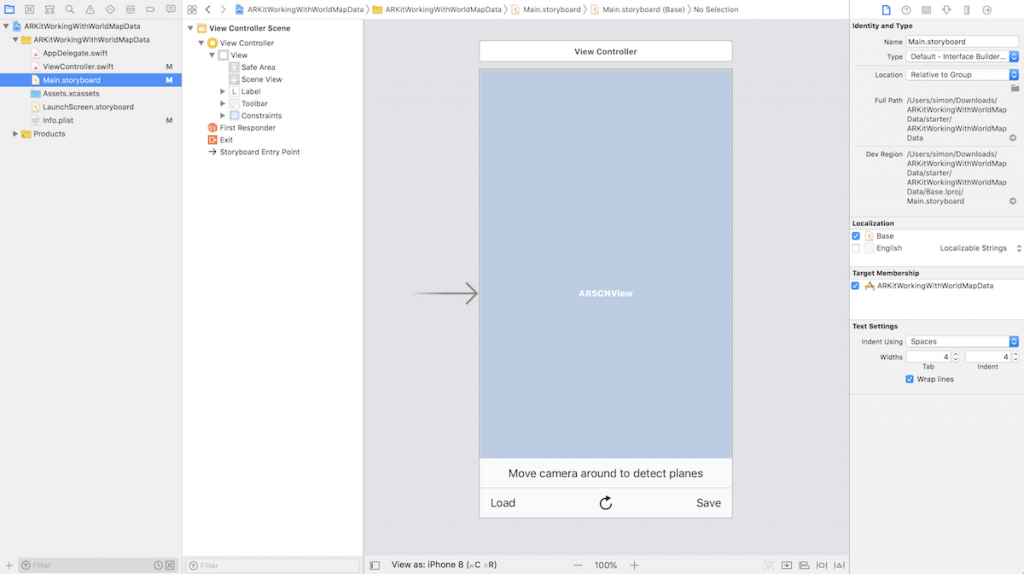
First, begin by downloading the starter project here. The starter project has pre-built UI elements and action methods. This way, we can focus on the core elements of working with ARKit’s world map persistence. Once you downloaded the starter project, build and run it on your iOS device. You should be prompted to allow camera access in the app. Tap OK to allow camera access in your app.
Nice. Now let’s talk about what an ARWorldMap object is and how we are going to work with it for ARKit world-mapping data.
Working with ARWorldMap
An ARWorldMap object contains a snapshot of all the spatial mapping information that ARKit uses to locate the user’s device in real-world space.
An ARWorldMap object works a lot like it sounds. It represents a mapped out space in the physical world. When you work with an ARWorldMap, you have the ability to archive an ARWorldMap object into a Data object and save it in your device’s local directory. Afterwards, you go into your device’s local directory of where you saved the world map Data object to unarchive it. To restore the map, you set your world tracking configuration’s initial world map to the saved ARWorldMap object.
That’s how we work with the ARWorldMap object. Now, let’s implement the demo.
Setting Up the World Map Local Document Directory
First, declare a variable of type URL which gives us the document directory path for writing and reading the world map data. Add the property to the ViewController class:
|
1 2 3 4 5 6 7 8 |
var worldMapURL: URL = { do { return try FileManager.default.url(for: .documentDirectory, in: .userDomainMask, appropriateFor: nil, create: true) .appendingPathComponent("worldMapURL") } catch { fatalError("Error getting world map URL from document directory.") } }() |
With the world map URL in place, let’s create a world map data archiver method and write it to our local document directory.
Archiving an AR World Map as Data
You are now going to create an archiver method to save your ARWorldMap object. Insert the following code in the ViewController class:
|
1 2 3 4 |
func archive(worldMap: ARWorldMap) throws { let data = try NSKeyedArchiver.archivedData(withRootObject: worldMap, requiringSecureCoding: true) try data.write(to: self.worldMapURL, options: [.atomic]) } |
After archiving the world map as a Data object, we write the data object to the local directory. We use the .atomic option since this guarantees the file to either complete writing onto your device or not. The method has the throws statement in the signature. This is because it is possible for writing data to a device’s document directory to throw an error whether it’d be out of space or for any other reasons.
With the world map archiver method well on its way, let’s actually archive the world map from the scene view.
Saving an AR World Map Data Into Your Document Directory
To get the current session’s world map, Apple has given us a convenient method to help us do so. Update the saveBarButtonItemDidTouch(_:) method like this:
|
1 2 3 4 5 6 7 8 9 10 11 12 13 14 15 16 17 |
@IBAction func saveBarButtonItemDidTouch(_ sender: UIBarButtonItem) { sceneView.session.getCurrentWorldMap { (worldMap, error) in guard let worldMap = worldMap else { return self.setLabel(text: "Error getting current world map.") } do { try self.archive(worldMap: worldMap) DispatchQueue.main.async { self.setLabel(text: "World map is saved.") } } catch { fatalError("Error saving world map: \(error.localizedDescription)") } } } |
Our scene view’s session contains a method to conveniently get the current world map. Inside of the getCurrentWorldMap closure, we safely unwrap the returned optional ARWorldMap object. In the case where the ARWorldMap object ceases to exist, we will simply return and set the label text with an error message.
After we have safely unwrapped an ARWorldMap object, we declare a do-catch statement. If an error is thrown by the code in the do clause, we will handle the error in the catch clause. At this point, we stop the code execution and print an error message to debug the issue.
Build and run the app. Scan your environment and tap on your device to add sphere(s) into your scene. Upon tapping the Save button, make sure that your label reads “World map is saved.” Now your current AR world map is saved.
Loading an AR World Map Data From Your Document Directory
With saving an ARWorldMap object out of the way, it is time that we create a method to unarchive the ARWorldMap data from the document directory and load it onto our scene.
Before we can unarchive the world map data, we would need to successfully get the world map data from previously saved document directory.
Add the following method to your ViewController class:
|
1 2 3 4 5 6 7 8 |
func retrieveWorldMapData(from url: URL) -> Data? { do { return try Data(contentsOf: self.worldMapURL) } catch { self.setLabel(text: "Error retrieving world map data.") return nil } } |
The code above declares a do-catch statement to try to retrieve a Data object from the world map URL. In the case where the code land in the catch clause, we simply set the label with an error text message.
Now that we have a method that will help us get our data from the document directory with a world map URL, it’s time for us to try and unarchive the returned Data object into an ARWorldMap object.
First, add the following method to your ViewController class:
|
1 2 3 4 5 |
func unarchive(worldMapData data: Data) -> ARWorldMap? { guard let unarchievedObject = try? NSKeyedUnarchiver.unarchivedObject(ofClass: ARWorldMap.self, from: data), let worldMap = unarchievedObject else { return nil } return worldMap } |
We use the NSKeyedUnarchiver to try and unarchive the data object passed into the unarchive(worldMapData:) method. If the unarchiving process is a success and the unarchived ARWorldMap object does not equal to nil, we return the safely unwrapped ARWorldMap object.
Now that we have the unarchiver method in place, let’s update the loadBarButtonItemDidTouch(_:) method with the following code:
|
1 2 3 4 5 |
@IBAction func loadBarButtonItemDidTouch(_ sender: UIBarButtonItem) { guard let worldMapData = retrieveWorldMapData(from: worldMapURL), let worldMap = unarchive(worldMapData: worldMapData) else { return } resetTrackingConfiguration(with: worldMap) } |
Now whenever we tap on the Load button, we call up the retrieveWorldMapData method to retrieve the world map data from the given URL. If the retrieval is successful, we then unarchive the world map data into an ARWorldMap object. After that, we call the resetTrackingConfiguration method with the loaded data to restore the AR world map.
Setting the Scene View Configuration’s Initial World Map
Add the following code to resetTrackingConfiguration(with:) right after declaring the options constant:
|
1 2 3 4 5 6 |
if let worldMap = worldMap { configuration.initialWorldMap = worldMap setLabel(text: "Found saved world map.") } else { setLabel(text: "Move camera around to map your surrounding space.") } |
The code above sets the scene view configuration’s initial world map to the world map parameter. We then update the label text to say that a world map is found. Otherwise, we set the label text to instruct the users to move their camera around to map their surrounding space.
Party time, demo time.
Persistence AR Demo
In the demo video, the user tapped the screen to add a sphere node onto the scene view. Then, the user hit the save button to archive the scene view’s current world map. Since the archive process is a success, the label updates with the text of saying “World map is saved”. After tapping the load button, the saved world map is successfully loaded onto the scene view.
Interesting, right?
Last Remarks
Congratulations for making it this far into the tutorial! I hope you have enjoyed and learned something valuable from my tutorial. Feel free to share this tutorial on your social networks so that your circle can make some knowledge gains too!
For reference, you can download the complete Xcode project on GitHub.
