A few years ago, I wrote a tutorial about the Lottie library. A reader asked if he could use the library in SwiftUI projects. So, in this tutorial, let’s revisit this amazing library and see how we can use it in SwiftUI projects.
Lottie is a mobile library for Android and iOS that natively renders vector based animations and art in realtime with minimal code.
If this is the very first time you heard of Lottie, Lottie is an iOS, macOS, Android, and React Native library, developed by Airbnb, that renders After Effects animations in any native apps. Animations are exported as JSON files through an open-source After Effects extension called Bodymovin. Lottie loads the animation data in JSON format, and renders the animation in real time.
The cool thing about this library is that you can import the Lottie animation directly into your Xcode project. With a few lines of code, you can make the animation work in your apps. You will understand what I mean in a while.
Where can you find Lottie Animations?
You can create your own animation using After Effects and export it as a JSON file. However, if you are like me and have no ideas about After Effects, you can check out the following websites to download some free / paid animations.
LottieFiles
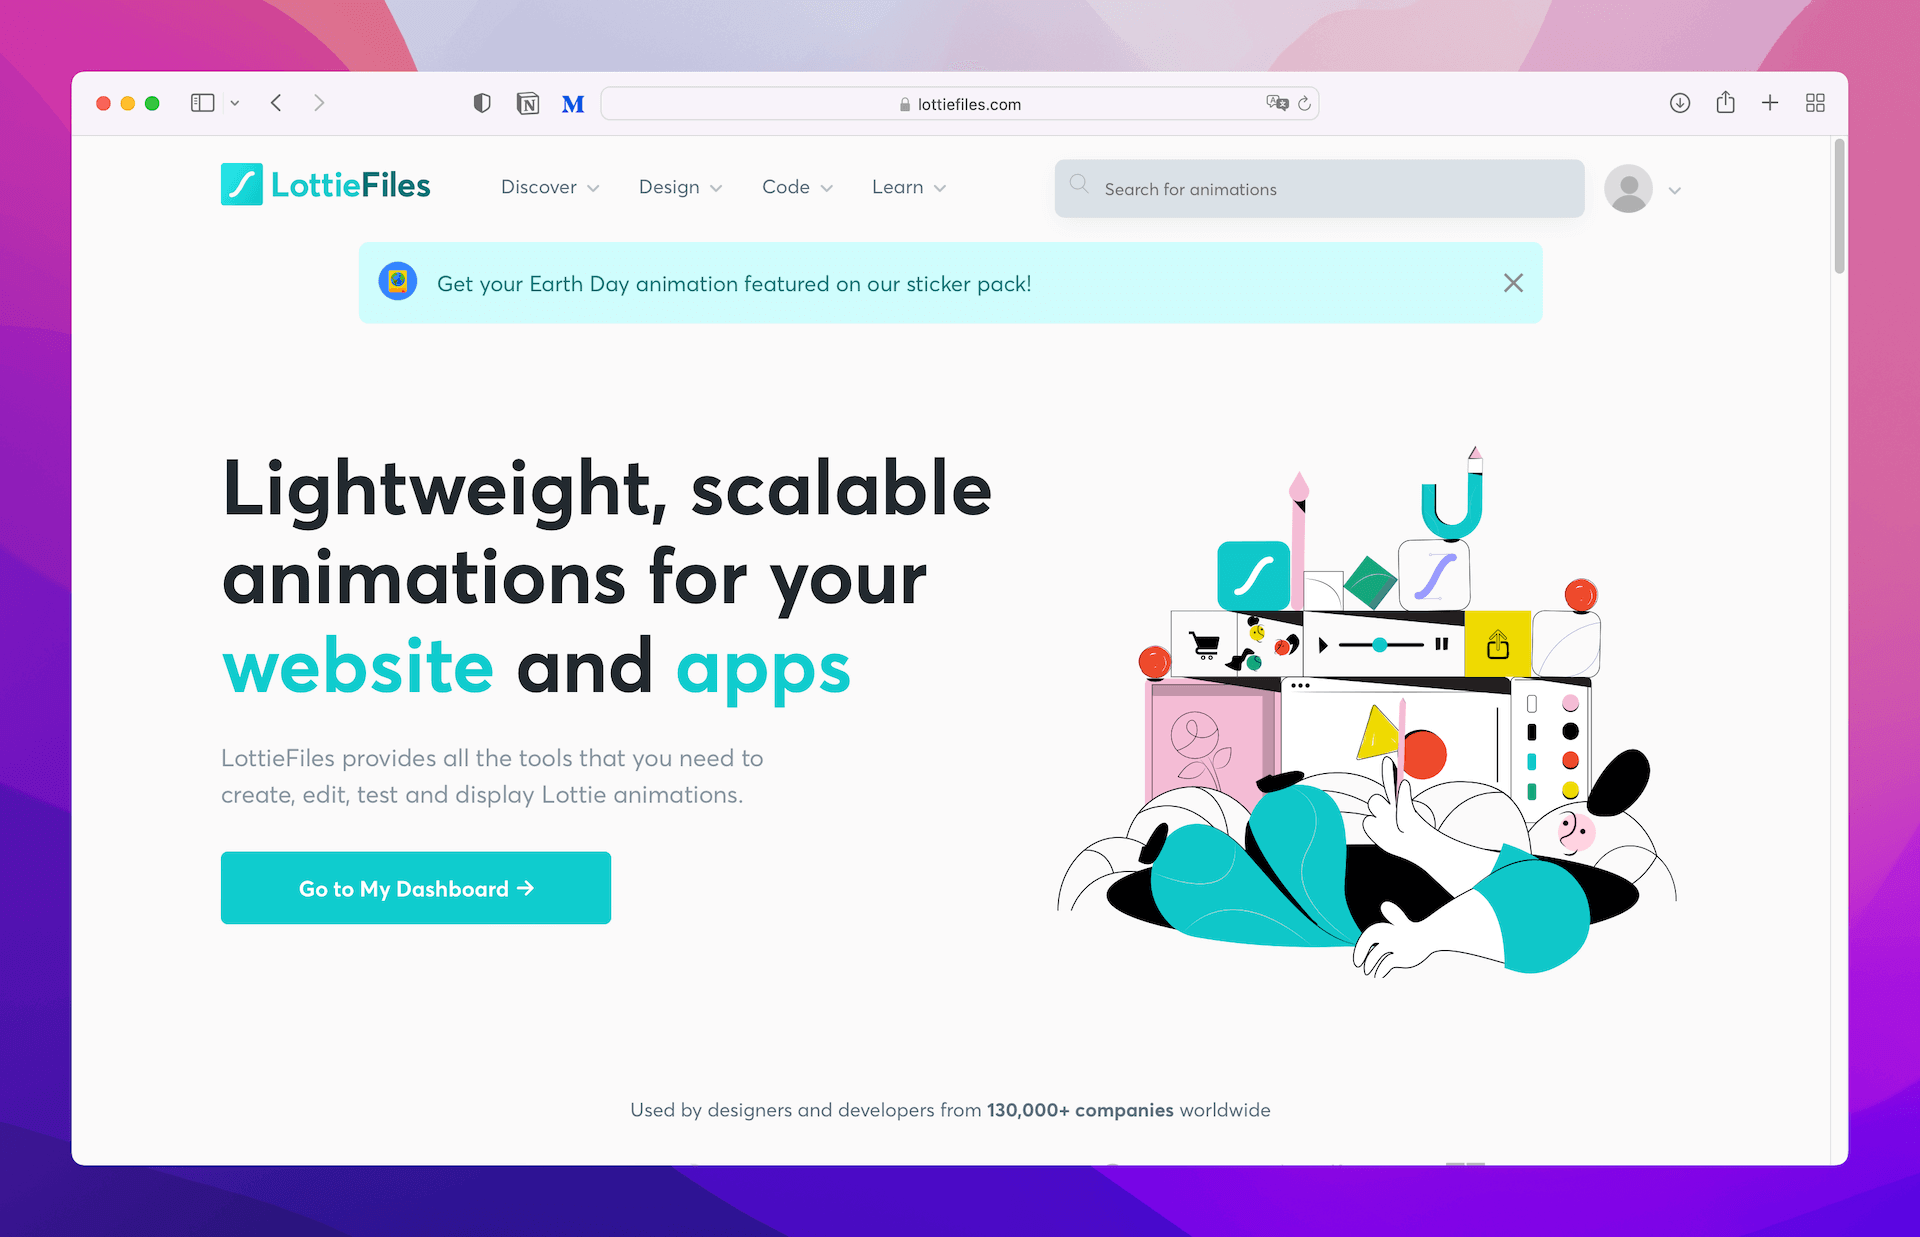
Website: https://lottiefiles.com
Drawer
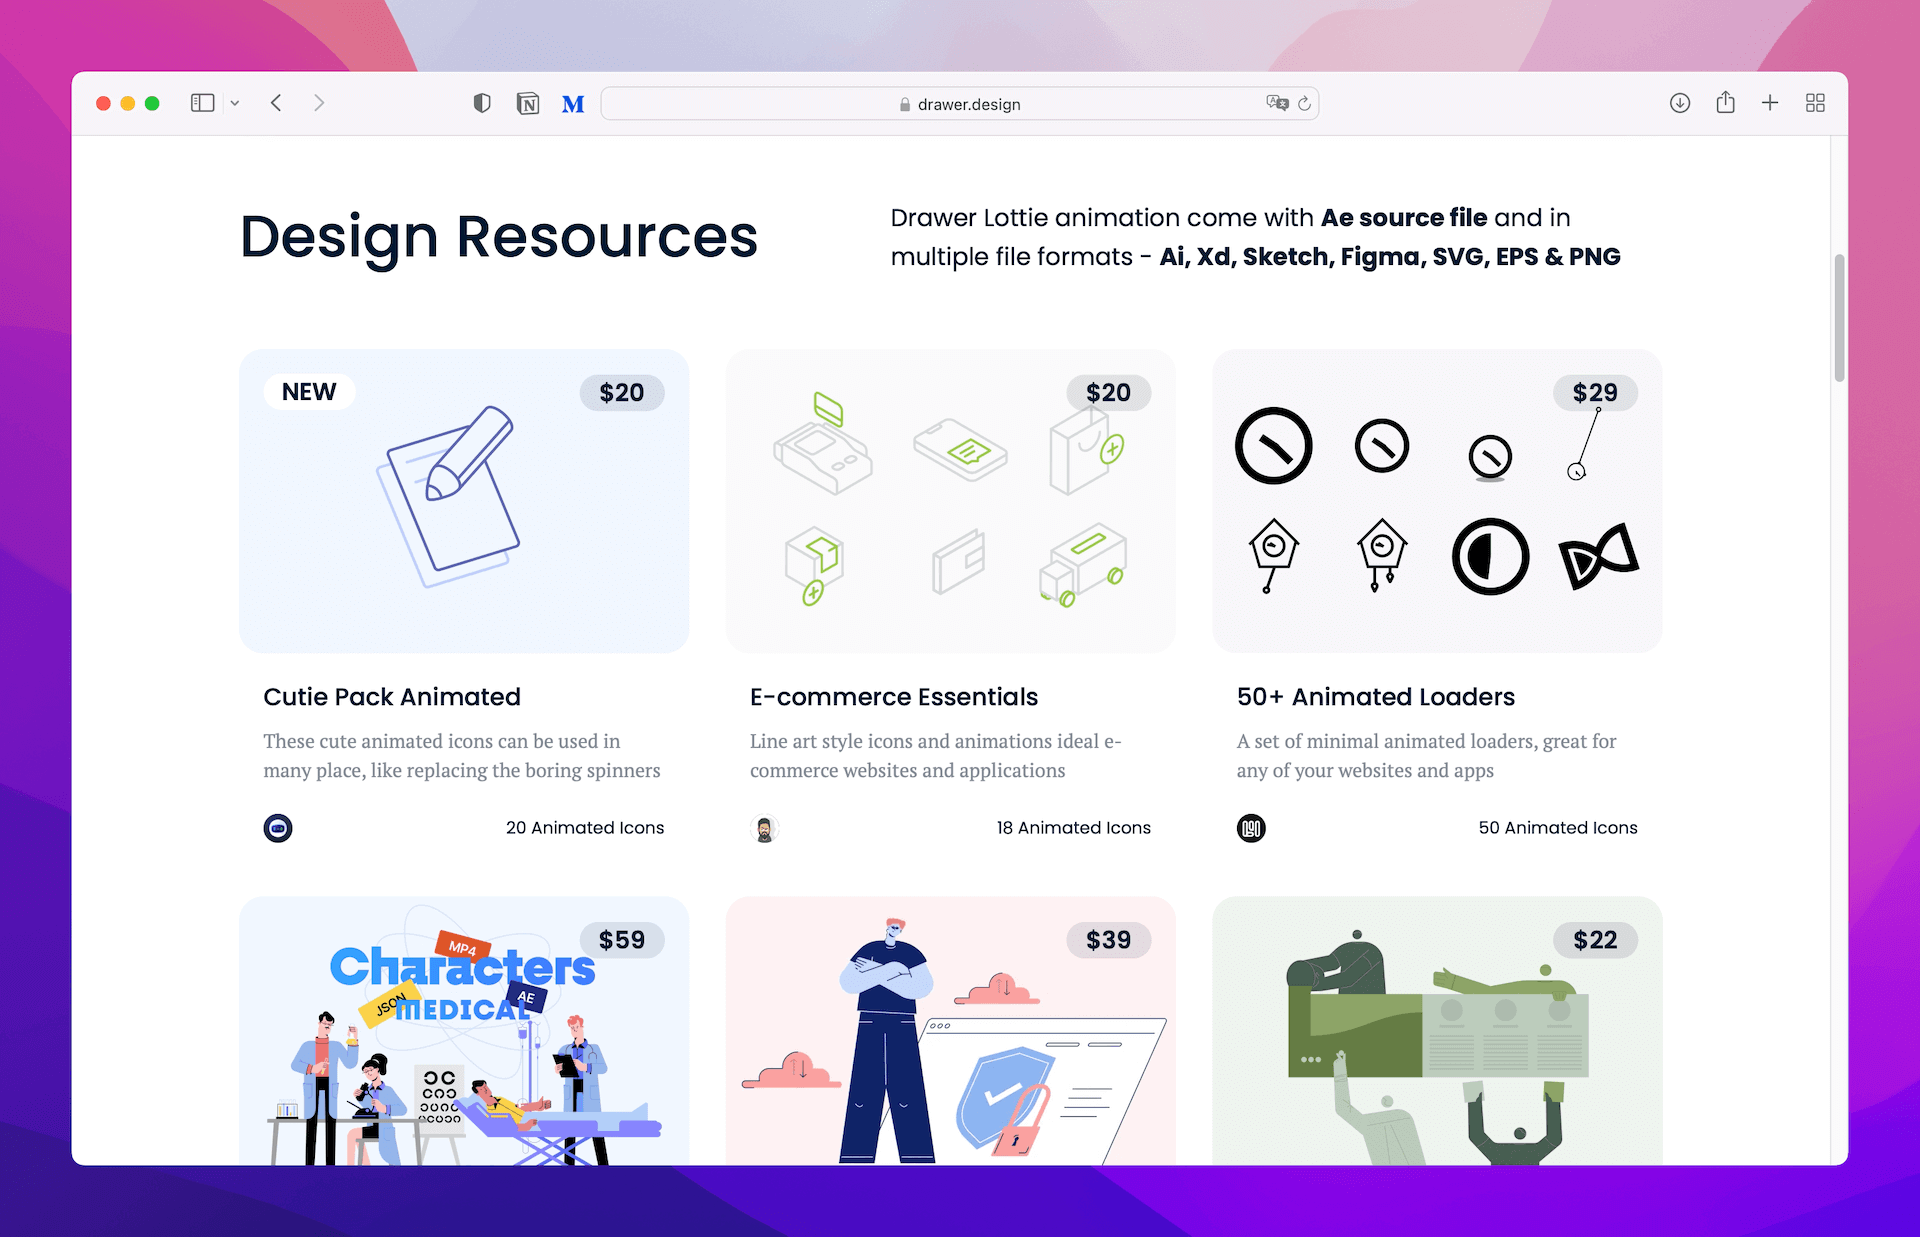
Website: https://drawer.design
Adding the Lottie Library with Swift Package Manager
Lottie is an open-sourced project available on GitHub. You can download the library at https://github.com/airbnb/lottie-ios and add it to your Xcode project manually. Having that said, the easiest way to add the library is by using Swift Package Manager.
Assuming you’ve already created a SwiftUI project in Xcode, go up to the Xcode menu and choose File > Add Packages…. Then paste the repository URL (i.e. https://github.com/airbnb/lottie-ios) in the URL field:
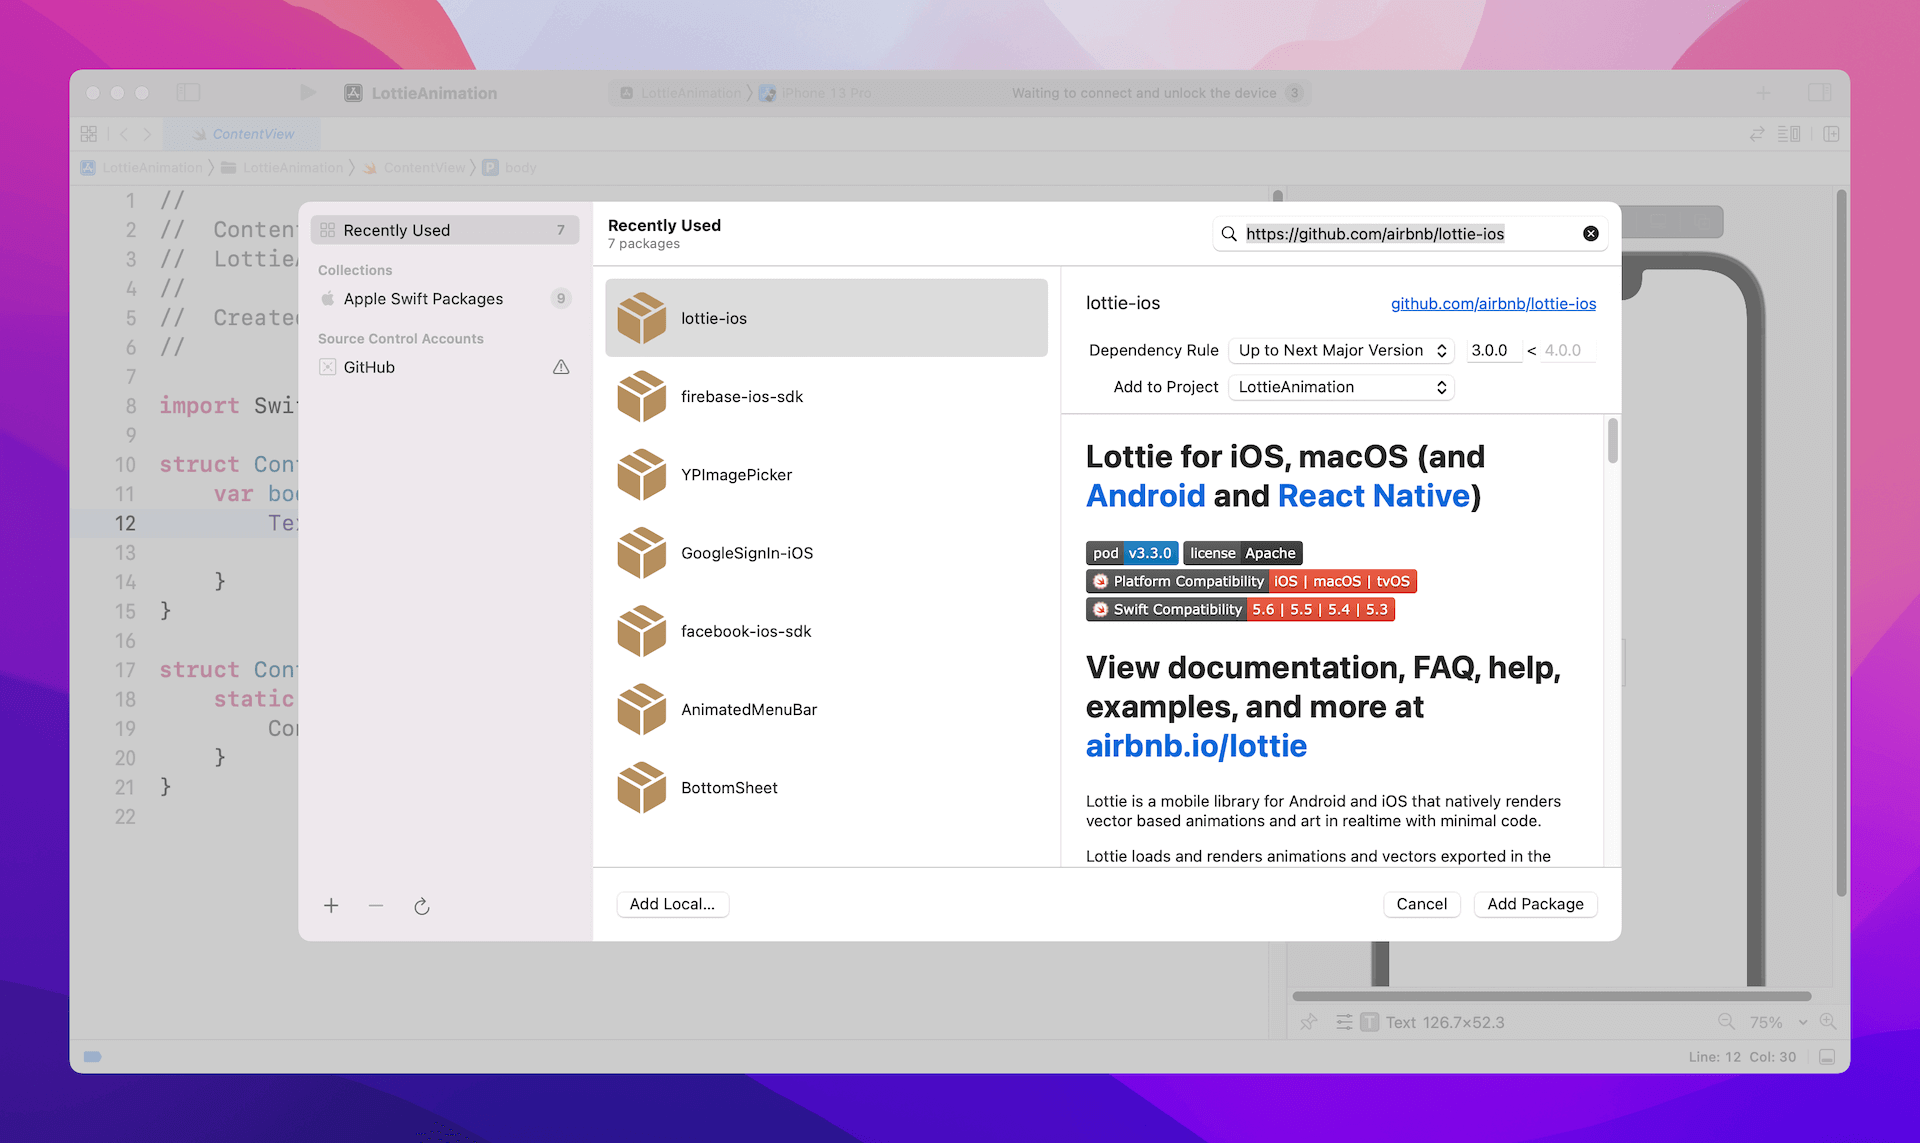
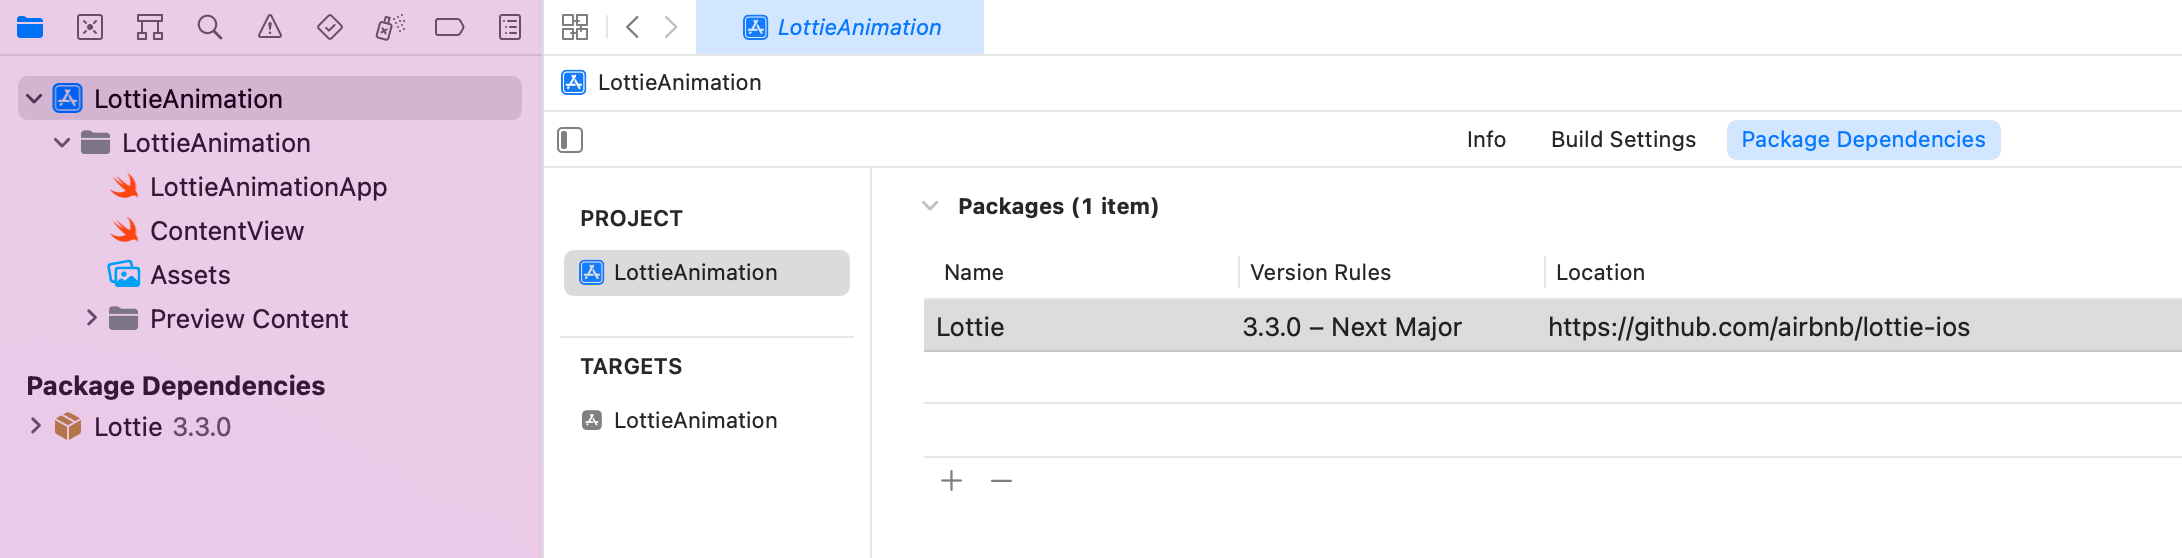
Click the Add Package button. Xcode will then automatically download the Lottie library and add it to the project.
Importing Lottie Files to the Xcode Project
I’ve downloaded the following free animation on LottieFiles.com. The Lottie animation is available in multiple file formats. Please choose the Lottie JSON option.
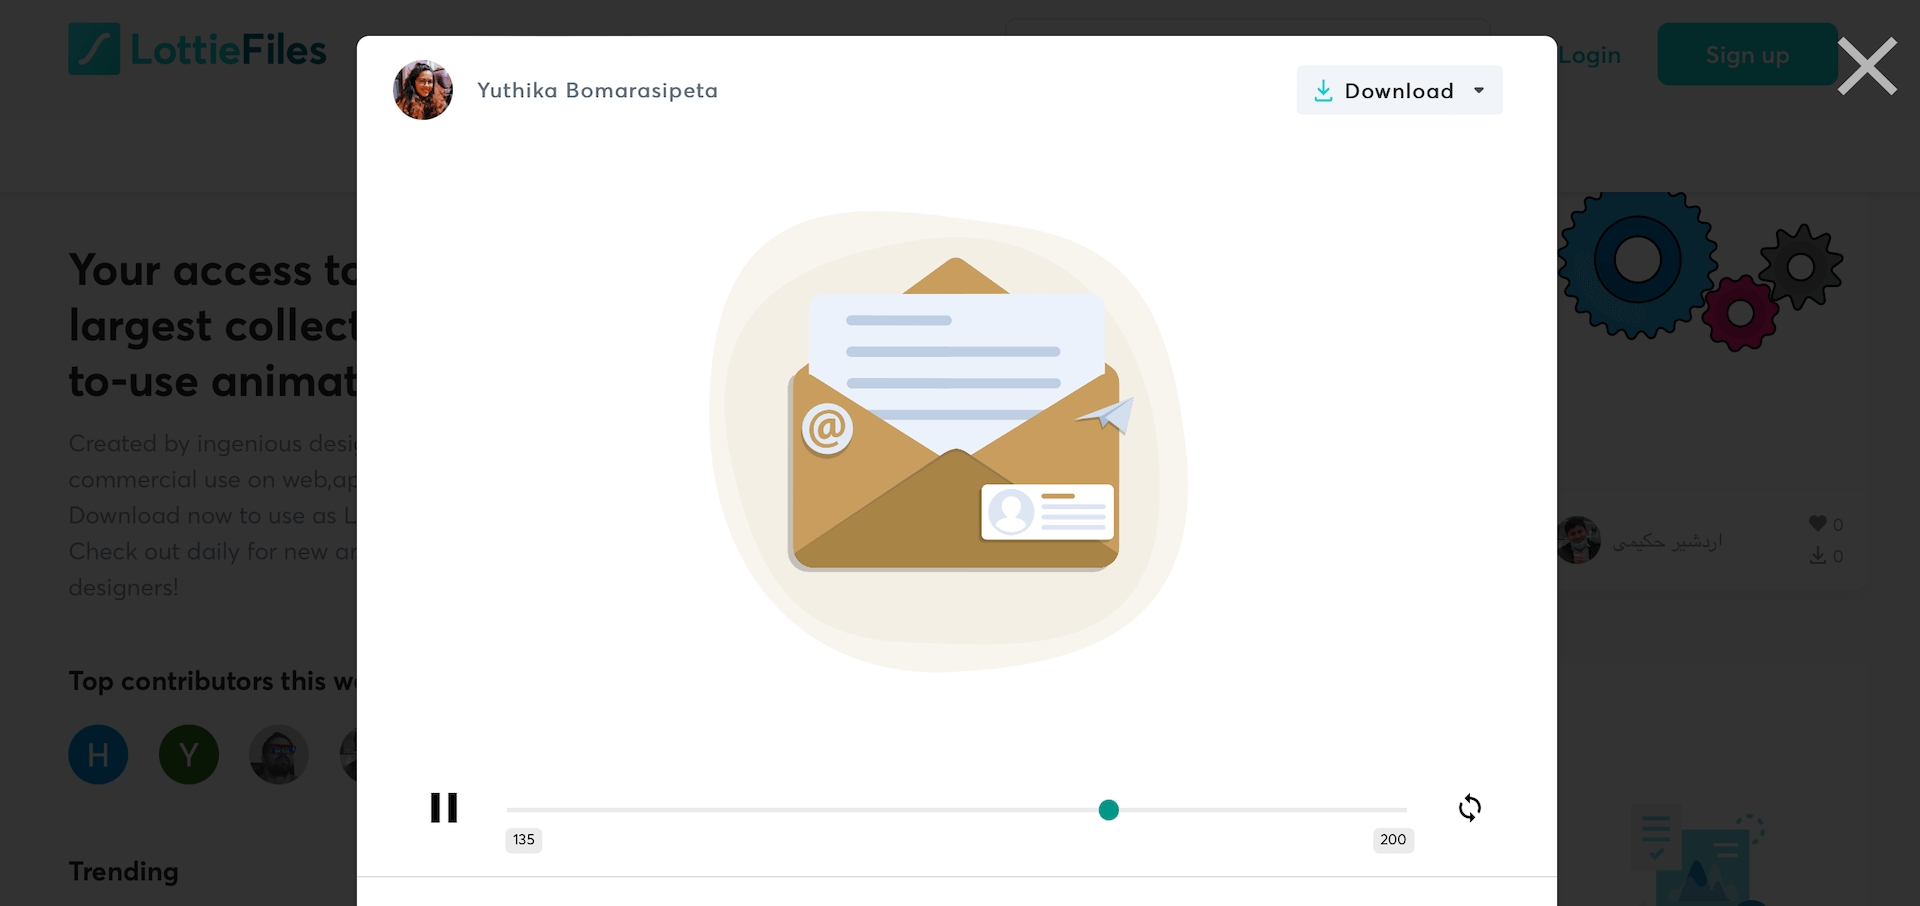
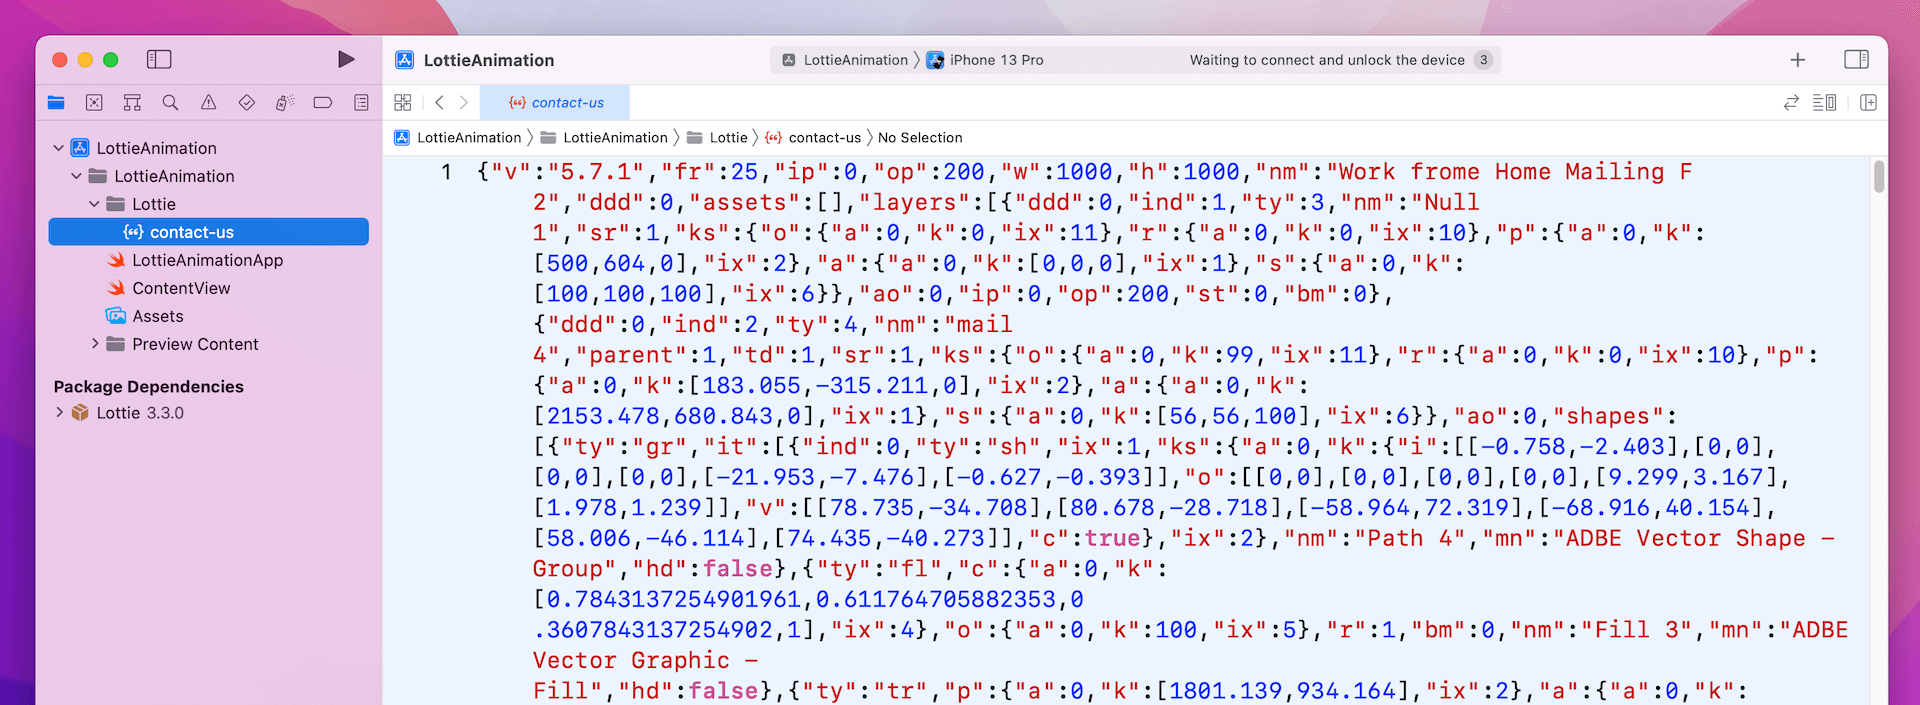
Once downloaded, go back to the Xcode project. Drag the JSON file (i.e. contact-us.json) to the project navigator.
Using the Lottie File in SwiftUI
It now comes to the coding part. If you’ve read my previous Lottie tutorial, you should know that it takes less than 10 lines of code to load the animation. Here is the sample code snippet for loading the Lottie animation:
|
1 2 3 |
let animationView = AnimationView() animationView.animation = Animation.named(lottieFile) animationView.play() |
Simple, right? However, as the Lottie library doesn’t support SwiftUI natively, we need to wrap its UIKit view with the UIViewRepresentable protocol to make it work in SwiftUI projects.
Now head back to your Xcode project and create a new file using the Swift file template. Name the file LottieView.swift and update its content like this:
|
1 2 3 4 5 6 7 8 9 10 11 12 13 14 15 16 17 18 19 20 21 22 23 24 25 26 27 28 |
import SwiftUI import Lottie struct LottieView: UIViewRepresentable { let lottieFile: String let animationView = AnimationView() func makeUIView(context: Context) -> some UIView { let view = UIView(frame: .zero) animationView.animation = Animation.named(lottieFile) animationView.contentMode = .scaleAspectFit animationView.play() view.addSubview(animationView) animationView.translatesAutoresizingMaskIntoConstraints = false animationView.heightAnchor.constraint(equalTo: view.heightAnchor).isActive = true animationView.widthAnchor.constraint(equalTo: view.widthAnchor).isActive = true return view } func updateUIView(_ uiView: UIViewType, context: Context) { } } |
The LottieView struct has a property for holding the name of the lottie file. In the makeUIView function, it loads the JSON file and sets the animation to the animation property of the animationView. Optionally, we set the content mode to .scaleAspectFit.
To play the animation, we call the play method of the animation view. The rest of the code is for configuring the layout constraints of the view.
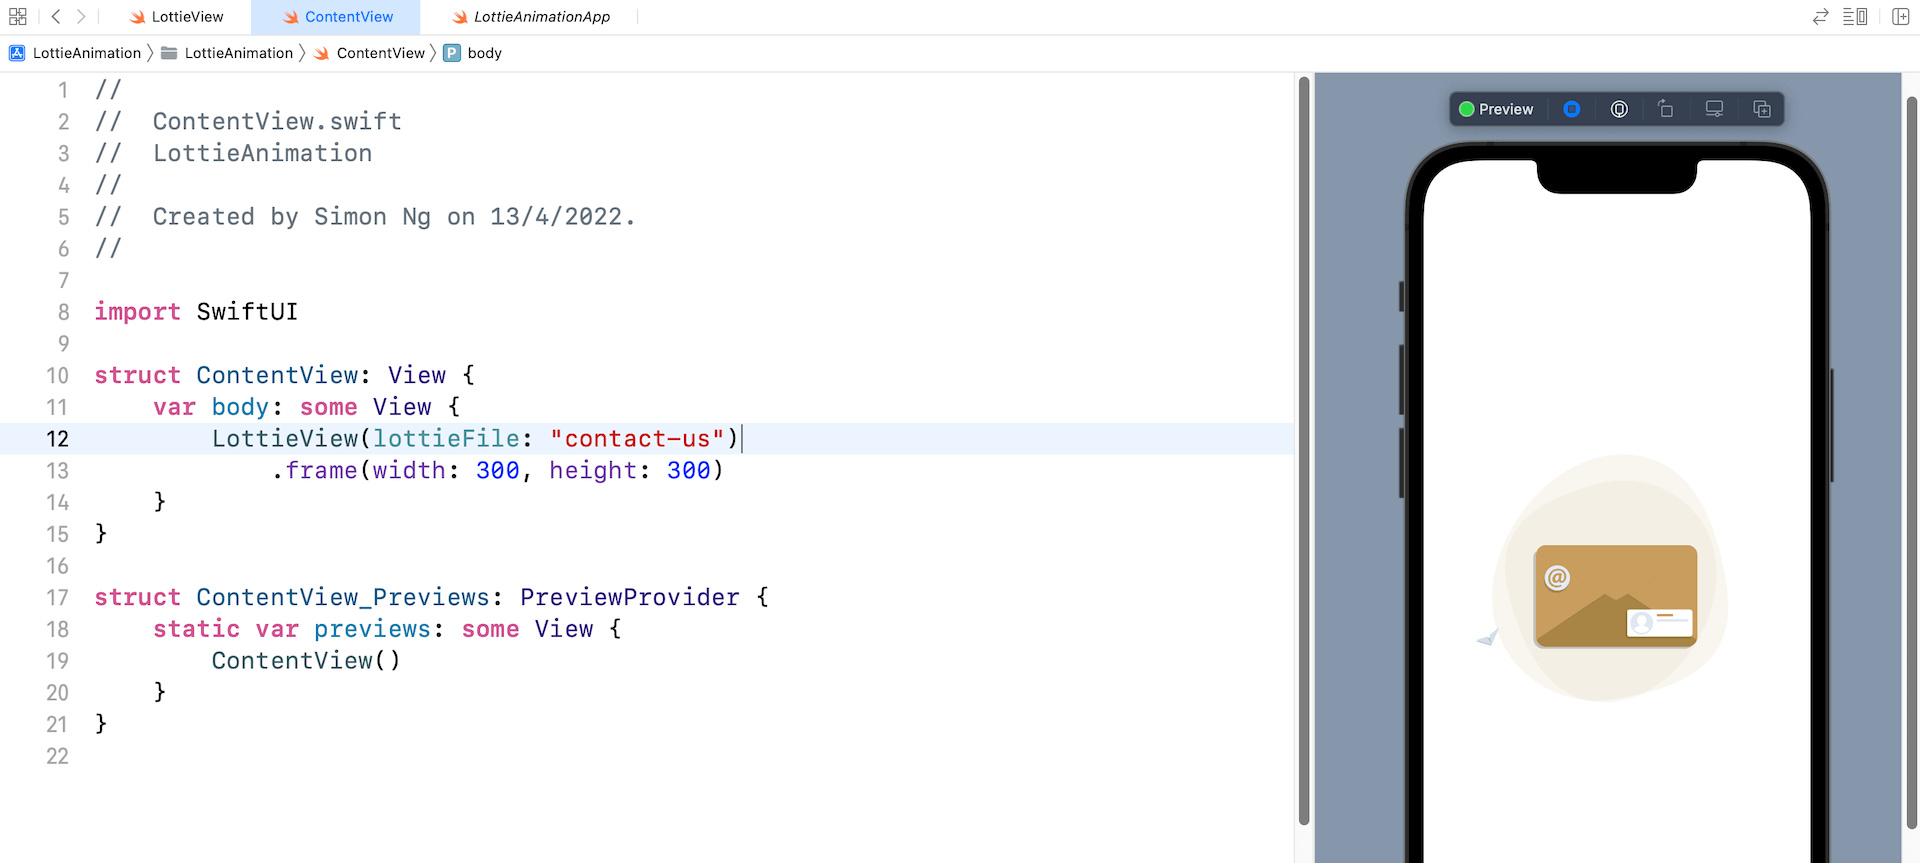
Now let’s head back to ContentView.swift to use the LottieView. In the body part, insert the following lines of code:
|
1 2 |
LottieView(lottieFile: "contact-us") .frame(width: 300, height: 300) |
You just need to pass LottieView the name of the Lottie file without the file extension. Here, it’s contact-us. And, we set the frame size to 300×300 points.
That’s it! In the preview pane, you should see an image. If you click the Play button, it renders the animation.
Customizing the Animation
Did you notice that the animation only played once? The AnimationView object provides a couple of properties for developers to customize the playback of the animation. To keep playing the animation, you can set the loopMode property to .loop like below:
|
1 |
animationView.loopMode = .loop |
If you want to auto reverse the animation, you can set the value to .autoReverse.
You can also control the speed of the animation by changing the value of the animationSpeed property:
|
1 |
animationView.animationSpeed = 3.0 |
This will triple the speed of the animation.
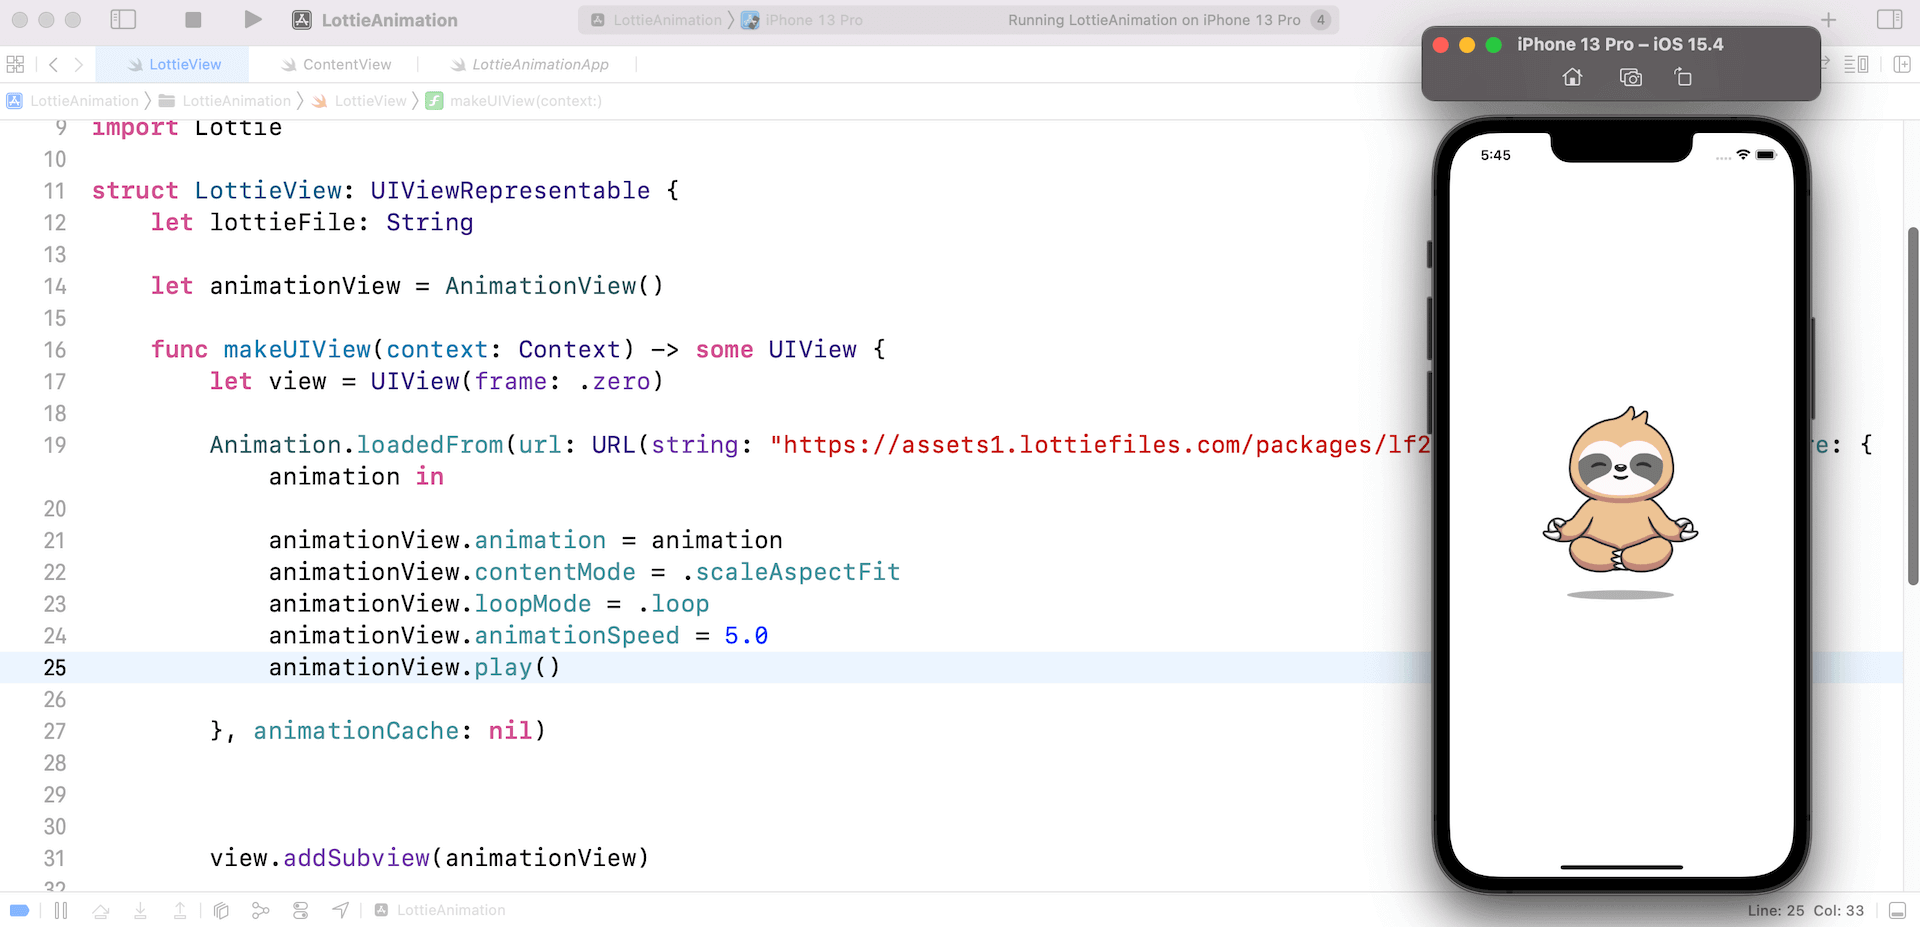
Loading the Animation Remotely
It’s not mandatory to store the Lottie file locally. The Animation object lets you load a Lottie animation from a remote server. Here is an example:
|
1 2 3 4 5 6 7 8 9 |
Animation.loadedFrom(url: URL(string: "https://assets1.lottiefiles.com/packages/lf20_kd5rzej5.json")!, closure: { animation in animationView.animation = animation animationView.contentMode = .scaleAspectFit animationView.loopMode = .loop animationView.animationSpeed = 5.0 animationView.play() }, animationCache: nil) |
Instead of using the named method, you can use the loadedFrom method of Animation to load a remote URL. The Animation object will handle the file download and let you know when the animation is ready for use in the closure.
Summary
The SwiftUI framework already makes it easy to create amazing view animations. With the Lottie library, it’s even easier to incorporate beautiful animations in your apps. I hope you find this tutorial helpful. If you’re interested in learning more about SwiftUI animations, you can check out our Mastering SwiftUI book.

Founder of AppCoda. Author of multiple iOS programming books including Beginning iOS Programming with Swift and Mastering SwiftUI. iOS App Developer and Blogger. Follow me at Facebook, Twitter and Google+.