Developed by Stability AI in collaboration with academic researchers and non-profit organizations, Stable Diffusion is a deep learning model that generates detailed images based on text descriptions or what so called text prompts. Additionally, it can also be utilized for tasks such as inpainting, outpainting, and generating image-to-image translations guided by text prompts. Since its public debut in August 2022, it has gained popularity among artists, developers, and hobbyists.
Stable Diffusion is not the only text-to-image model. You may have heard of Midjourney or DALL-E 2, which are also capable for generating great looking AI images from a text prompt. However, one notable aspect of Stable Diffusion is that its source code and model weights have been made publicly available. What this means is that you can install Stable Diffusion on your Mac or PC and run it locally. Comparably, the other text-to-image models can only be accessed via some kinds of cloud services.
Stable Diffusion with Core ML
If you are an iOS developer looking to add text-to-image features or other creative features to your app, Stable Diffusion may be just what you need. Thanks to optimizations released by Apple’s ML engineers for Core ML, Stable Diffusion can now be used on Apple Silicon devices running macOS 13.1 or later and iOS 16.2 or later. With these updates, developers can easily incorporate Stable Diffusion into their apps, and most importantly, the model is stored locally on the device, so users don’t need an internet connection to use the AI image generation feature.
The release of Core ML Stable Diffusion includes a Python package that allows developers to convert Stable Diffusion models from PyTorch to Core ML using diffusers and coremltools, as well as a Swift package for deploying the models. To use the text-to-image feature, you can use the Swift package in your Xcode projects. However, in this tutorial, I’ll focus on providing you a brief overview of Stable Diffusion and explain how to use it with Swift Command Line (CLI). We’ll have another full tutorial on building apps with Stable Diffusion.
To follow this tutorial, it’s important to ensure that you have Xcode 14.3 installed and that the command line tools for Xcode are also installed. If you downloaded Xcode from the Mac App Store, the command line tool should already be included.
Hugging Face – The Hub of Pre-trained ML Models
If you’re new to machine learning, you may not have heard of Hugging Face. But it’s time to check it out as Hugging Face is a valuable resource for anyone interested in machine learning and it provides a wealth of pre-trained models and tools that can be easily integrated into a variety of applications.
Hugging Face is a machine learning platform founded in 2016 to democratize NLP by offering immediate access to over 20,000 pre-trained models. It provides Data Scientists, AI practitioners, and Engineers with pre-trained models that can be used for a variety of tasks, including text processing in more than 100 languages, speech recognition, object detection, image classification, and regression and classification problems with tabular data.
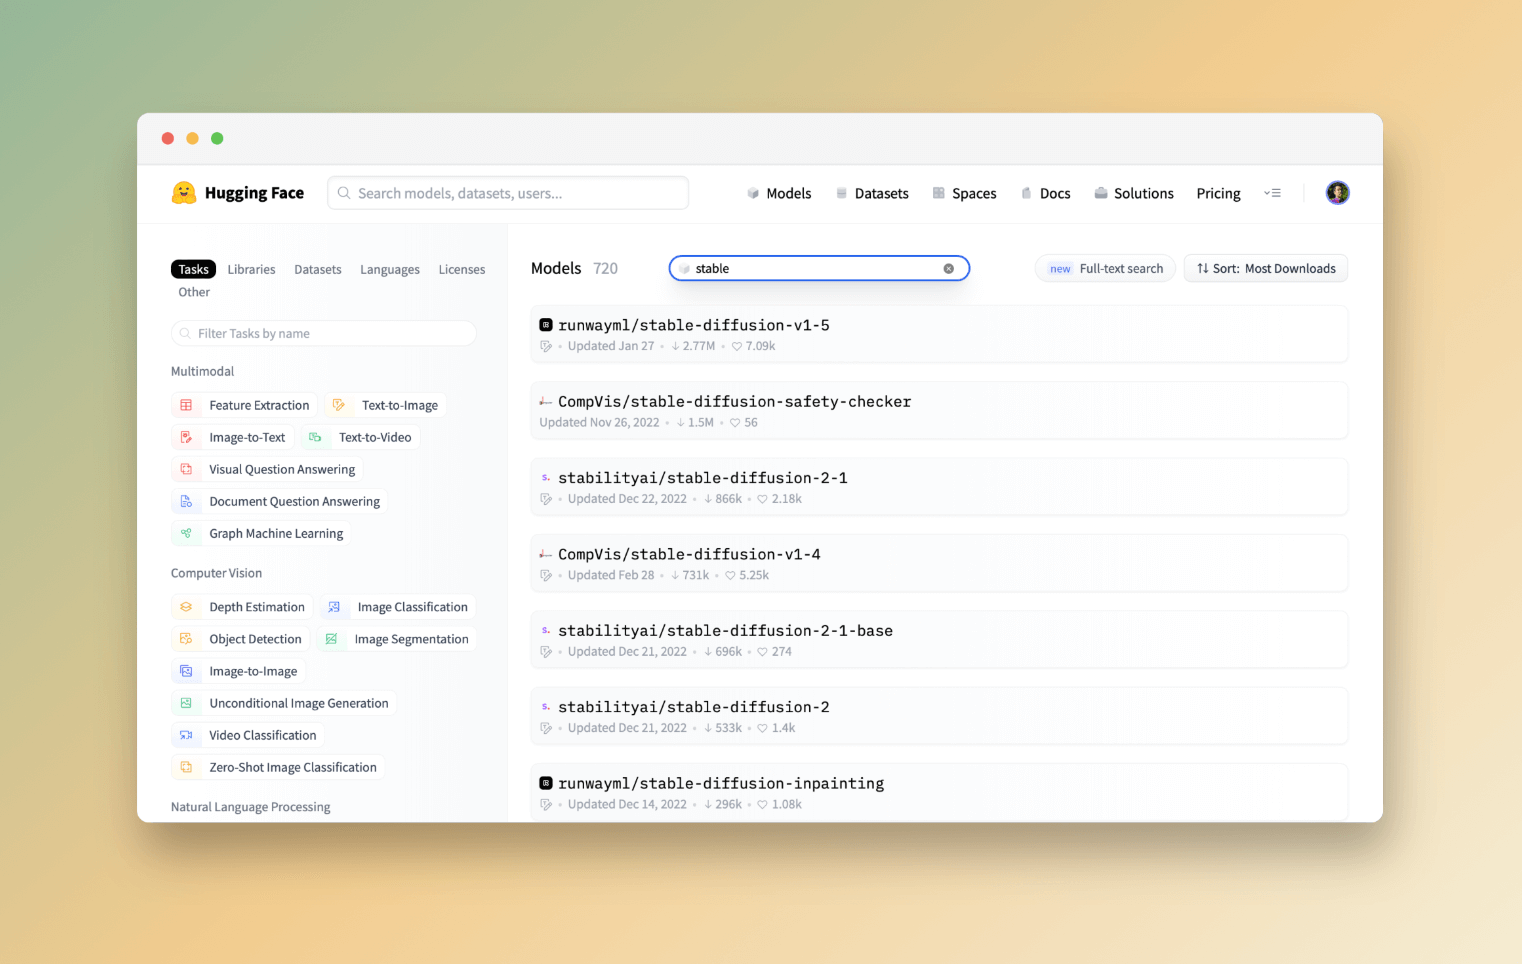
Head over Hugging Face and search for “Stable Diffusion”. You’ll find various versions of Stable Diffusion that are available for download at no cost including Stable-Diffusion-v1-4, Stable-Diffusion-v1-5, Stable-Diffusion-2, and Stable-Diffusion-2-1.
Running Stable Diffusion with Core ML
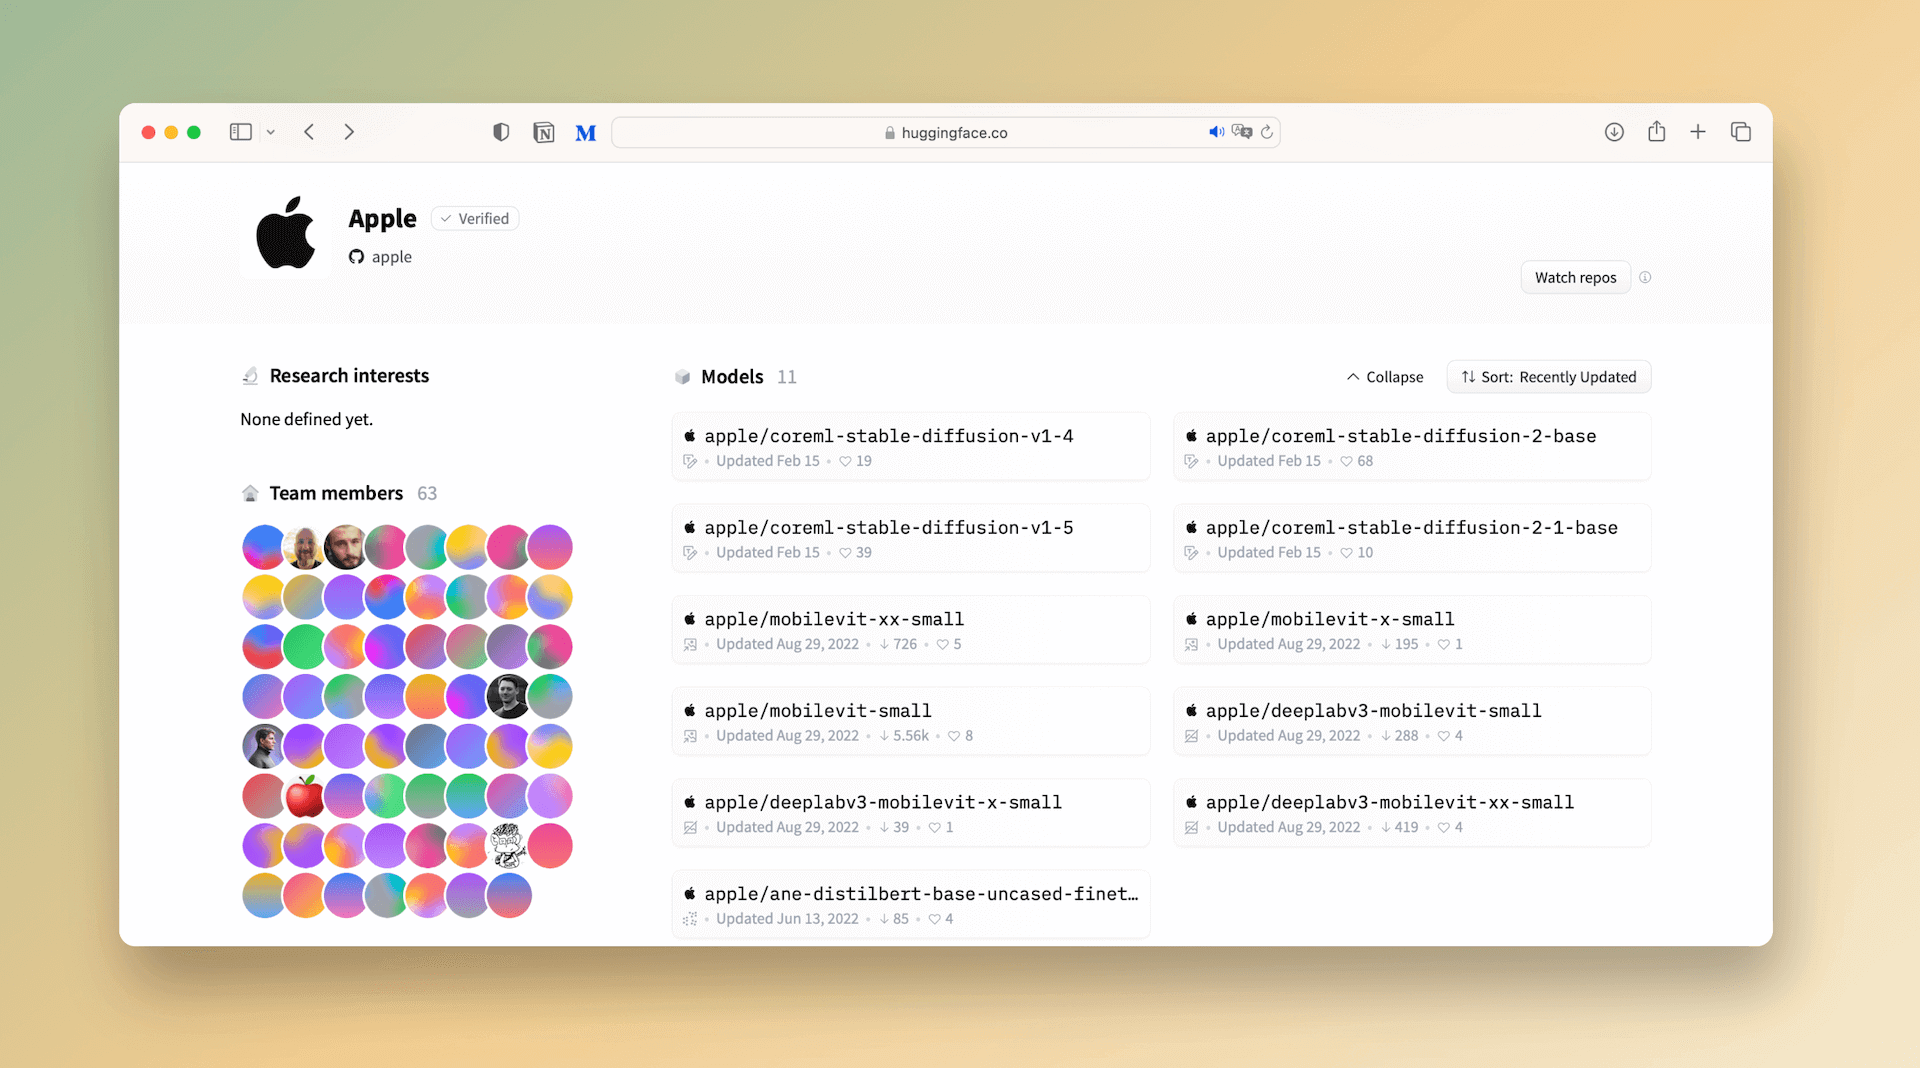
To run Stable Diffusion on Apple Silicon devices with Core ML, you can convert the models by yourself using python_coreml_stable_diffusion, which is a Python package for converting PyTorch models to Core ML format. Alternatively, you can use the pre-built Core ML models, prepared by Apple. For convenience, we will use the pre-built Core ML models (e.g. coreml-stable-diffusion-2-1-base) in this tutorial.
All these models are hosted on Git repositories. Since these models are typically large in size, it is necessary to install the git LFS (Large File Storage) extension in order to download the model files.
First, you need to install Homebrew, which is just like a package manager, if you haven’t done so. To install Homebrew on your Mac, open Terminal and key in the following command:
/bin/bash -c "$(curl -fsSL https://raw.githubusercontent.com/Homebrew/install/HEAD/install.sh)"Next, type the following command to install Git LFS:
brew install git-lfs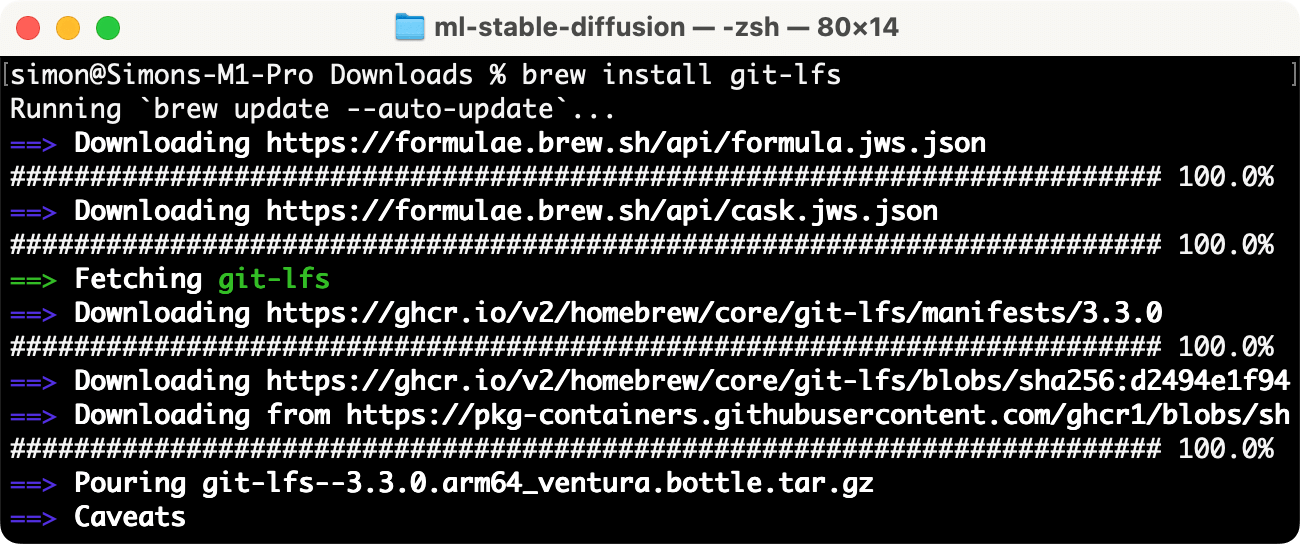
Once the installation completes, execute the following command to initialize Git LFS:
git lfs installLastly, run the following command to clone and download the Stable Diffusion repository. We use the latest version of Stable Diffusion (i.e. v2.1) in this tutorial. For older versions, you can find them here.
git clone https://huggingface.co/apple/coreml-stable-diffusion-2-1-baseIt’ll take some time to download the model files as they are quite large in size. Once you complete the download, you should find the model files under both original and split_einsum folders.
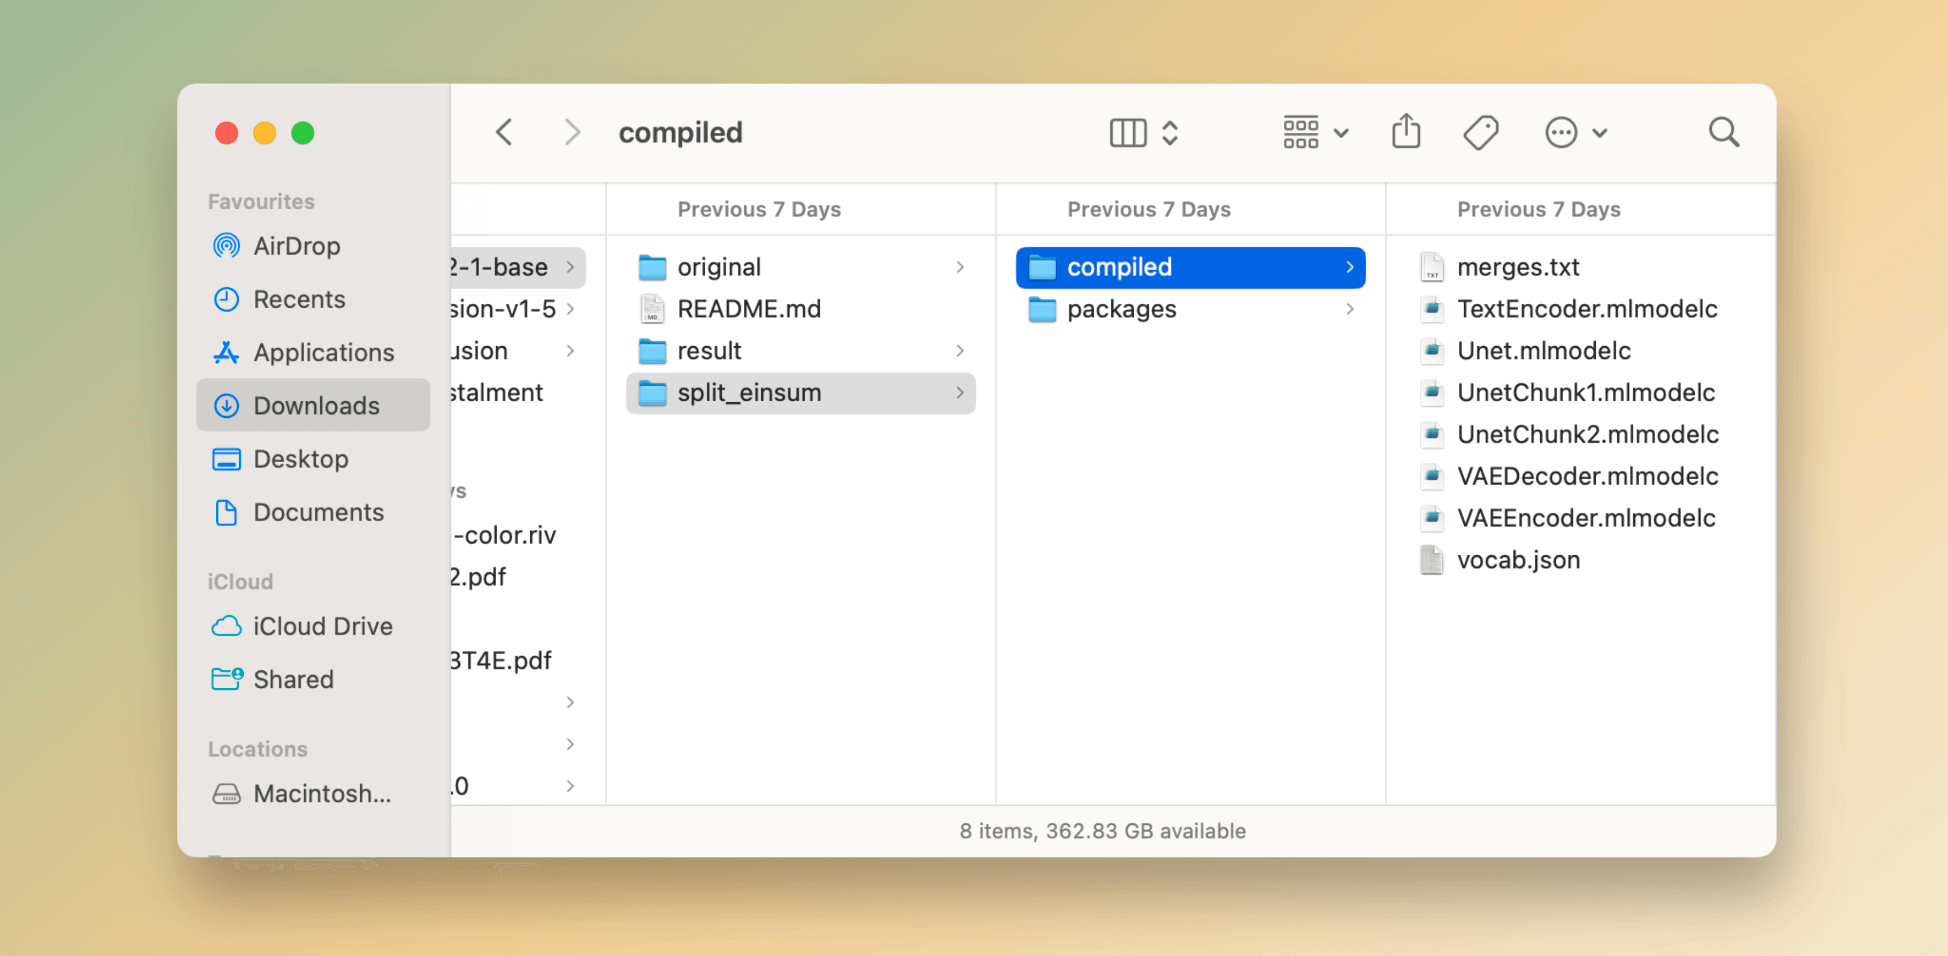
Each Core ML Stable Diffusion model comes with several variants that are optimized for different hardwares. For Core ML Stable Diffusion models, there are two attention variants available: original and split_einsum. The original attention is only compatible with CPU and GPU, while split_einsum is optimized for Apple’s Neural Engine devices, which are present in modern iPhones, iPads, and M1/M2 Macs.
In addition to attention variants, there are two subfolders available under each variant: compiled and packages. The packages subfolder is suitable for Python inference, allowing for testing of converted Core ML models before attempting to integrate them into native apps. On the other hand, the compiled subfolder is what is required for Swift apps. The compiled models split the large UNet model weights into several files, enabling compatibility with iOS and iPadOS devices.
Using Core ML Stable Diffusion to Generate Images
After completing the model file preparations, the next step in incorporating Stable Diffusion into your app is to obtain the Core ML Stable Diffusion package, available at https://github.com/apple/ml-stable-diffusion. This comprehensive package contains a Swift package that can be easily integrated into your Xcode project, enabling you to leverage the capabilities of Stable Diffusion in your app. Additionally, the package includes a sample application that showcases the power of Stable Diffusion by generating images with Swift CLI.
To download the package, key in the following command in Terminal:
git clone https://github.com/apple/ml-stable-diffusion.gitOnce the package is ready on your Mac, you can use the built-in app named StableDiffusionSample with the syntax below:
swift run StableDiffusionSample <text prompt> --resource-path <your-resource-path> --seed 93 --output-path <your-resulting-image-path>The --resource-path option is for you to specify the path of the model variant. In this case, it’s the compiled folder of the split_einsum variant. Here is a sample command for generating an interior design image:
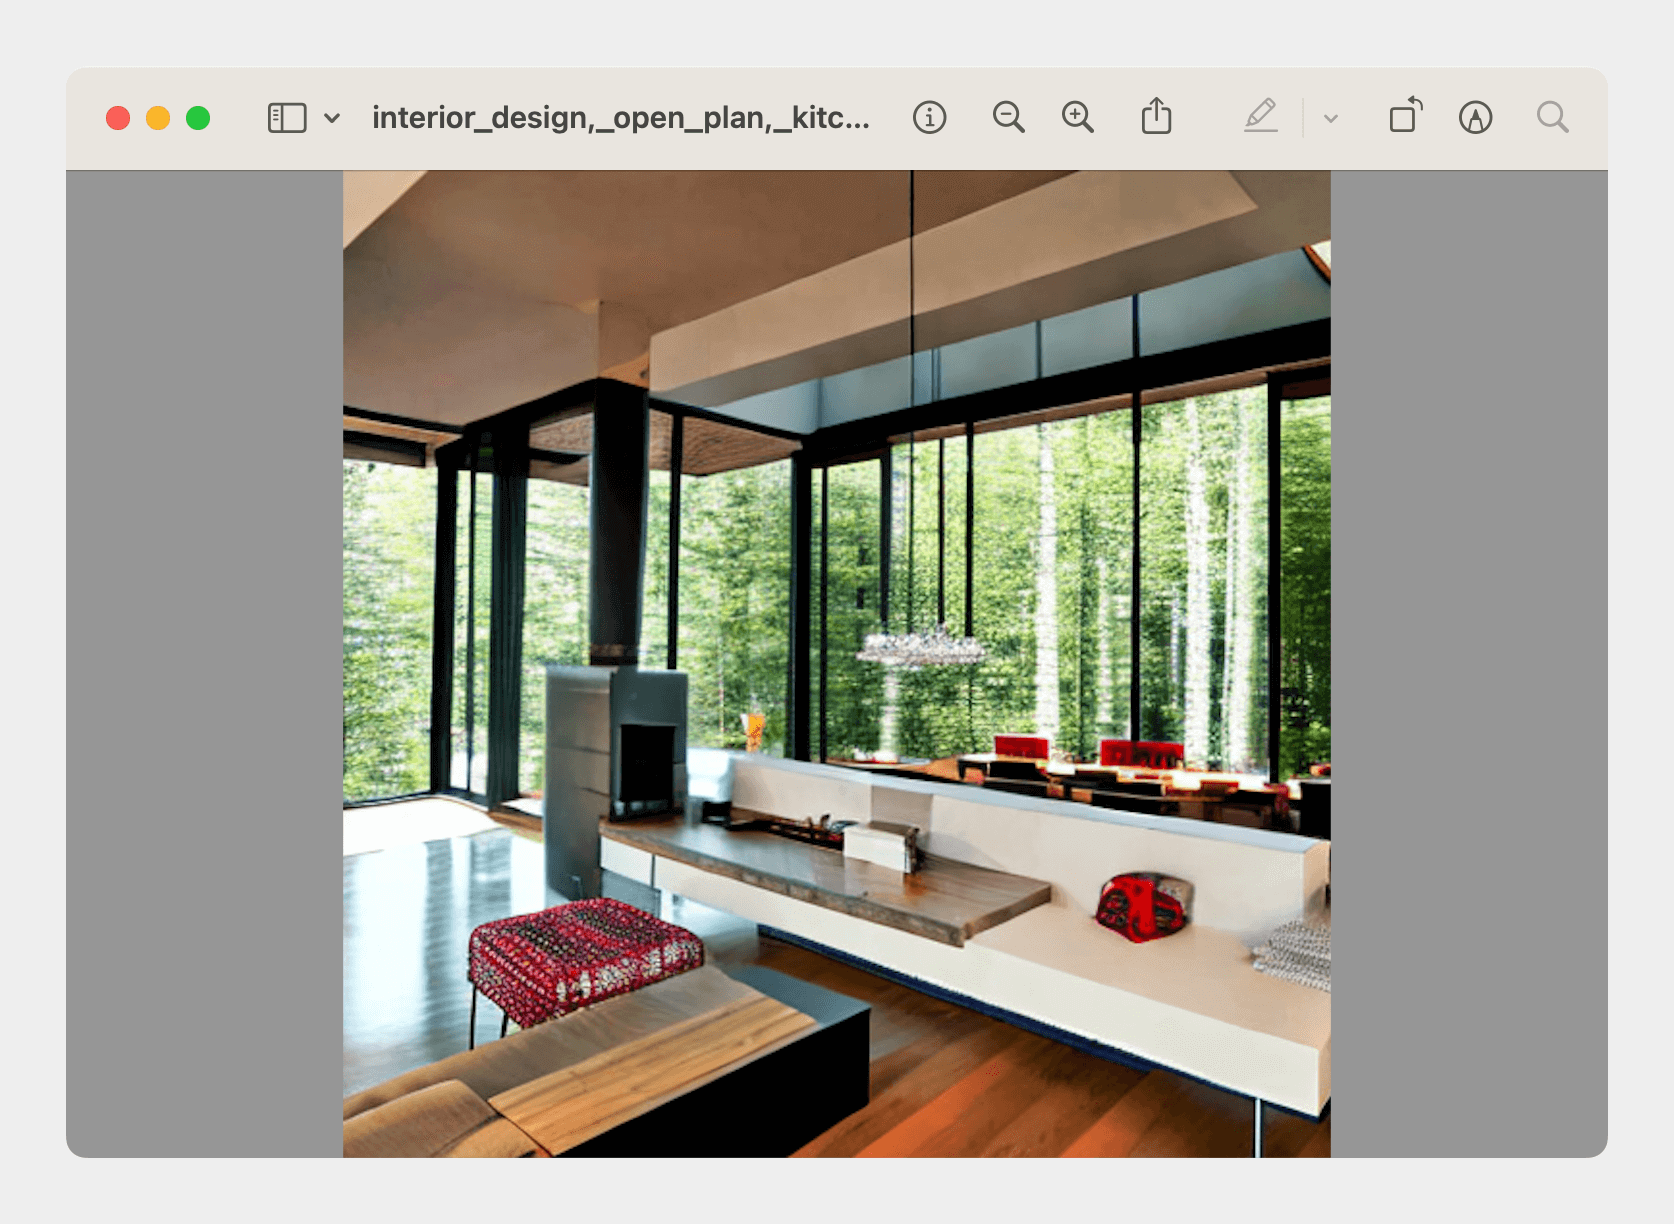
swift run StableDiffusionSample "interior design, open plan, kitchen and living room, modular furniture with cotton textiles, wooden floor, high ceiling, large steel windows viewing a forest" --resource-path ~/Downloads/coreml-stable-diffusion-2-1-base/split_einsum/compiled --seed 93 --output-path ~/Downloads/coreml-stable-diffusion-2-1-base/resultDepending on the processing power of your machine, it may take 10 seconds or several minutes for Stable Diffusion to generate the image. When finished, the AI-generated can be found in the output folder.
You can change the text prompt to generate other images. This website gives an in-depth walkthrough if you want to learn how to craft good prompts to create some stunning AI-generated images.
Summary
Stable Diffusion is a powerful deep learning model that enables users to generate detailed images based on text prompts. With the release of Stable Diffusion with Core ML, iOS developers can now easily incorporate the text-to-image feature into their apps, and most importantly, the model is stored locally on the device.
By following this tutorial, you should know how to get started with Stable Diffusion and use the tools provided by Apple to run Stable Diffusion with Swift CLI. In the next tutorial, let’s see how to integrate the model and build an iOS app for image generation.