In iOS 17, Apple introduced a new framework called SwiftData to replace the Core Data framework. Earlier, we have written an introductory tutorial about SwiftData and showed you how to pair SwiftData with SwiftUI.
While there are numerous learning resources available for using SwiftData with SwiftUI, some readers have mentioned that finding comprehensive guides for integrating SwiftData into UIKit apps can be challenging. In this tutorial, we will delve into the process of leveraging the capabilities of SwiftData within the UIKit framework.
A Quick Introduction about SwiftData
To start off, let’s take a brief tour of the SwiftData framework. It’s important to understand that SwiftData should not be mistaken for a database itself. Instead, it is a framework built upon Core Data, specifically developed to assist developers in effectively managing and interacting with data stored persistently. While the default persistent store utilized by iOS is commonly the SQLite database, it’s worth noting that persistent stores can come in various forms. For instance, Core Data can also be employed to manage data stored in a local file, such as an XML file. This flexibility allows developers to choose the most suitable persistent store for their specific requirements.
Whether you opt for Core Data or the SwiftData framework, both tools aim to simplify the intricacies of the underlying persistent store for developers. Take the SQLite database, for example. With SwiftData, there’s no need to concern yourself with establishing database connections or delving into SQL queries to retrieve data records. Instead, developers can focus on utilizing user-friendly APIs and Swift Macros, such as @Model, to efficiently manage data within their applications. This abstraction allows for a more streamlined and intuitive data management experience.
If you have used Core Data before, you may remember that you have to create a data model (with a file extension .xcdatamodeld) using a data model editor for data persistence. With the release of SwiftData, you no longer need to do that. SwiftData streamlines the whole process with macros, another new Swift feature in iOS 17. Say, for example, you already define a model class for Song as follows:
class Song {
  var title: String
  var artist: String
  var album: String
  var genre: String
  var rating: Double
}
To use SwiftData, the new @Model macro is the key for storing persistent data using SwiftUI. Instead of building the data model with model editor, SwiftData just requires you to annotate the model class with the @Model macro like this:
@Model class Song {
  var title: String
  var artist: String
  var album: String
  var genre: String
  var rating: Double
}
This is how you define the schema of the data model in code. With this simple keyword, SwiftData automatically enables persistence for the data class and offers other data management functionalities such as iCloud sync. Attributes are inferred from properties and it supports basic value types such as Int and String.
SwiftData allows you to customize how your schema is built using property metadata. You can add uniqueness constraints by using the @Attribute annotation, and delete propagation rules with the @Relationship annotation. If there are certain properties you do not want included, you can use the @Transient macro to tell SwiftData to exclude them. Here is an example:
@Model class Album {
  @Attribute(.unique) var name: String
  var artist: String
  var genre: String

  // The cascade relationship instructs SwiftData to delete all
    // songs when the album is deleted.
  @Attribute(.cascade) var songs: [Song]? = []
}
To drive the data persistent operations, there are two key objects of SwiftData that you should be familiar with: ModelContainer and ModelContext. The ModelContainer serves as the persistent backend for your model types. To create a ModelContainer, you simply need to instantiate an instance of it.
// Basic
let container = try ModelContainer(for: [Song.self, Album.self])

// With configuration
let container = try ModelContainer(for: [Song.self, Album.self],
                                    configurations: ModelConfiguration(url: URL("path"))))
In UIKit, you can instantiate the context for a given model containers like this:
let context = ModelContext(modelContainer)With the context, you are ready to fetch data. You can use the new #Predicate macro to build predicates. Here is an example:
// Specify all the songs whose genre is "Pop"
let songPredicate = #Predicate<Song> { $0.genre == "pop" }
Once you define the criteria for fetching, you can use the FetchDescriptor and tell the model context to fetch the data.
let descriptor = FetchDescriptor<Song>(predicate: songPredicate)

let songs = try context.fetch(descriptor)
To insert item in the persistent store, you can call the insert method of the model context and pass it the model objects to insert.
modelContext.insert(song)Similarly, you can delete the item via the model context like this:
modelContext.delete(song)This serves as a brief introduction to SwiftData. If you’re still feeling unsure about how to utilize SwiftData, there’s no need to worry. You will gain a clear understanding of its usage as we’ll build a simple To-do app using UIKit and SwiftData.
Building a Simple To-do App with SwiftData and UIKit
I have already developed a basic to-do app using UIKit. However, the current implementation only stores the to-do items in memory, which means the data is not persistent. In order to address this limitation, our next step is to modify the app and switch from using in-memory arrays to leveraging the power of SwiftData for storing the to-do items in a database. This enhancement will ensure that the to-do items are stored persistently, allowing users to access them even after closing the app.
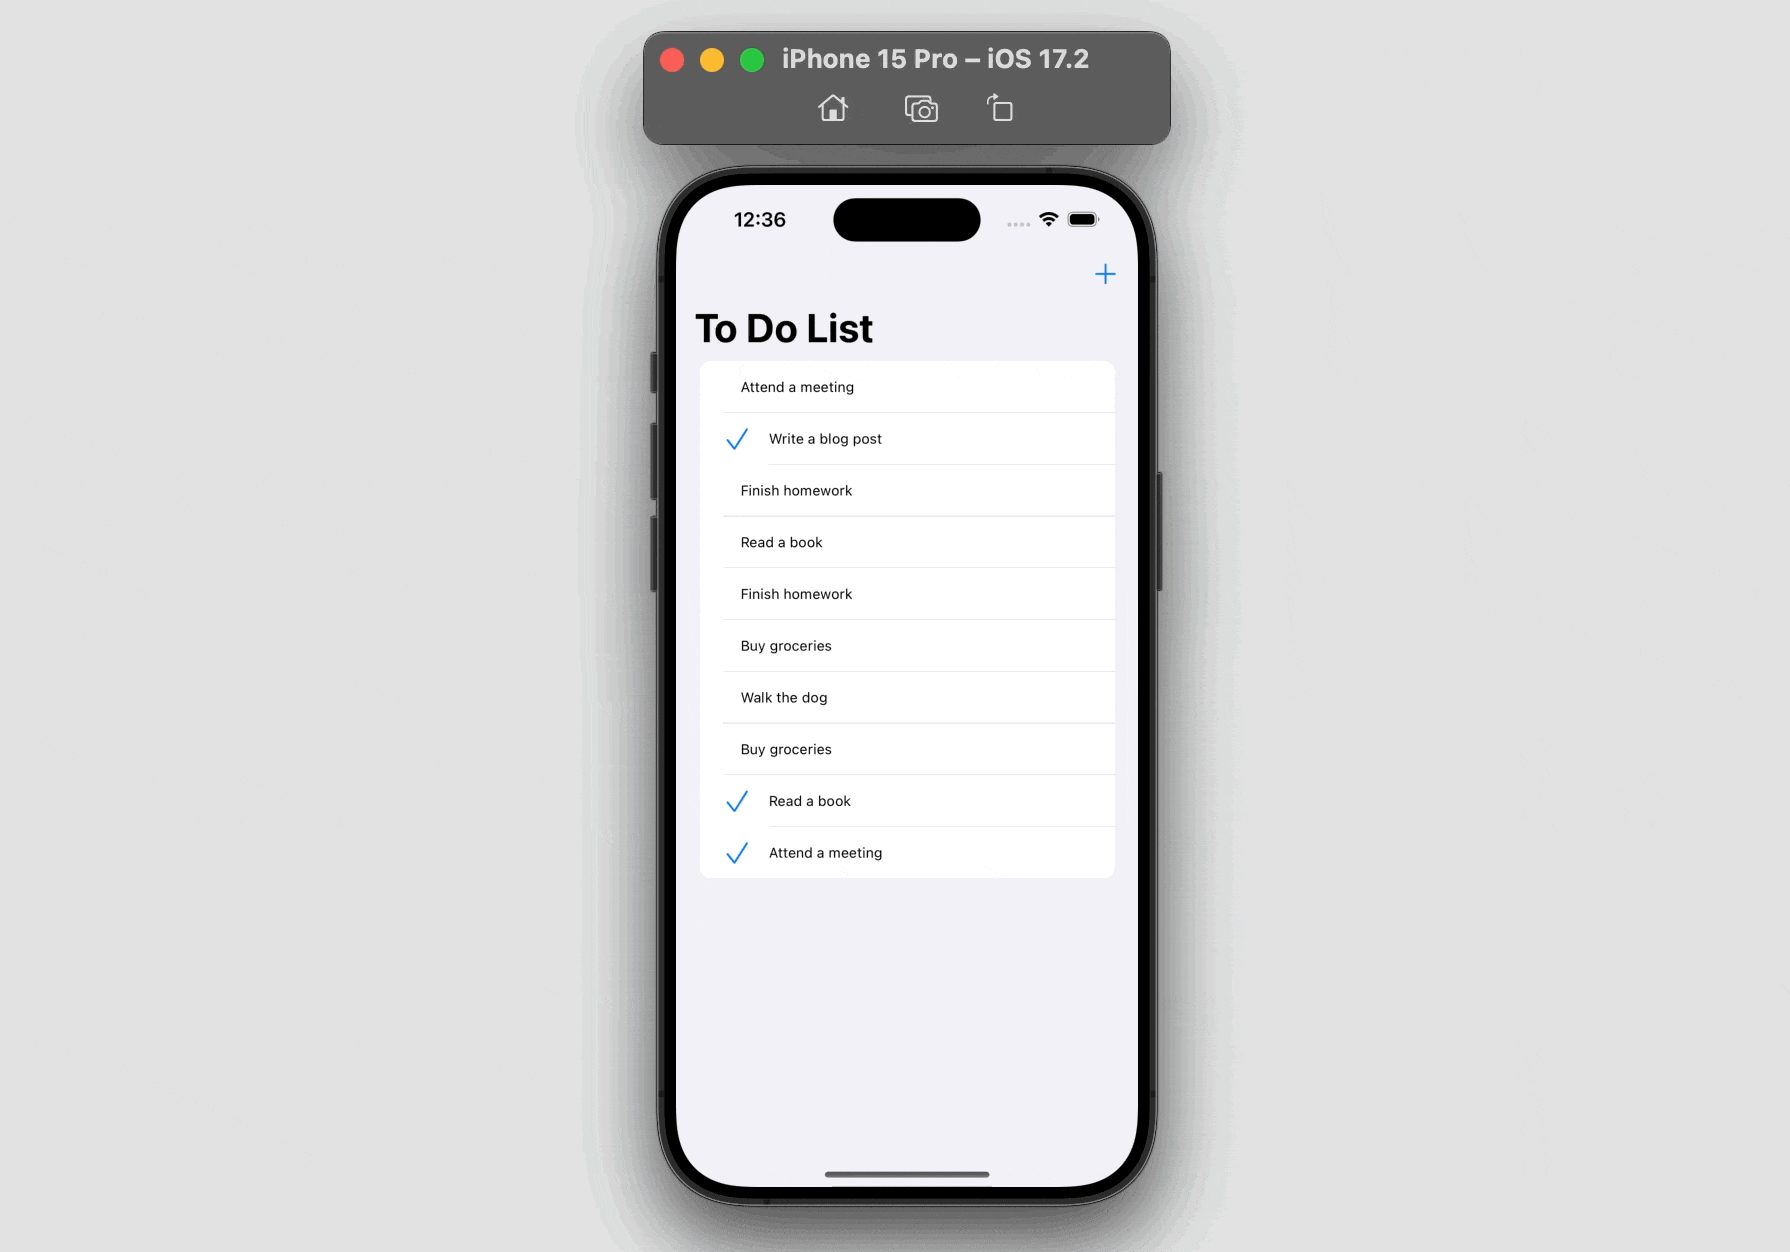
For demo purpose, the current version of this app does not provide the functionality for users to add their own to-do items. Instead, users can only add a random to-do item by tapping the “+” button. However, users can still modify the status of the existing item and delete it by swiping.
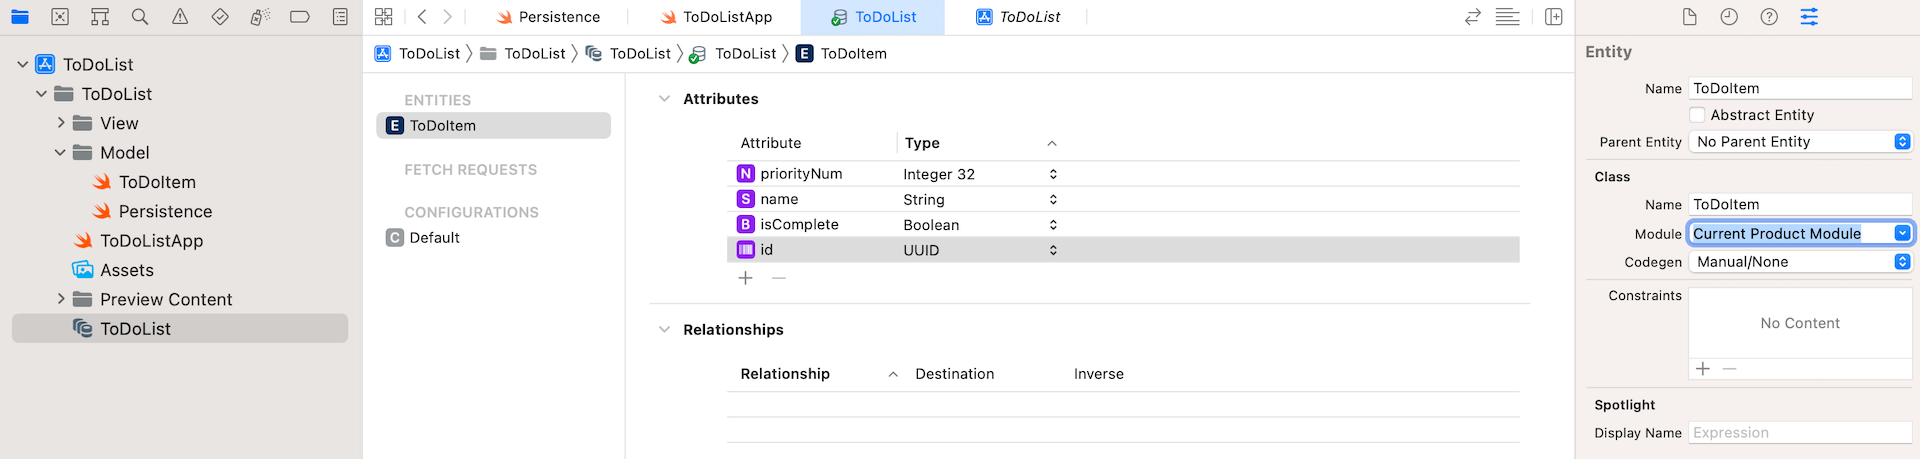
Using @Model for the model class
The in-memory version of the app already defines a struct for ToDoItem:
struct ToDoItem: Identifiable, Hashable {
    var id: UUID
    var name: String
    var isComplete: Bool

    init(id: UUID = UUID(), name: String = "", isComplete: Bool = false) {
        self.id = id
        self.name = name
        self.isComplete = isComplete
    }
}
To use SwiftData, we can convert this struct to class and annotate it with the @Model macro like this:
import SwiftData

@Model class ToDoItem: Identifiable, Hashable {
    var id: UUID
    var name: String
    var isComplete: Bool

    init(id: UUID = UUID(), name: String = "", isComplete: Bool = false) {
        self.id = id
        self.name = name
        self.isComplete = isComplete
    }
}
As you can see, the only thing that we need to do to make a class work with SwiftData is to prefix it with @Model. SwiftData then automatically enables persistence for the data class.
Saving To-Do Items into Database
In the demo app, we have the ToDoTableViewController class to handle the rendering of the to-do table view, as well as, the random creation of the to-do items. To manage data with SwiftData, we first create a variable to hold the model container:
var container: ModelContainer?In the viewDidLoad method, we can add the following line of code to instantiate the model container:
container = try? ModelContainer(for: ToDoItem.self)For adding a random to-do item, the demo app already had a method named addToDoItem:
@IBAction func addToDoItem(sender: UIBarButtonItem) {
    todoItems.append(generateRandomTodoItem())
    updateSnapshot(animatingChange: true)
}
We called up the generateRandomTodoItem method to get a to-do item and append it to the todoItems array. Then we call up the updateSnapshot method to update the table view.
In order to save the to-do item permanently, we can replace the code like this:
@IBAction func addToDoItem(sender: UIBarButtonItem) {
    container?.mainContext.insert(generateRandomTodoItem())
    fetchToDoItems()
}
Instead of simply adding the to-do item to the array, we utilize the insert method of the container’s context to save the item into the internal database.
Fetching Data from Database
The implementation of the fetchToDoItems method is pending at the moment. To retrieve data from the database, we need to create an instance of FetchDescriptor. This allows us to specify the data type we want to retrieve and define any specific search criteria if necessary. By utilizing the FetchDescriptor, we can effectively retrieve the desired data from the database. After setting up the fetch descriptor object, we can proceed to call the fetch method of the container’s context and provide the descriptor as an argument. SwiftData will then utilize this information to retrieve the to-do items accordingly from the database.
Insert the following code snippet to create the fetchToDoItems method:
func fetchToDoItems() {
    let descriptor = FetchDescriptor<ToDoItem>()

    todoItems = (try? container?.mainContext.fetch(descriptor)) ?? []

    updateSnapshot()
}
Once we retrieve all the to-do items, we need to invoke the updateSnapshot method to update the table view.
Deleting Data from Database
In the sample app, we have a swipe action for deleting a row item like this:
let deleteAction = UIContextualAction(style: .destructive, title: "Delete") { (action, sourceView, completionHandler) in

    var snapshot = self.dataSource.snapshot()
    snapshot.deleteItems([todoItem])
    self.dataSource.apply(snapshot, animatingDifferences: true)

    // Call completion handler to dismiss the action button
    completionHandler(true)
}
For now, it only removes a to-do item from the table view but not the database. To completely delete the item from database, we need to insert a line of code in the closure:
self.container?.mainContext.delete(todoItem)By calling the delete method and providing the relevant item, SwiftData will take care of removing the specified item from the database, ensuring that it is no longer persisted in our app’s data storage.
This is how we migrate the to-do app from using in-memory storage to database using SwiftData.
Summary
By following the steps outlined above, we successfully migrated the to-do app from using in-memory storage to utilizing a database with the help of SwiftData. As demonstrated, the combination of the @Model macro and SwiftData framework simplifies the process of incorporating a database into an app.
We hope that through this tutorial, you now possess a clearer understanding of how to integrate SwiftData into a SwiftUI project and perform essential CRUD (Create, Read, Update, Delete) operations. Apple has invested significant effort in making persistent data management and data modeling more accessible for Swift developers, including newcomers to the language.
With SwiftData, you have a powerful tool at your disposal to handle data storage and retrieval efficiently. We encourage you to explore further and leverage the capabilities of SwiftData to enhance your app development journey.