
One common question in SwiftUI app development is how to work with Core Data to save data permanently in the built-in database. Despite Apple’s ongoing efforts to simplify the APIs of Core Data, new comers often find the framework challenging to use. However, there is good news on the horizon. Apple will be releasing a new framework called SwiftData in iOS 17 to replace Core Data. SwiftData is designed to be much easier to use for data modelling and management, offering a more user-friendly approach.
What’s SwiftData
First and foremost, it’s important to note that the SwiftData framework should not be confused with a database. Built on top of Core Data, SwiftData is actually a framework designed to help developers manage and interact with data on a persistent store. While the default persistent store for iOS is typically the SQLite database, it’s worth noting that persistent stores can take other forms as well. For example, Core Data can also be used to manage data in a local file, such as an XML file.
Regardless of whether you’re using Core Data or the SwiftData framework, both tools serve to shield developers from the complexities of the underlying persistent store. Consider the SQLite database, for instance. With SwiftData, there’s no need to worry about connecting to the database or understanding SQL in order to retrieve data records. Instead, developers can focus on working with APIs and Swift Macros, such as @Query and @Model, to effectively manage data in their applications.
The SwiftData framework is newly introduced in iOS 17 to replace the previous framework called Core Data. Core Data has long been the data management APIs for iOS development since the era of Objective-C. Even though developers can integrate the framework into Swift projects, Core Data is not a native solution for both Swift and SwiftUI.
In iOS 17, Apple finally introduces a native framework called SwiftData for Swift on persistent data management and data modeling. It’s built on top of Core Data but the APIs are completely redesigned to make the most out of Swift.
Using Code to Create the Data Model
If you have used Core Data before, you may remember that you have to create a data model (with a file extension .xcdatamodeld) using a data model editor for data persistence. With the release of SwiftData, you no longer need to do that. SwiftData streamlines the whole process with macros, another new Swift feature in iOS 17. Say, for example, you already define a model class for Song as follows:
class Song {
  var title: String
  var artist: String
  var album: String
  var genre: String
  var rating: Double
}
To use SwiftData, the new @Model macro is the key for storing persistent data using SwiftUI. Instead of building the data model with model editor, SwiftData just requires you to annotate the model class with the @Model macro like this:
@Model class Song {
  var title: String
  var artist: String
  var album: String
  var genre: String
  var rating: Double
}
This is how you define the schema of the data model in code. With this simple keyword, SwiftData automatically enables persistence for the data class and offers other data management functionalities such as iCloud sync. Attributes are inferred from properties and it supports basic value types such as Int and String.
SwiftData allows you to customize how your schema is built using property metadata. You can add uniqueness constraints by using the @Attribute annotation, and delete propagation rules with the @Relationship annotation. If there are certain properties you do not want included, you can use the @Transient macro to tell SwiftData to exclude them. Here is an example:
@Model class Album {
  @Attribute(.unique) var name: String
  var artist: String
  var genre: String

  // The cascade relationship instructs SwiftData to delete all
    // songs when the album is deleted.
  @Attribute(.cascade) var songs: [Song]? = []
}
To drive the data persistent operations, there are two key objects of SwiftData that you should be familiar with: ModelContainer and ModelContext. The ModelContainer serves as the persistent backend for your model types. To create a ModelContainer, you simply need to instantiate an instance of it.
// Basic
let container = try ModelContainer(for: [Song.self, Album.self])

// With configuration
let container = try ModelContainer(for: [Song.self, Album.self],
                                    configurations: ModelConfiguration(url: URL("path"))))
In SwiftUI, you can set up the model container at the root of the application:
import SwiftData
import SwiftUI

@main
struct MusicApp: App {
    var body: some Scene {
        WindowGroup {
            ContentView()
        }
        .modelContainer (for: [Song.self, Album.self]))
    }
}
Once you have set up the model container, you can begin using the model context to fetch and save data. The context serves as your interface for tracking updates, fetching data, saving changes, and even undoing those changes. When working with SwiftUI, you can typically obtain the model context from your view’s environment:
struct ContextView: View {
    @Environment(\.modelContext) private var modelContext
}
With the context, you are ready to fetch data. The simplest way is to use the @Query property wrapper. You can easily load and filter anything stored in your database with a single line of code.
@Query(sort: \.artist, order: .reverse) var songs: [Song]To insert item in the persistent store, you can call the insert method of the model context and pass it the model objects to insert.
modelContext.insert(song)Similarly, you can delete the item via the model context like this:
modelContext.delete(song)This is a brief introduction of SwiftData. If you’re still feeling confused about how to use SwiftData? No worries. You will understand its usage after building a ToDO app.
Building a Simple To Do App
Now that you have a basic understanding of SwiftData, I would like to demonstrate how to build a simple to-do app using this framework. Please note that the app is not fully functional and only allows users to add a random task to the to-do list. However, it serves as a good starting point to familiarize yourself with the SwiftData framework.

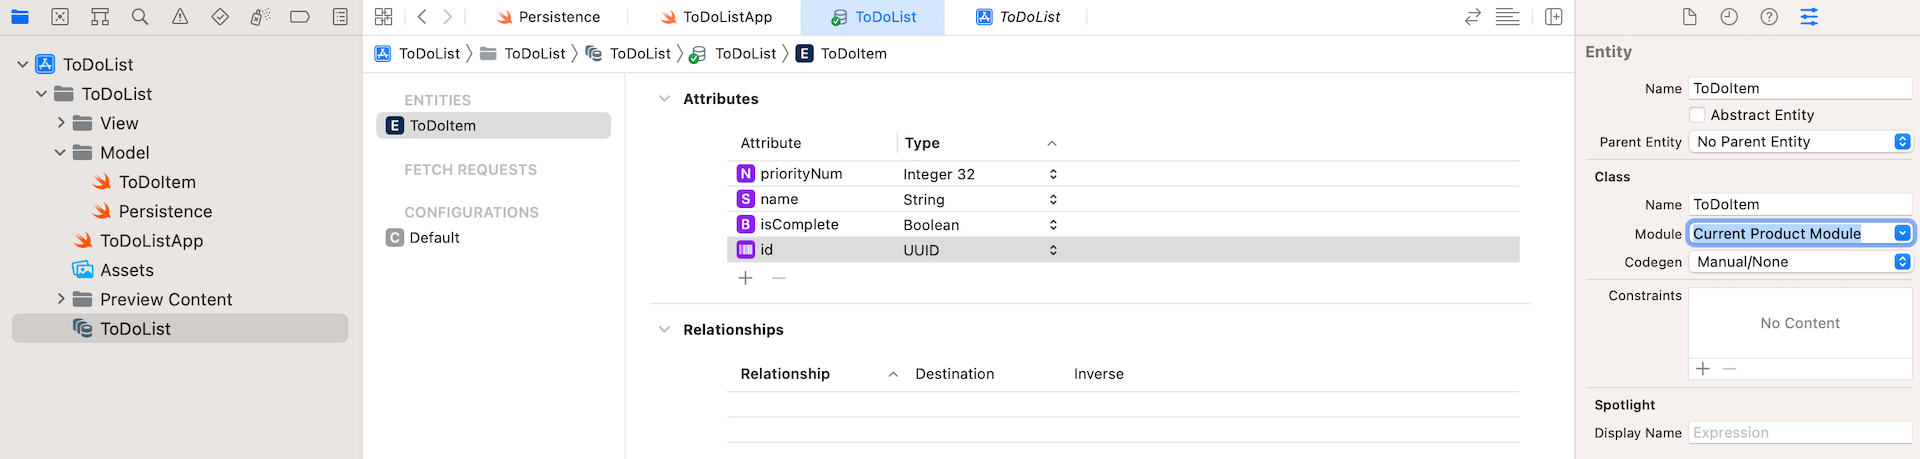
Assuming you’ve created a SwiftUI project in Xcode, let’s first create the data model of the app. Create a new file named ToDoItem and update the content like this:
import Foundation
import SwiftData

@Model class ToDoItem: Identifiable {
    var id: UUID
    var name: String
    var isComplete: Bool

    init(id: UUID = UUID(), name: String = "", isComplete: Bool = false) {
        self.id = id
        self.name = name
        self.isComplete = isComplete
    }
}
As discussed earlier, SwiftData simplifies the process of defining a schema using code. All you need to do is annotate the model class with the @Model macro. SwiftData will then automatically enable persistence for the data class.
Before we move onto building the UI of the app and handling the data persistent, let’s create a helper function for generating a random to-do item:
func generateRandomTodoItem() -> ToDoItem {
    let tasks = [ "Buy groceries", "Finish homework", "Go for a run", "Practice Yoga", "Read a book", "Write a blog post", "Clean the house", "Walk the dog", "Attend a meeting" ]

    let randomIndex = Int.random(in: 0..<tasks.count)
    let randomTask = tasks[randomIndex]

    return ToDoItem(name: randomTask, isComplete: Bool.random())
}
Next, let’s build the main UI of the to-do app. In the ContentView.swift file, update the code like this:
import SwiftData

struct ContentView: View {
    @Query var todoItems: [ToDoItem]

    var body: some View {
        NavigationStack {
            List {
                ForEach(todoItems) { todoItem in
                    HStack {
                        Text(todoItem.name)

                        Spacer()

                        if todoItem.isComplete {
                            Image(systemName: "checkmark")
                        }
                    }
                }
            }

            .navigationTitle("To Do List")
        }
    }
}
We mark the todoItems array with the @Query property wrapper. This @Query property automatically fetches the required data for you. In the provided code, we specify to fetch the ToDoItem instances. Once we retrieve the to-do items, we utilize the List view to display the items.
Set up the model container
To drive the data persistent operations, we also need to set up the model container. Switch over to ToDoDemoAppApp.swift and attach the modelContainer modifier like this:
struct ToDoDemoAppApp: App {
    var body: some Scene {
        WindowGroup {
            ContentView()
        }
        .modelContainer(for: ToDoItem.self)
    }
}
Here, we set a shared model container for storing instances of ToDoItem.
If you preview the ContentView, the list view is empty. Obviously, we haven’t stored any to-do items in the database. Now, let’s add a “Add item” button to insert a random to-do item into the database.
Storing to-do items into the database
In ContentView.swift, declare the following variable to retrieve the model context:
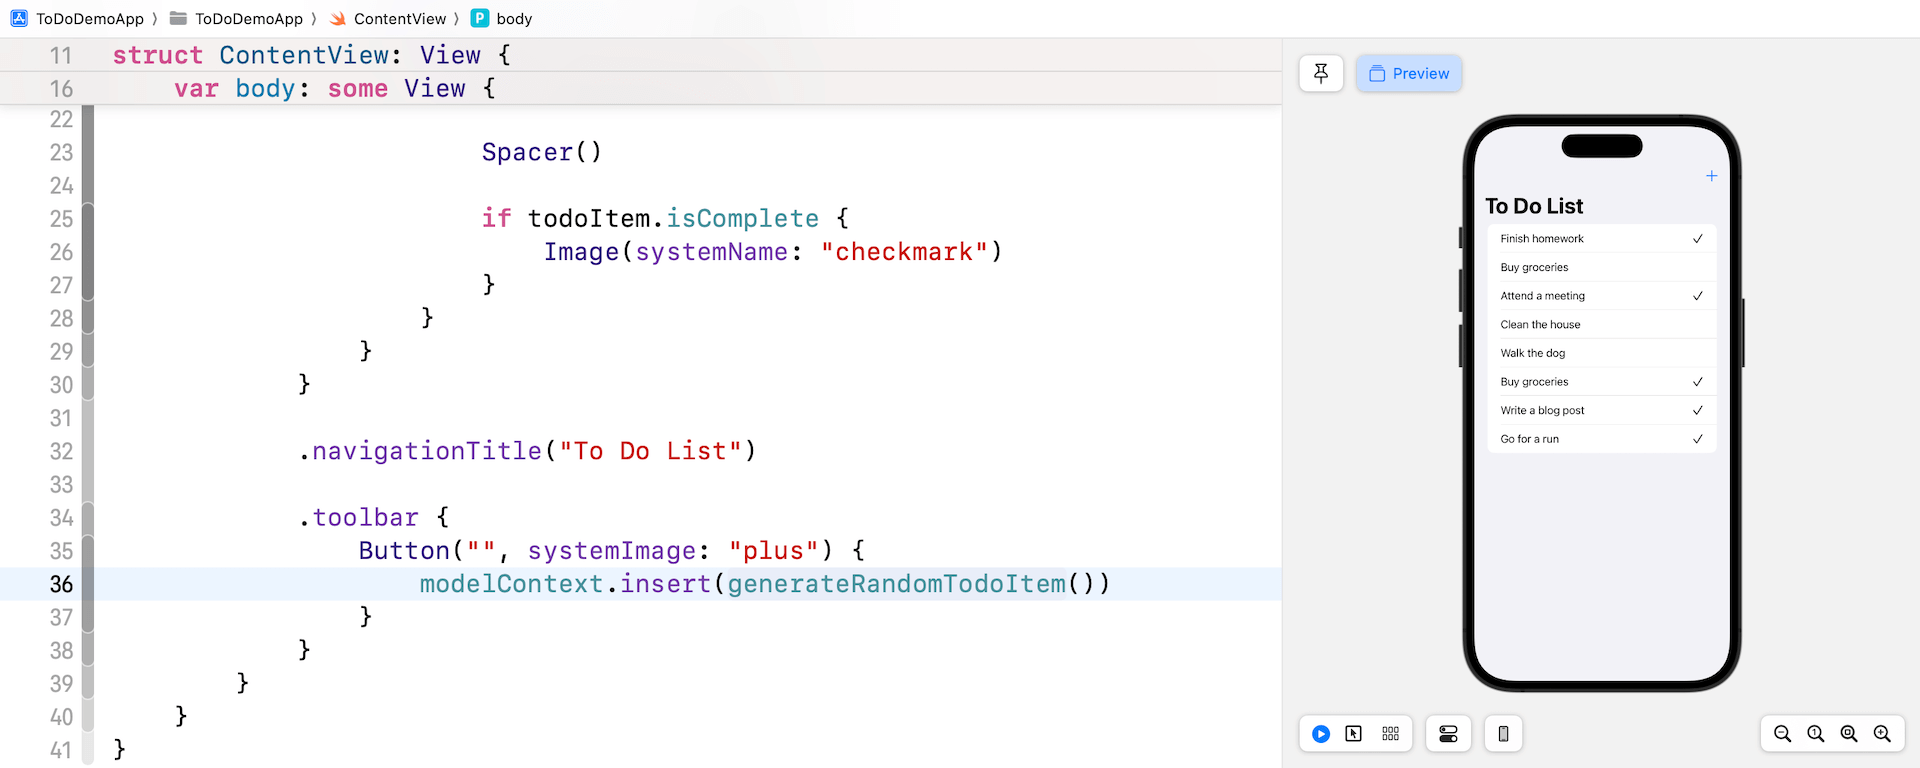
@Environment(\.modelContext) private var modelContextAfter obtaining the model context, we can easily insert data into the database. We’ll add a toolbar button for adding a random to-do item. Insert the following code inside the NavigationStack view (place it after navigationTitle):
.toolbar {
    Button("", systemImage: "plus") {
        modelContext.insert(generateRandomTodoItem())
    }
}
To store an item into database, you simply call the insert method of the model context.
Now you’re ready to test the app in the simulator. However, if you intend to test it in the preview canvas, you need to make one additional modification by adding the model container within the #Preview block:
#Preview {
    ContentView()
        .modelContainer(for: ToDoItem.self)
}
When you tap the “+” button, the app instantly stores the to-do item. Simultaneously, it retrieves the new item from the database and displays it in the list view.
Updating an existing item
SwiftData significantly reduces the amount of work required to handle item updates or modifications in the persistent store. By simply marking your model objects with the @Model macro, SwiftData automatically modifies the setters for change tracking and observation. This means that no code changes are needed to update the to-do items.
To test the update behavior, you can simply run the app on a simulator. When you tap a to-do item, it should be marked as complete. This change is now saved permanently in the device’s database. Even after restarting the app, all the items will still be retained.
Deleting the item from the database
Now that you know how to perform fetch, update, and insert, how about data deletion? We will add a feature to the app for removing a to-do item.
In the ContentView struct, attach the onDelete modifier to the ForEach loop:
.onDelete(perform: { indexSet in
    for index in indexSet {
        let itemToDelete = todoItems[index]
        modelContext.delete(itemToDelete)
    }
})
This closure takes an index set that stores the indices of the items to be deleted. To remove an item from the persistent store, simply call the delete function of the model context and specify the item to be deleted.
The onDelete modifier automatically enables the swipe-to-delete feature in the list view. To try this out, simply run the app and swipe to delete an item. This will completely remove the item from the database.
Summary
I hope that you now have a better understanding of how to integrate SwiftData into a SwiftUI project and how to perform all basic CRUD (create, read, update & delete) operations. Apple has put a lot of efforts to make persistent data management and data modeling easier for Swift developers and new comers.
While Core Data remains an option for backward compatibility, it’s time to learn the SwiftData framework, especially if you are developing an app exclusively for iOS 17 or later. Embrace this new framework to leverage the enhanced capabilities and benefits SwiftData offers.