In addition to the PhaseAnimator, SwiftUI introduced the KeyframeAnimator in iOS 17, allowing developers to create advanced animations using keyframes. In this tutorial, we will delve into the KeyframeAnimator and learn how to create a more intricate animation.
The PhaseAnimator view (or modifier), which we discussed in the previous tutorial, provides developers with the ability to create multi-step animations over a sequence of phases. By specifying the desired animations for each phase, the PhaseAnimator automatically animates the content whenever the phase changes. It simplifies the process of building complex animations by handling the transitions between phases for you.
Working with KeyframeAnimator
For phase-based animation, it works well for animations that can be represented as discrete states. When a state transition happens, all properties are animated simultaneously. Once the animation for a particular state is completed, SwiftUI smoothly transitions to the next state. This process continues across all animation phases.
Keyframe-based animation is designed to accommodate a specific type of animation where each property is animated independently. By utilizing keyframes, we can animate individual properties separately, which in turn offers us greater flexibility and control over our animations.
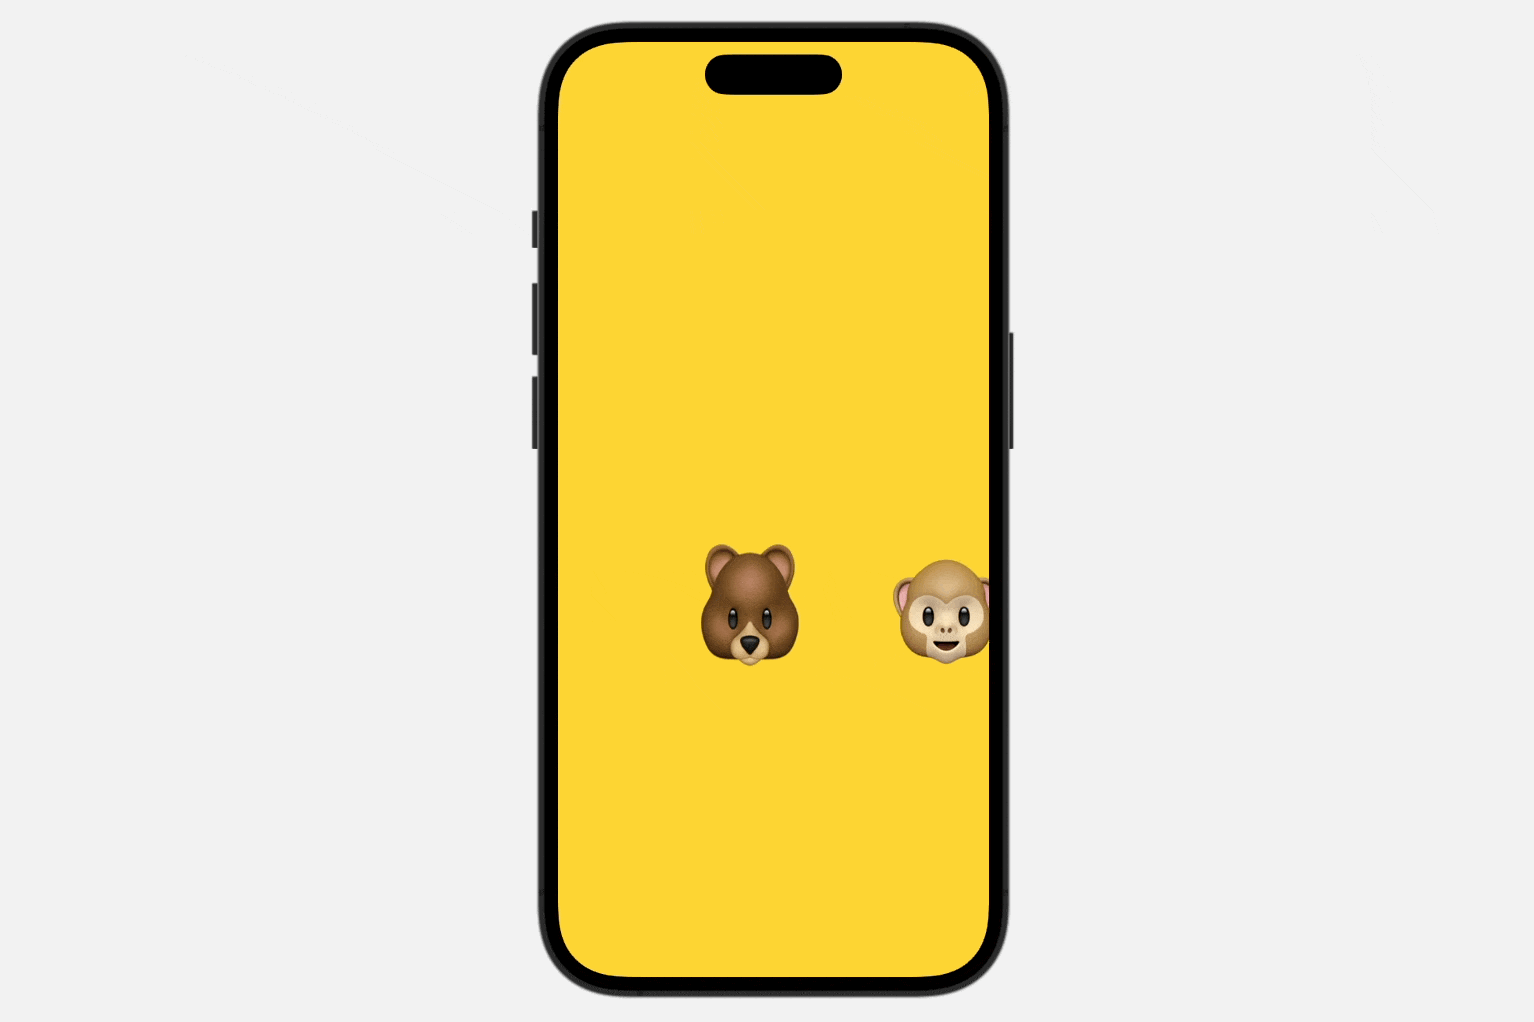
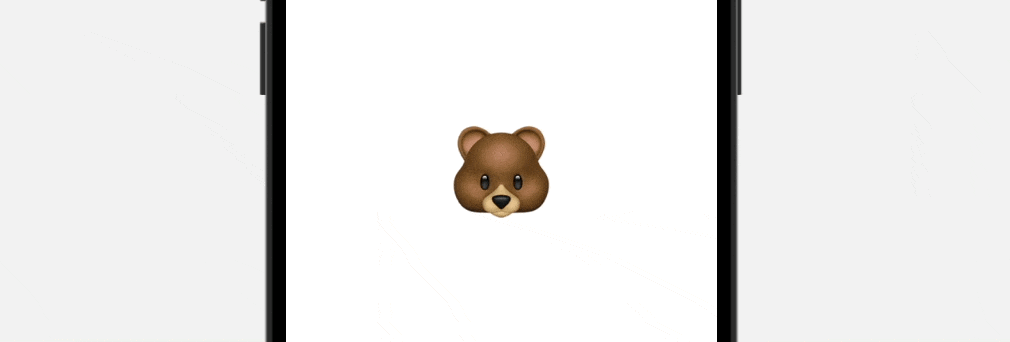
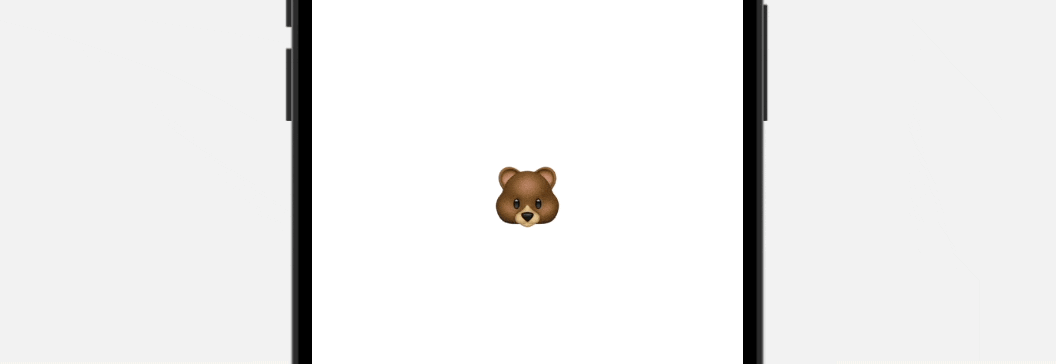
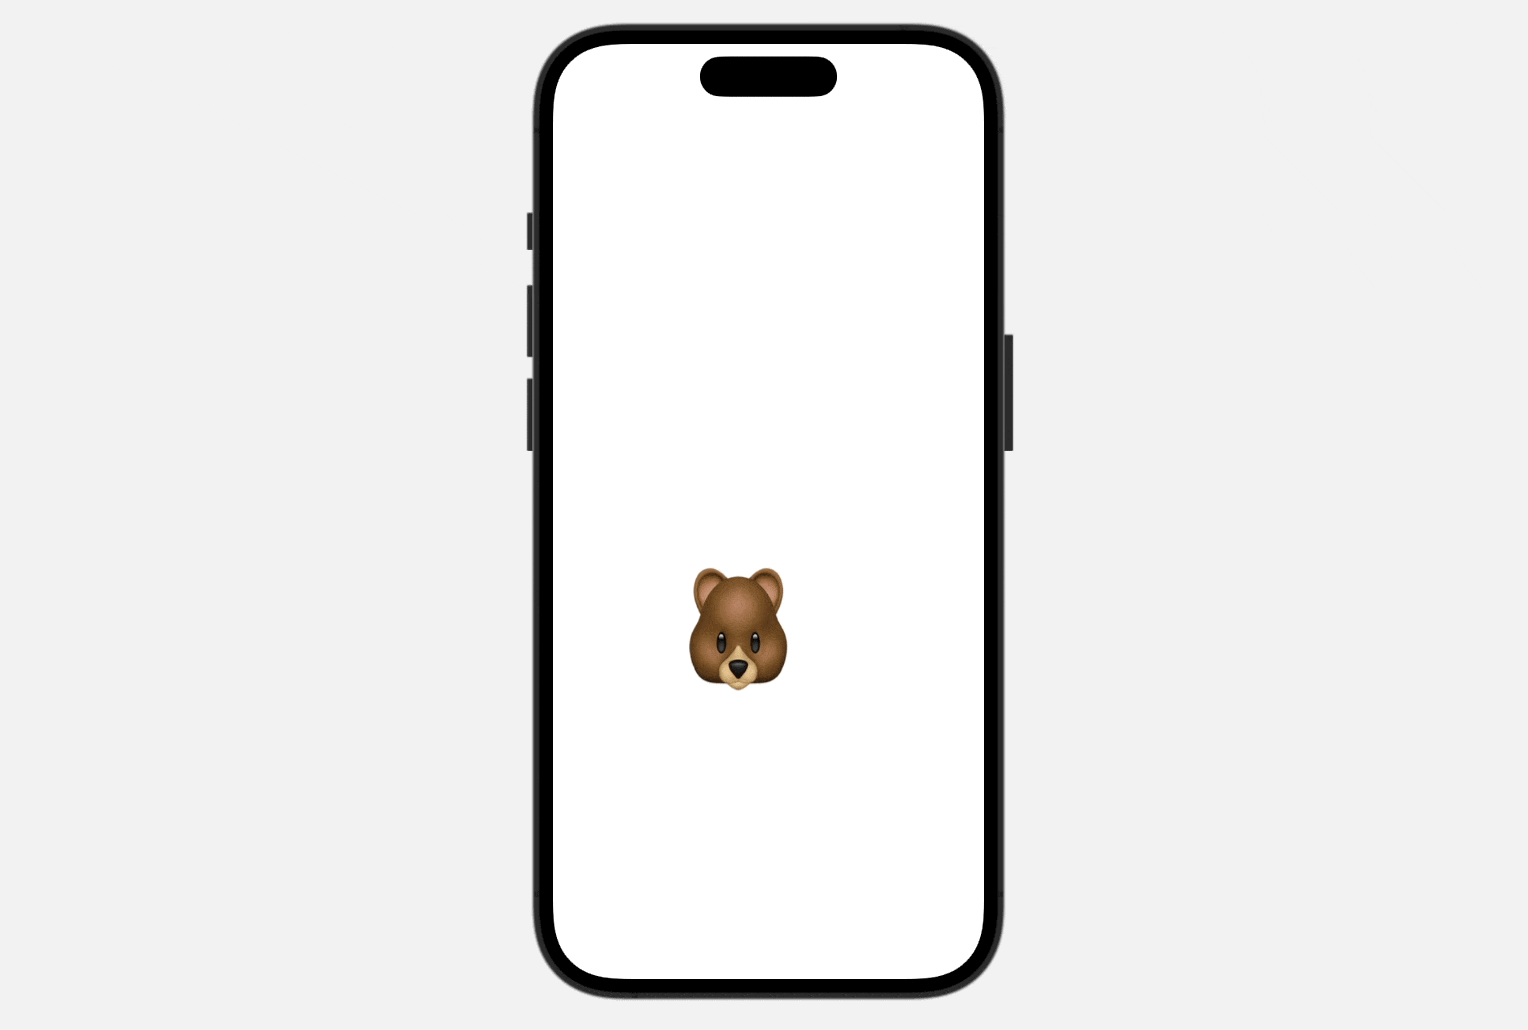
Let’s try to animate an emoji icon (as illustrated above) and you will understand how we can use keyframe animator.
Defining the Animation Values
As mentioned earlier, keyframe-based animation enables us to animate individual properties independently. To utilize the keyframe animator, we begin by defining a struct that encompasses all the properties we wish to animate. Here’s an example:
struct AnimationValues {
    var scale = 1.0
    var verticalStretch = 1.0
    var translation = CGSize.zero
    var opacity = 1.0
}
The initial values define the initial state of the emoji icon. Later, we will change each of the properties to scale, stretch, and move the emoji icon.
Applying the Keyframe Animator
In the body closure, let’s update the code like this to apply the keyframe animator:
Text("🐻")
    .font(.system(size: 100))
    .keyframeAnimator(initialValue: AnimationValues()) {
                content, value in

        content
            .scaleEffect(value.scale)
            .scaleEffect(y: value.verticalStretch)
            .offset(value.translation)
            .opacity(value.opacity)

    } keyframes: { _ in

        KeyframeTrack(\.scale) {
            CubicKeyframe(0.8, duration: 0.2)
        }
    }
As usual, we use a Text view to display the emoji icon. To create a keyframe-based animation, we attach the keyframeAnimator modifier to the text view.
The initialValue parameter is provided with the initial values that the keyframes will animate from. Within the view builder closure, we have access to two parameters. The first parameter is a proxy value that represents the modified view. The second parameter holds the interpolated value generated by the keyframes.
We apply the desired animation effects to the content view by adjusting its scale, offset, and opacity. Lastly, it’s the keyframes parameter. This is where we define the value changes that occur over time. These defined keyframes will be responsible for applying the corresponding animations to the specified value.
Keyframes are arranged into tracks, with each track governing a distinct property of the animated type. In the provided code snippet, we specifically designated the keyframe track for the scale property using the CubicKeyframe type. We adjust the size of the emoji, reducing it to 80% of its original size.
Once you’ve made the code changes, you should be able to see the animation instantly in the preview canvas. The keyframe animator animates the size change and repeats it continuously.
Keyframe Types
While we use the CubicKeyframe type, there are actually four different types of keyframes available:
LinearKeyframe– it interpolates linearly in vector space from the previous keyframe.SpringKeyframe– uses a spring function to interpolate to the target value from the previous keyframe.CubicKeyframe– uses a cubic Bézier curve to interpolate between keyframes.MoveKeyframe– immediately jumps to a value without interpolation.
Try to explore and test different keyframe types and durations to see their behaviors in action. By experimenting with various keyframe types and adjusting the duration, you can gain a deeper understanding of how they impact and shape your animations.
Currently, we only apply a single change for the scale property. You are free to define other value changes over time. Here is an example:
KeyframeTrack(\.scale) {
    CubicKeyframe(0.8, duration: 0.2)
    CubicKeyframe(0.6, duration: 0.3)
    CubicKeyframe(1.0, duration: 0.3)
    CubicKeyframe(0.8, duration: 0.2)
    CubicKeyframe(0.6, duration: 0.3)
    CubicKeyframe(1.0, duration: 0.3)
}
The code describes the scale factor at specific times within the animation. In the preview canvas, you’ll notice a smoother and more fluid animation for the emoji icon.
Multiple Keyframe Tracks
Up until now, we have focused on a single keyframe track to alter the scale factor. However, keyframes provide the ability to animate multiple effects independently by defining separate tracks, each with its own unique timing. By incorporating multiple tracks, we can simultaneously animate various properties, enabling us to create more advanced animations.
In the same demo, we can define separate keyframe tracks for the vertical stretch, translation, and opacity properties. Here is the sample code:
Text("🐻")
    .font(.system(size: 100))
    .keyframeAnimator(initialValue: AnimationValues()) { content, value in

        content
            .scaleEffect(value.scale)
            .scaleEffect(y: value.verticalStretch)
            .offset(value.translation)
            .opacity(value.opacity)

    } keyframes: { _ in
        KeyframeTrack(\.verticalStretch) {
            LinearKeyframe(1.2, duration: 0.1)
            SpringKeyframe(2.0, duration: 0.2, spring: .snappy)
            CubicKeyframe(1.05, duration: 0.3)
            CubicKeyframe(1.2, duration: 0.2)
            CubicKeyframe(1.1, duration: 0.32)
            CubicKeyframe(1.2, duration: 0.2)
            CubicKeyframe(1.05, duration: 0.25)
            CubicKeyframe(1.3, duration: 0.23)
            CubicKeyframe(1.0, duration: 0.3)
        }

        KeyframeTrack(\.scale) {
            CubicKeyframe(0.8, duration: 0.2)
            CubicKeyframe(0.6, duration: 0.3)
            CubicKeyframe(1.0, duration: 0.3)
            CubicKeyframe(0.8, duration: 0.2)
            CubicKeyframe(0.6, duration: 0.3)
            CubicKeyframe(1.0, duration: 0.3)
        }

        KeyframeTrack(\.translation) {
            SpringKeyframe(CGSize(width: 100, height: 100), duration: 0.4)
            SpringKeyframe(CGSize(width: -50, height: -300), duration: 0.4)
            SpringKeyframe(.zero, duration: 0.2)
            SpringKeyframe(CGSize(width: -50, height: 200), duration: 0.3)
            SpringKeyframe(CGSize(width: -90, height: 300), duration: 0.3)
            SpringKeyframe(.zero, duration: 0.4)
        }

        KeyframeTrack(\.opacity) {
            LinearKeyframe(0.5, duration: 0.2)
            LinearKeyframe(1.0, duration: 0.23)
            LinearKeyframe(0.7, duration: 0.25)
            LinearKeyframe(1.0, duration: 0.33)
            LinearKeyframe(0.8, duration: 0.2)
            LinearKeyframe(1.0, duration: 0.23)
        }
    }
By employing multiple keyframe tracks, we can achieve an intriguing animation effect. In this case, the emoji icon will move around randomly, while its opacity varies at specific points in time.
By default, keyframe animator keeps running the animation continuously. If you want to stop the animation, you can set the repeat parameter to false.
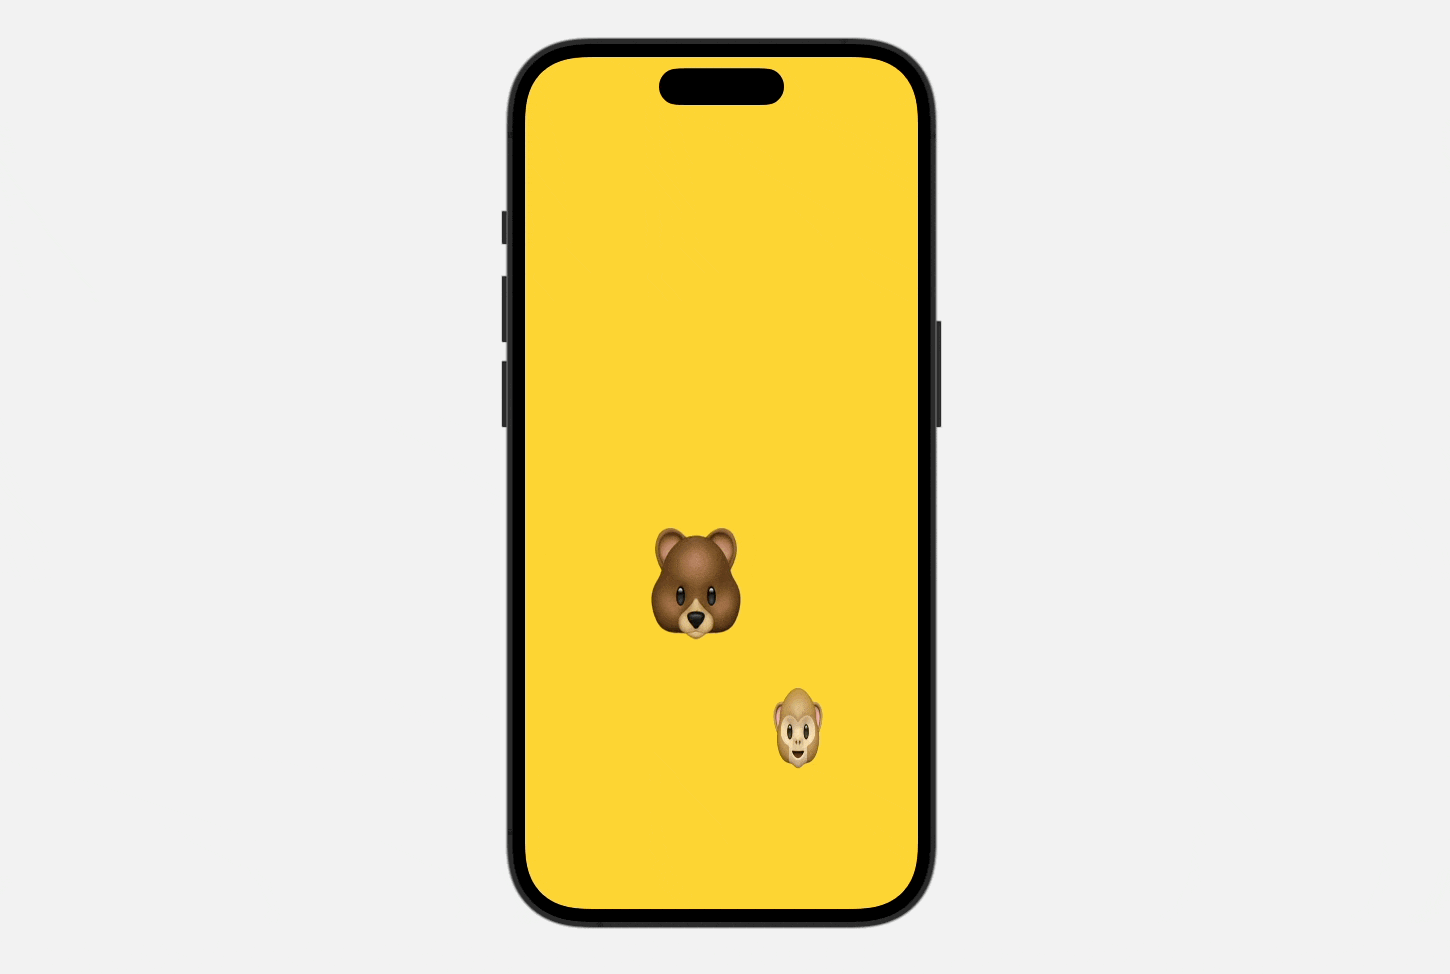
You can use ZStack and overlay another emoji icon to create animation as shown below. I’ll leave this as an exercise for you to explore and implement.
Summary
KeyframeAnimator is a valuable feature introduced in iOS 17. In contrast to the PhaseAnimator modifier, this new tool in SwiftUI empowers developers to create advanced animations using keyframes.
By leveraging keyframes, developers can define specific points in time and precisely manipulate the properties of their animations. This enhanced control allows for the creation of intricate and dynamic visual effects, resulting in a more fluid animations.
If you find this tutorial useful, don’t forget to check out our Mastering SwiftUI book to dive deeper into SwiftUI.