

In October 2018, Apple announced the brand new iPad Pro and the all-new Apple Pencil 2.0. Unlike the previous generation of the Apple Pencil, this utensil offers developers some extra fun APIs to play around with in order to enhance their app’s functionality and UX. In this tutorial, I will show you how to make your app support the Apple Pencil 2.
Getting Started
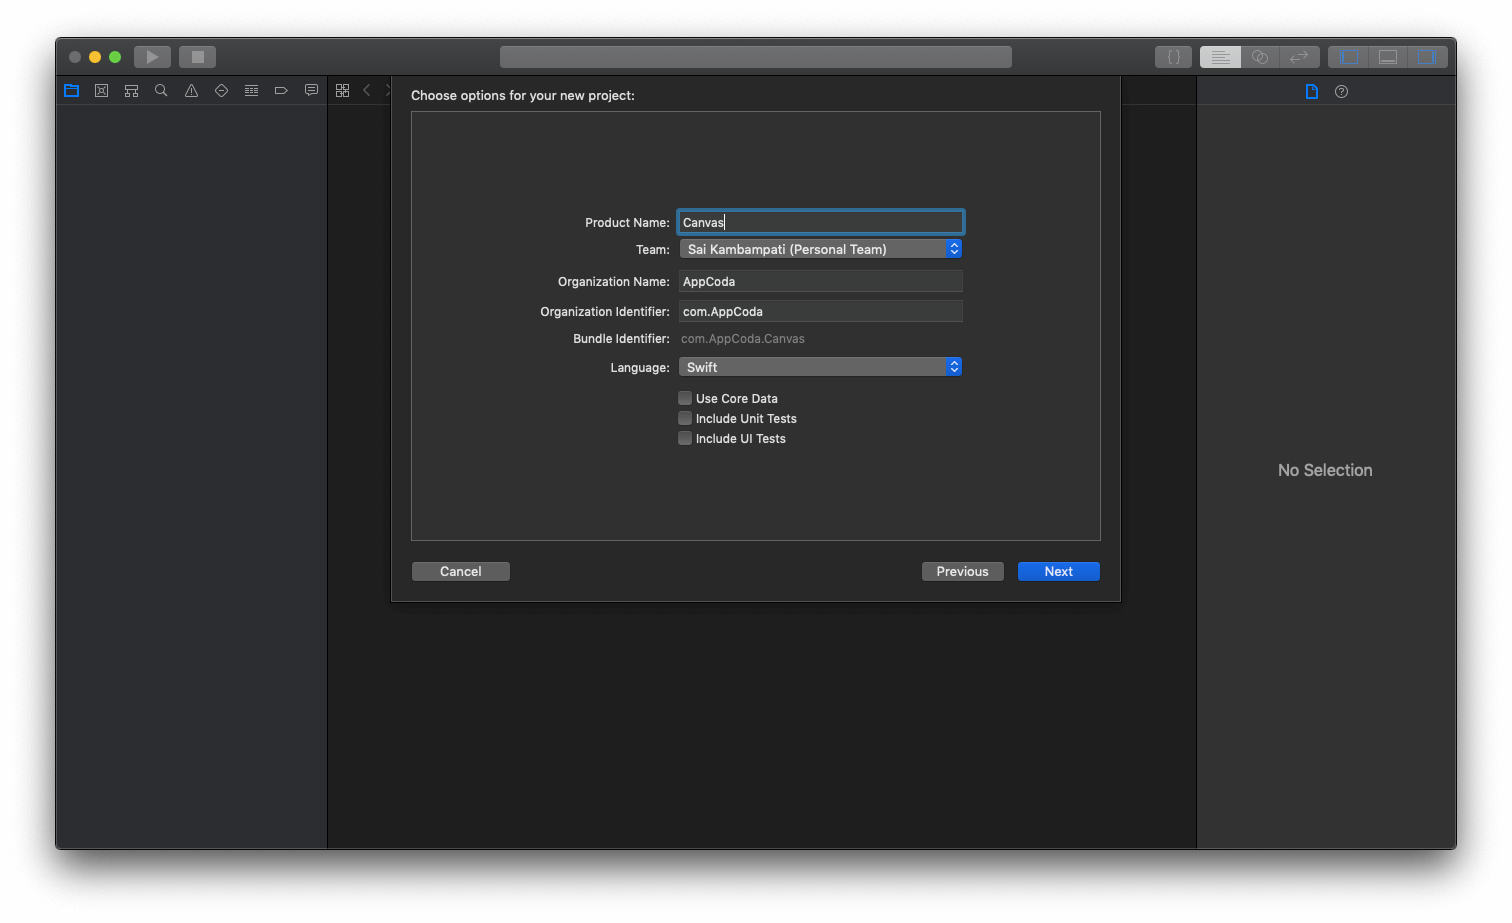
We will be building an app called Canvas, where users can look at hilarious invention ideas from the parody account Bored Elon Musk everytime they double tap their Apple Pencil. First, open Xcode and select “New Project”. Choose “Single View App” and name your project to whatever name you like.
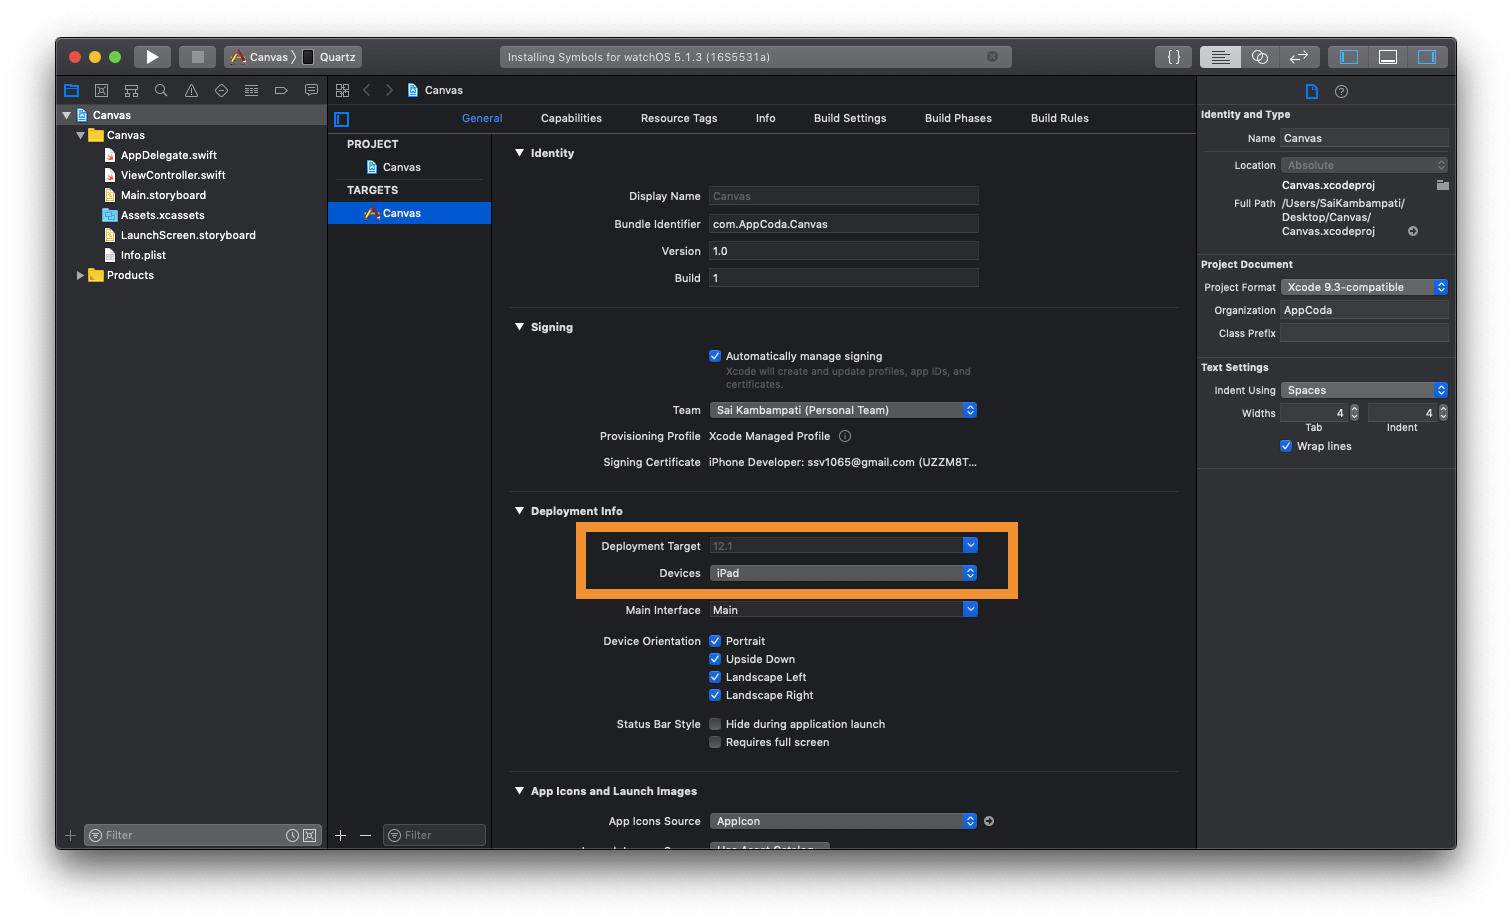
Before we begin, we need to do something important. Since the Apple Pencil is supported only on the iPad, we need to make sure that our project is set to iPad only but not Universal.
Setting up the User Interface
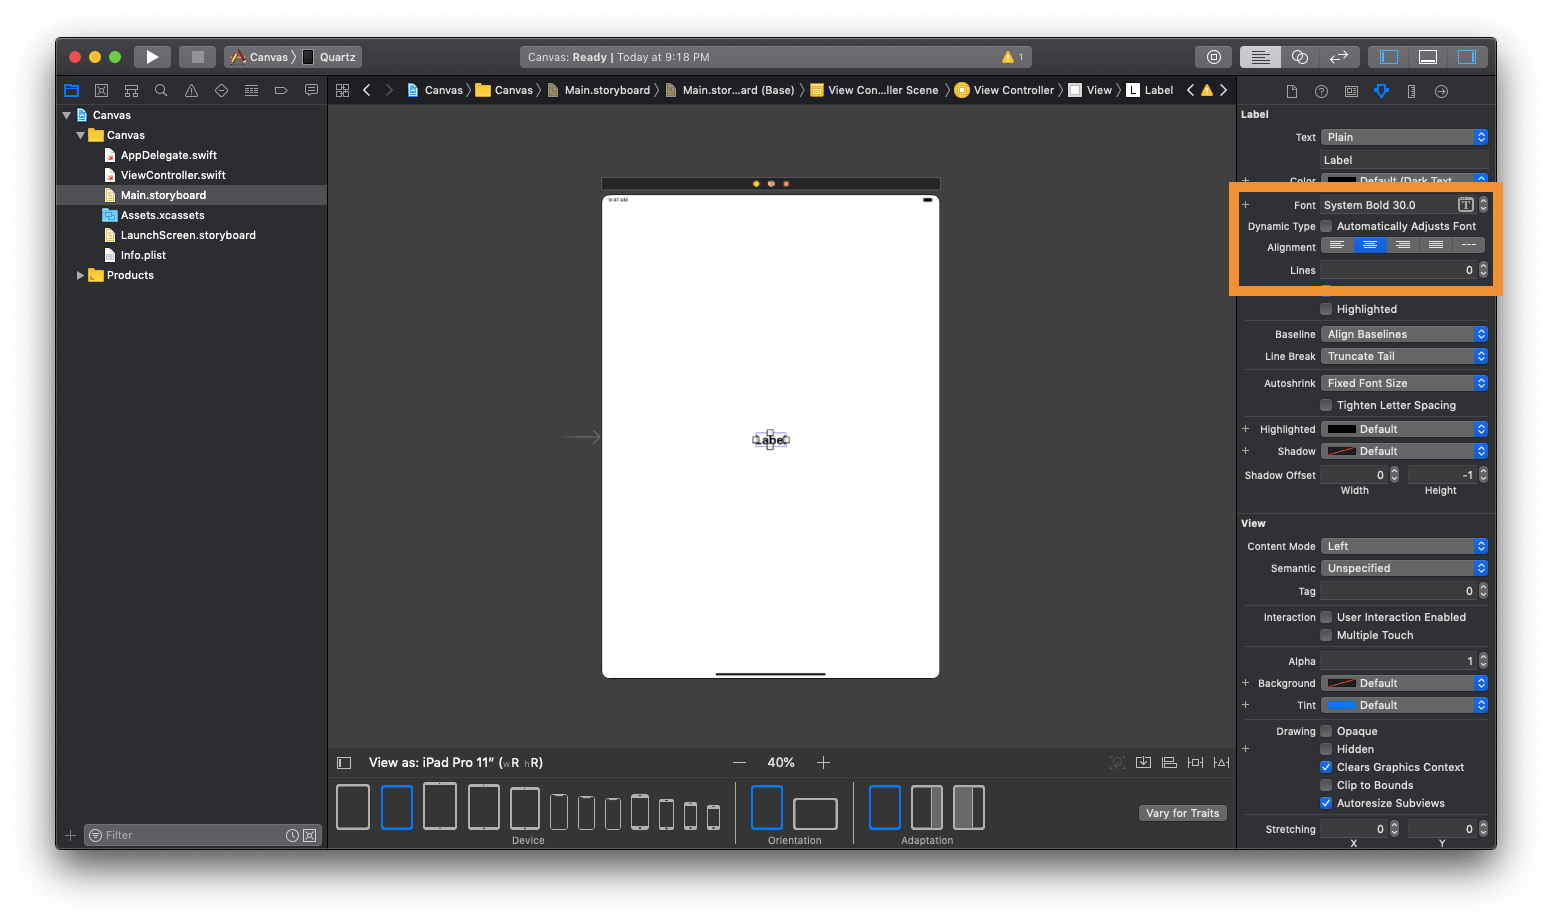
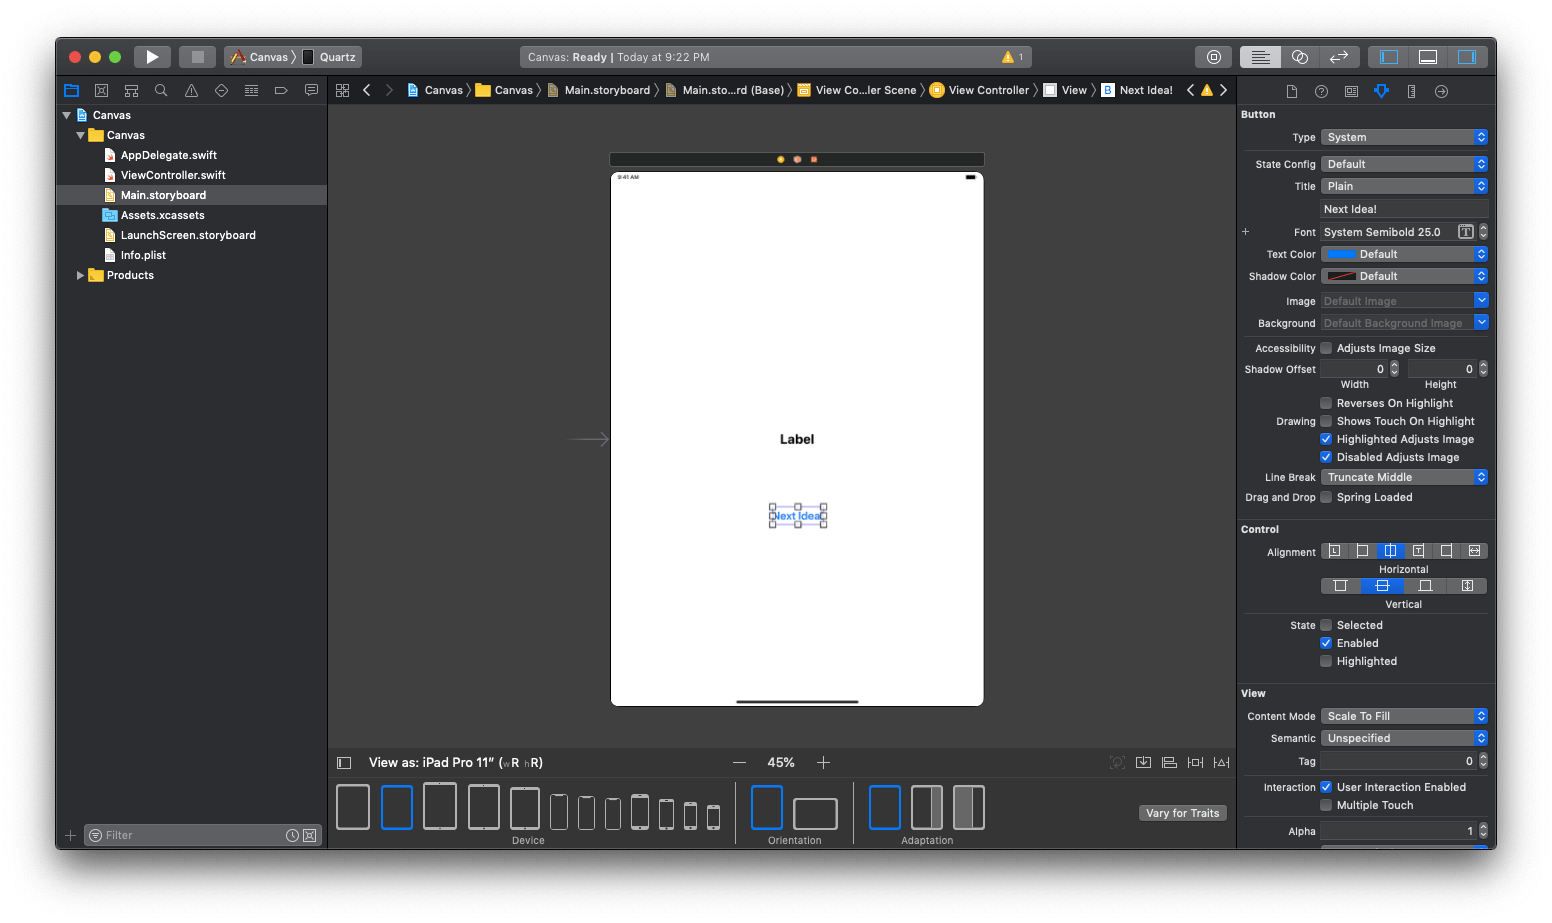
First, we will design the user interface of the app. Navigate to Main.storyboard and drag a label into the view controller, set it’s font size to 30, style to bold, and lines to 0.
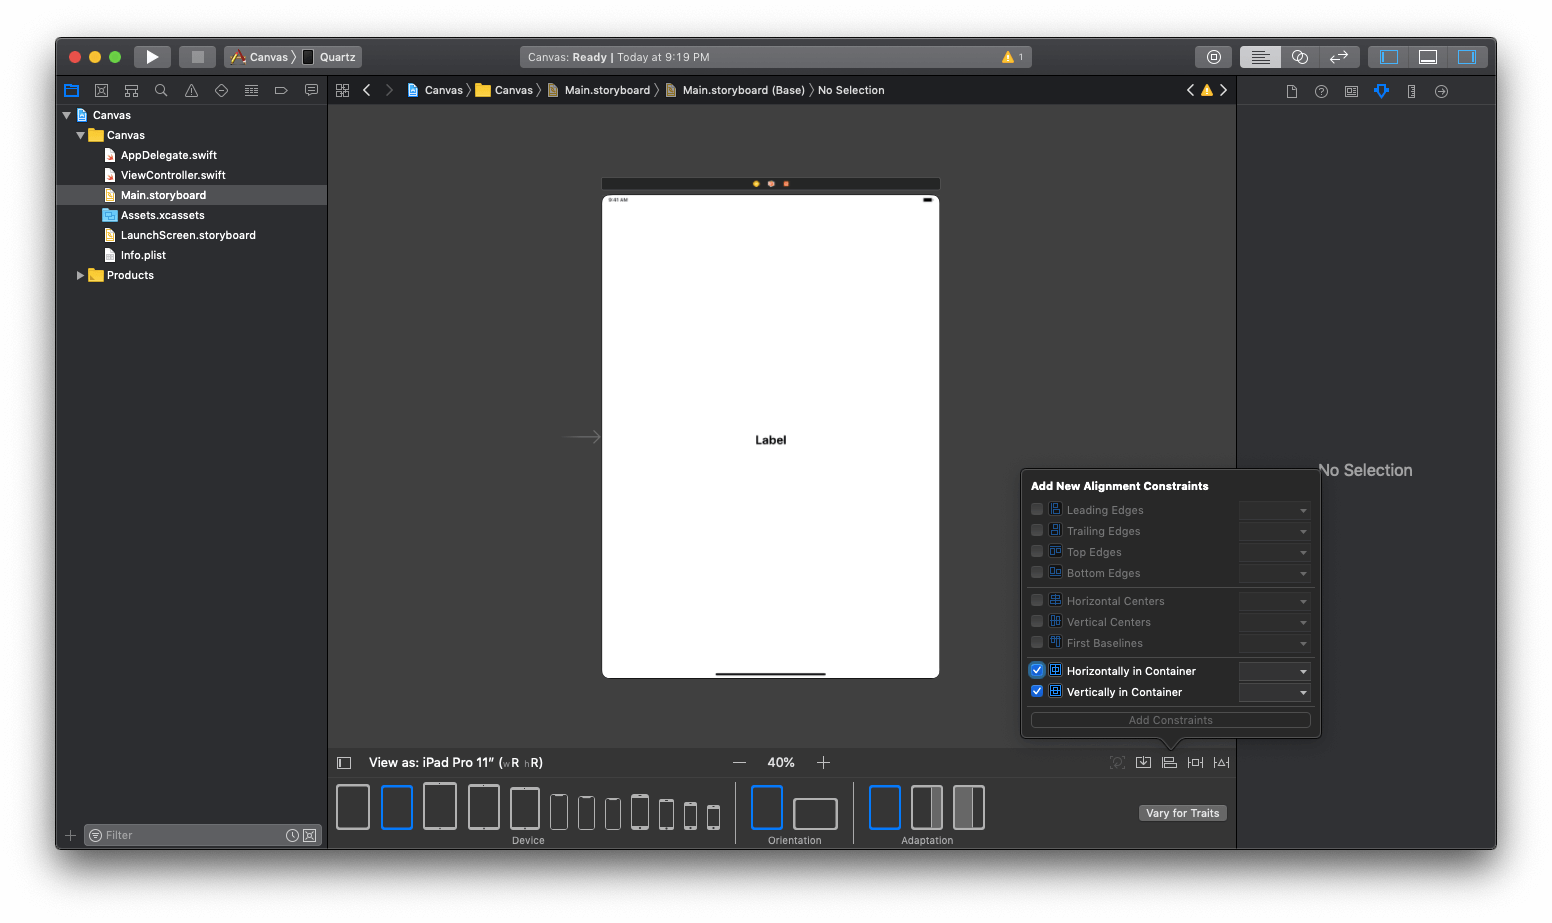
Next, we have to set the constraints. Click on the Align button on the bottom right and checkmark “Horizontally in Container” and “Vertically in Container”.
We are almost done. Next, drag in a button and set its title to “Next Idea!” and font to “Semibold 25”.
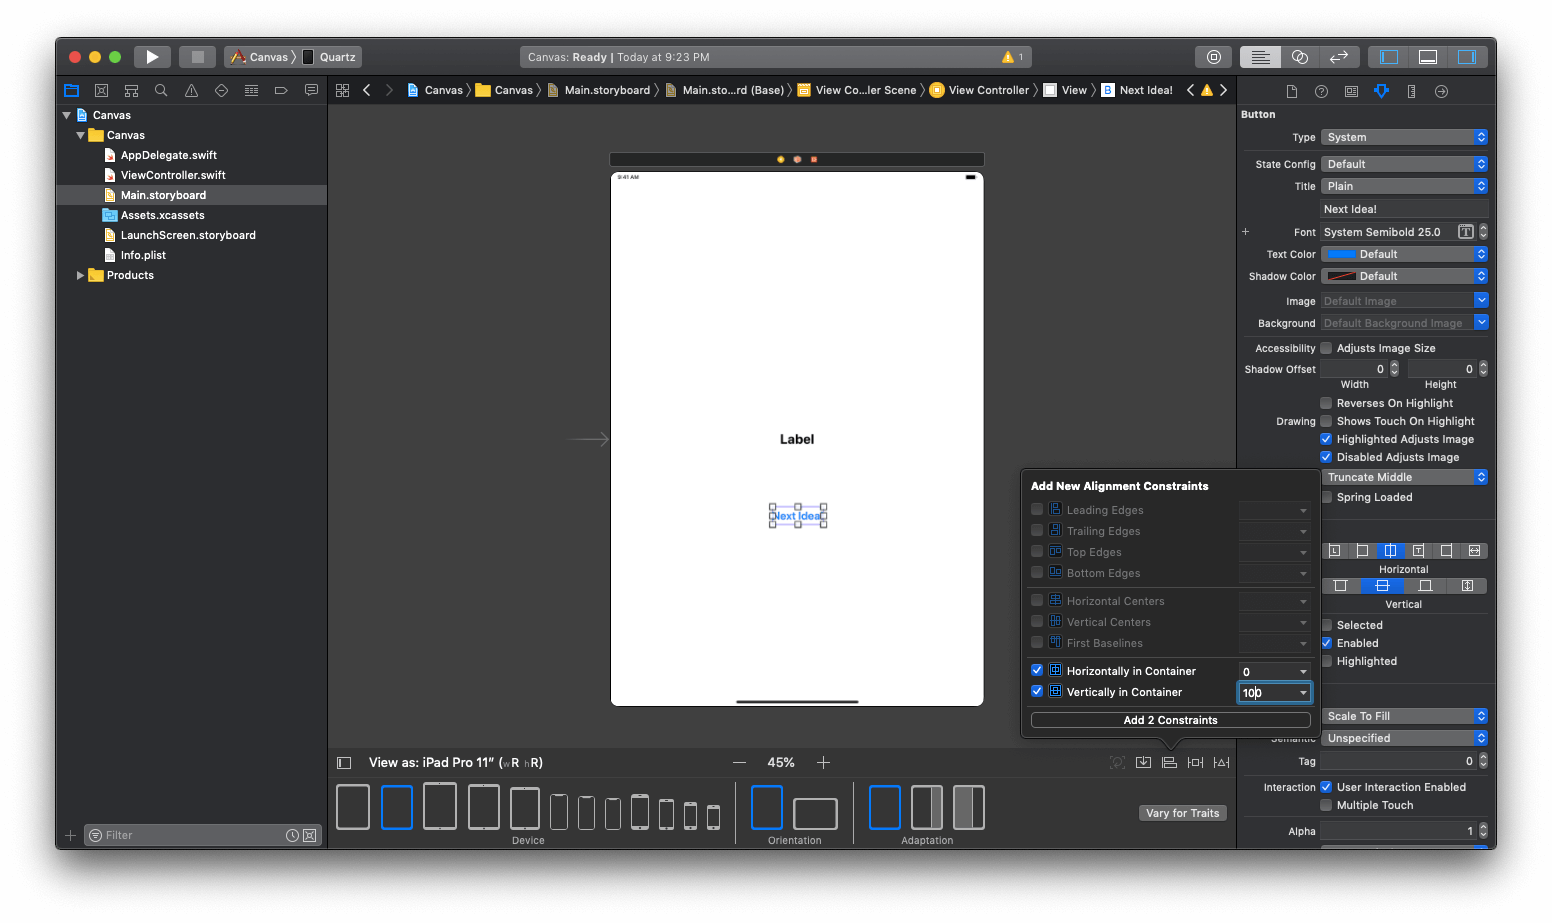
Finally, click on the Align button. Check both “Horizontally in Container” and “Vertically in Container”. For “Vertically in Container”, set its value to 100. This way the button will not be placed right below the label. Also, set the alpha of the button to 0 so it’s invisible by default. I will explain why we did that later.
Let’s connect our UI elements to our code. Create two outlets in ViewController.swift and connect it to the UI elements.
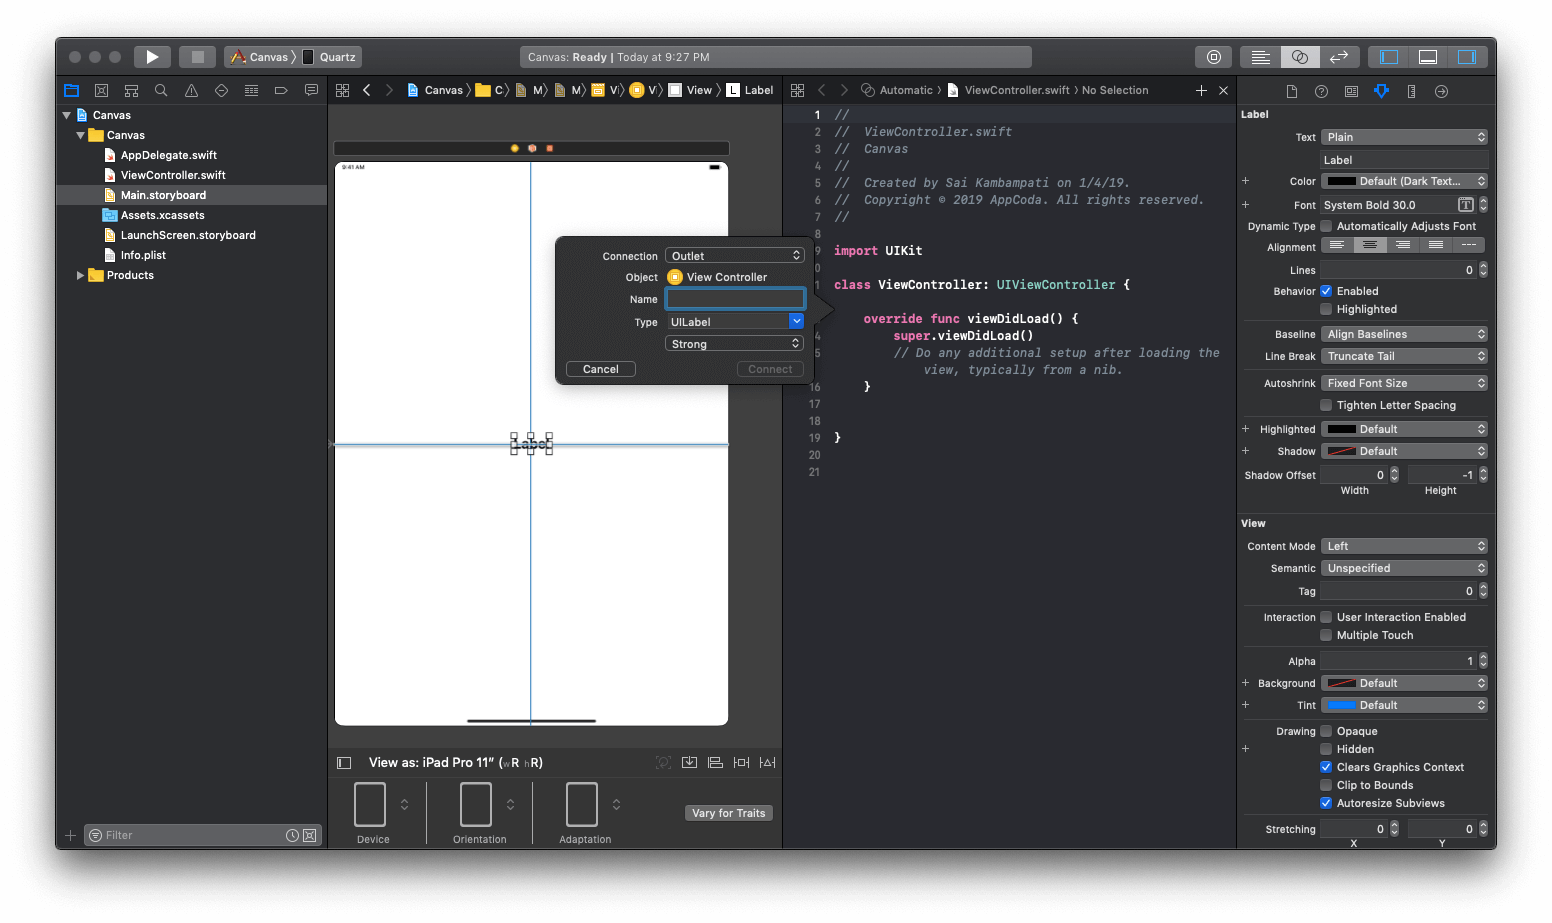
I have two outlets titled ideaLabel and ideaButton. The ideaLabel will display our invention idea. In the event that the user does not have an Apple Pencil or has turned off Apple Pencil support, we will display the ideaButton so they can still use the app.
That’s the basics of our UI. Let’s jump to the coding part!
Coding the Support for Apple Pencil 2
First, we declare an array to hold all of our invention ideas. Insert the following code in the viewDidLoad method:
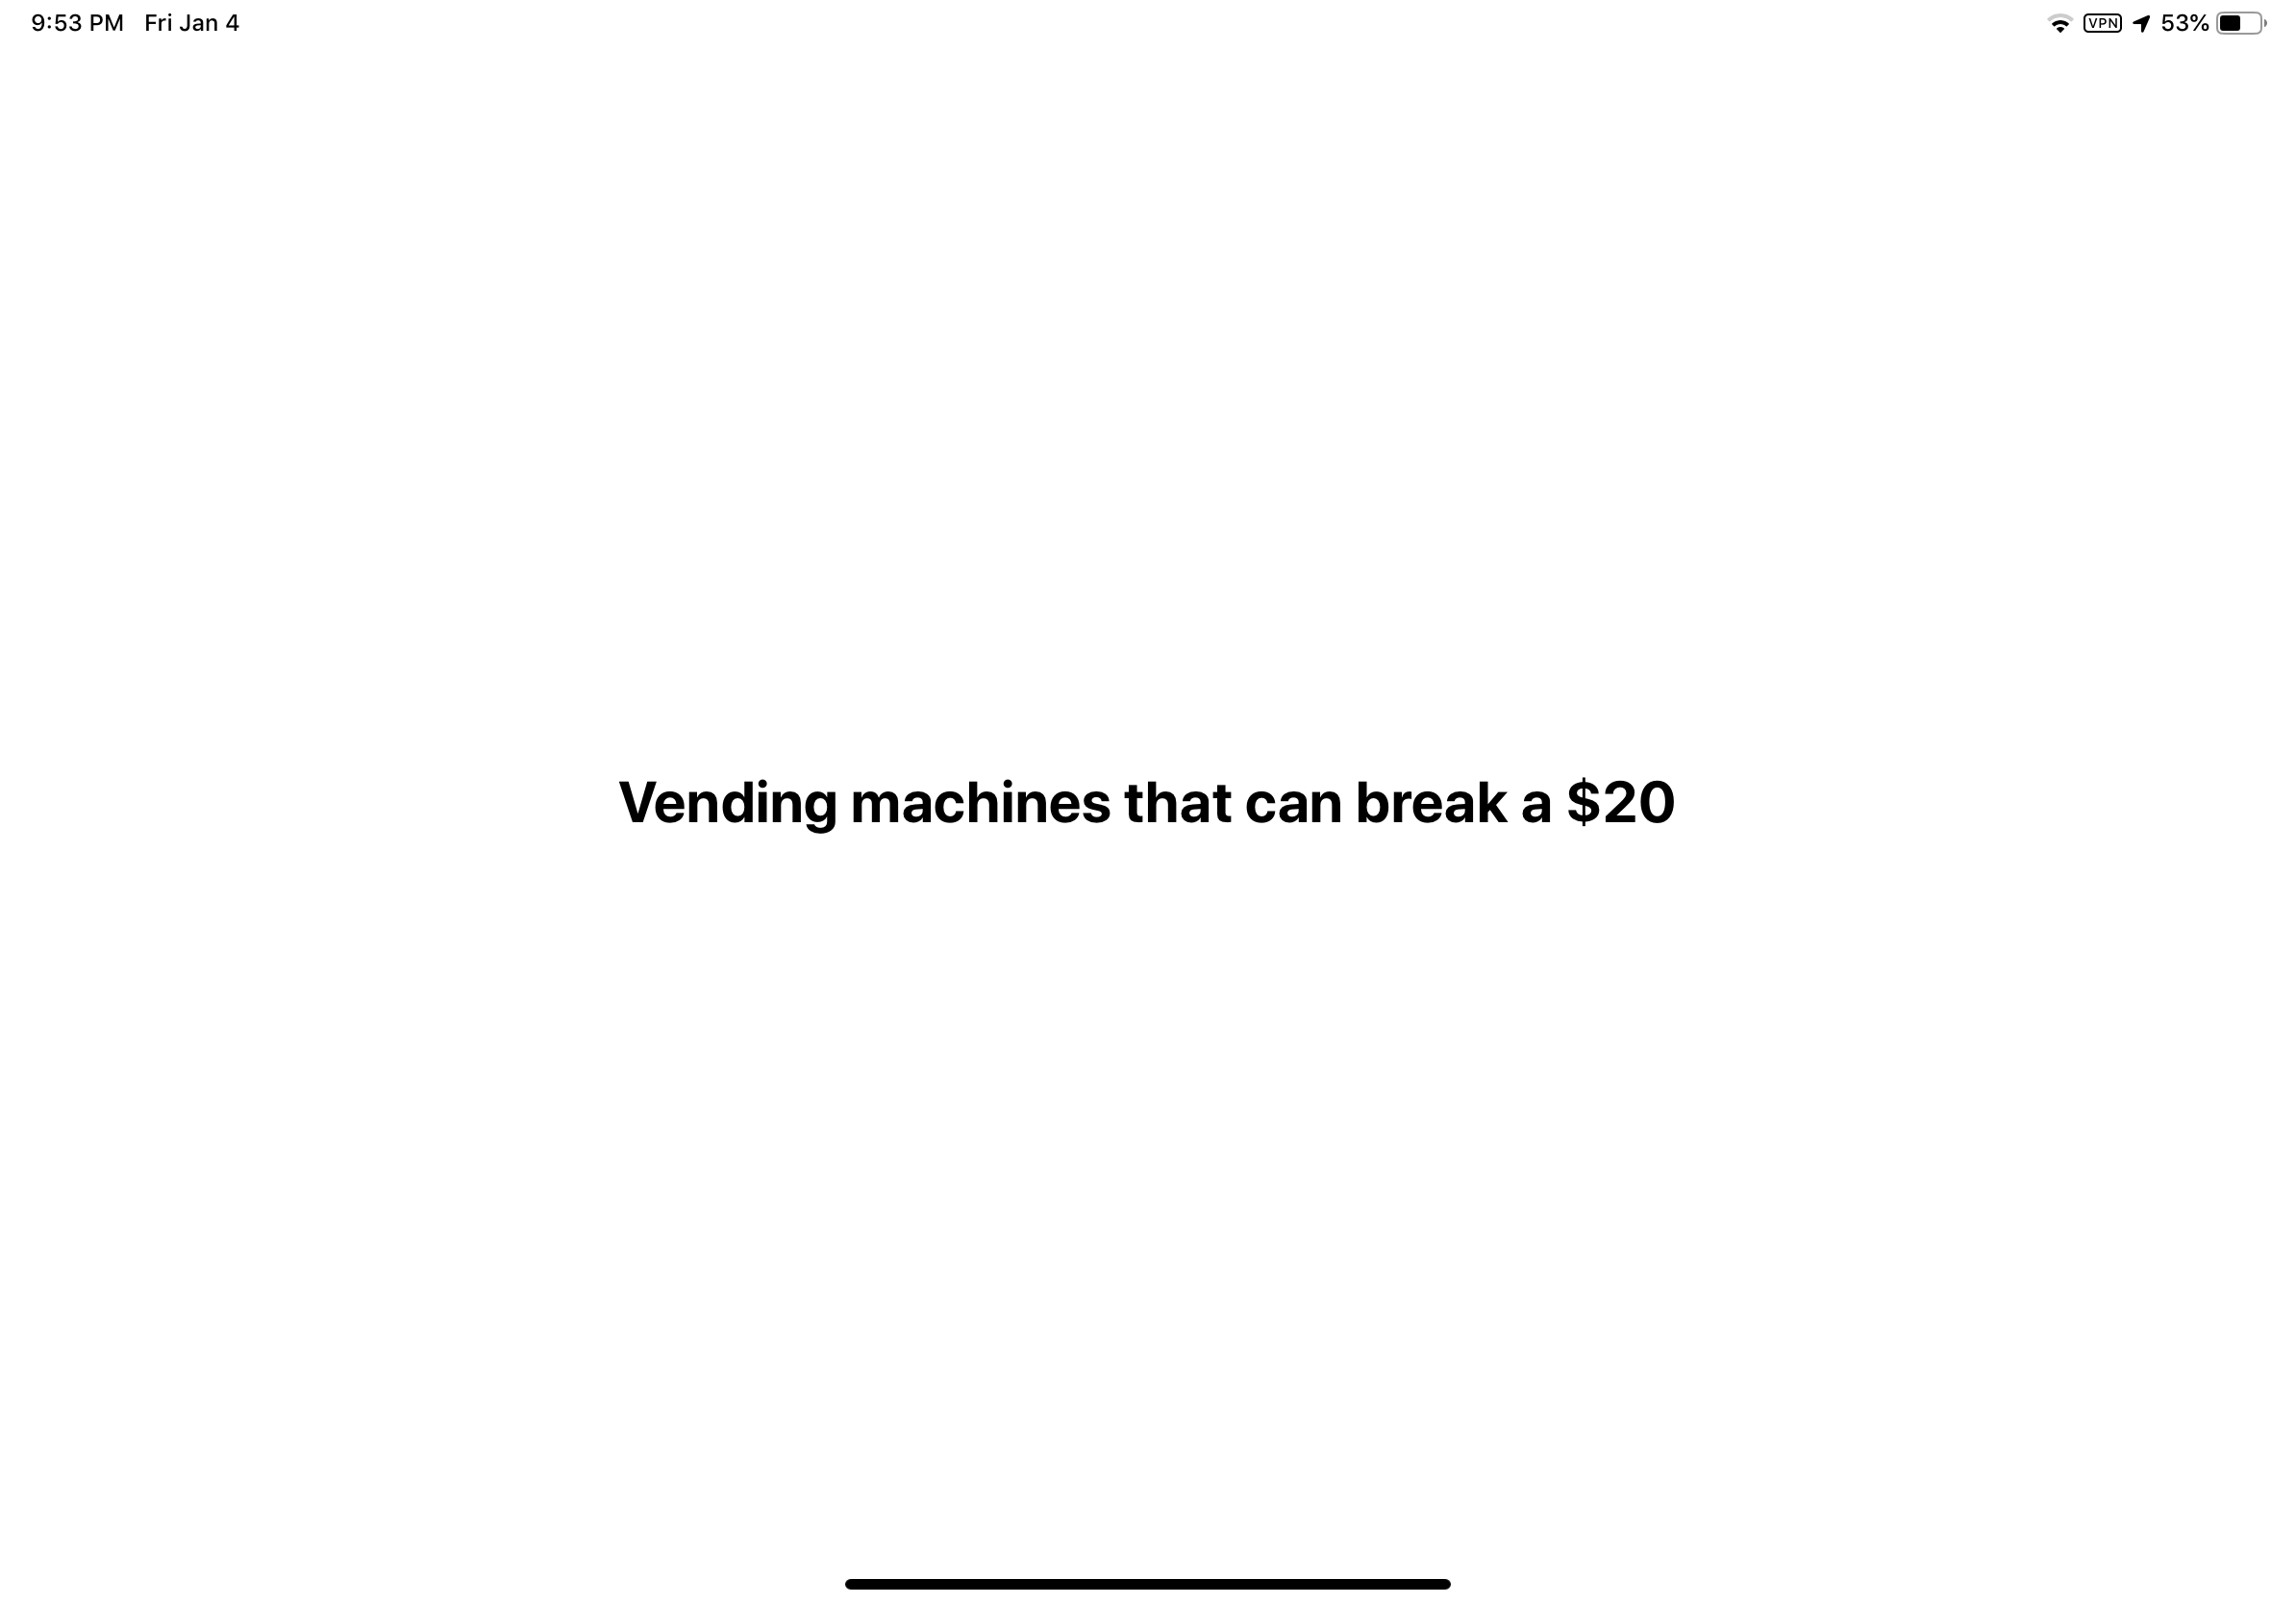
let ideas = ["Email app that anonymously pings all your coworkers after New Year’s", "Self-imposed ads reminding you of your to-do list", "Anti-bacterial gel dispensing doorknobs.", "Vending machines that can break a $20", "Routers that work."]
I’ve added a few ideas but you’re free to add as many as you want!
Next, we have to change the text of the label when the view loads up. We will randomly select an idea and put it on the label. This can be done quite simply by a single line of code. Update the viewDidLoad method like this:
override func viewDidLoad() {
    super.viewDidLoad()
    ideaLabel.text = (ideas.randomElement()!)
}
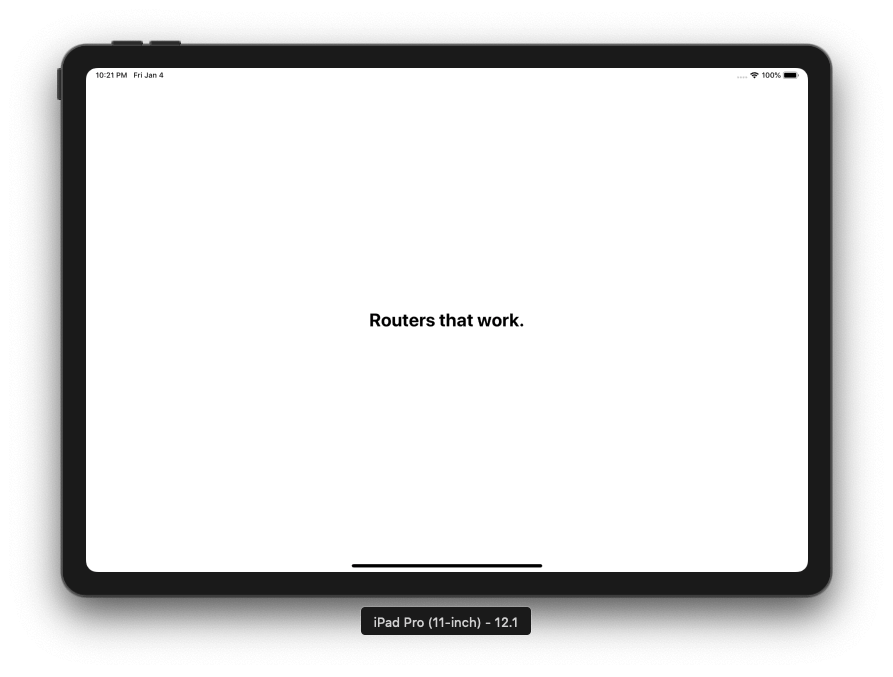
This sets the text of our ideaLabel to a random string from our array.
Now let’s run the app to have a test. If all goes well, the label should be changing every time you open the app.
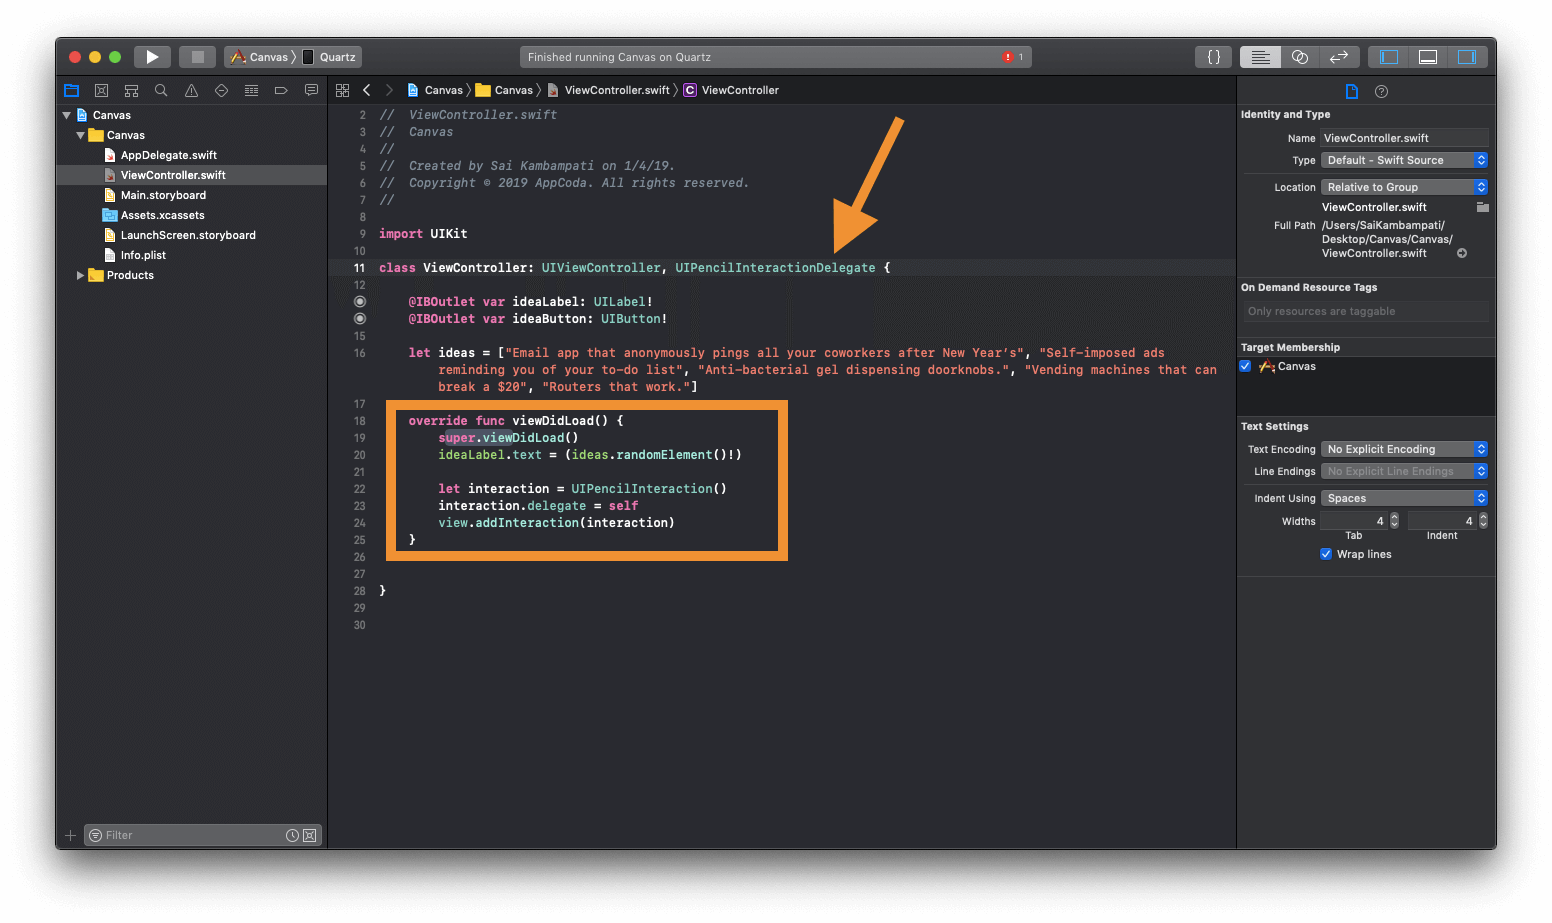
Finally it comes the exciting part! We are now going to interact with the Apple Pencil to capture the double-tap action. In order to make it work, all you need to do is set up the Pencil Interaction delegate. In the viewDidLoad method, insert the following lines of code:
let interaction = UIPencilInteraction()
interaction.delegate = self
view.addInteraction(interaction)
Basically, we create a constant interaction of type UIPencilInteraction and set its delegate to self. Then we add this interaction to the view. However, as soon as you insert the code, you’ll notice an error in Xcode. This is because the ViewController class is not conformed to the UIPencilInteractionDelegate. To fix that, let’s adopt the delegate in the ViewController class.
If we run our app, you will notice that nothing changes. This is because we still have not written the code for the double-tap action. Now, create the pencilInteractionDidTap method in the ViewController class:
func pencilInteractionDidTap(_ interaction: UIPencilInteraction) {
    switch UIPencilInteraction.preferredTapAction {
    case .ignore:
        ideaButton.alpha = 1
    case .showColorPalette:
        ideaLabel.text = (ideas.randomElement()!)
    case .switchEraser:
        ideaLabel.text = (ideas.randomElement()!)
    case .switchPrevious:
        ideaLabel.text = (ideas.randomElement()!)
    default:
        break
    }
}
When an Apple Pencil 2 is connected to an iPad Pro, the user can choose what they would like the Apple Pencil to do including:
- Ignore the tap
- Show the color palette
- Switch to an eraser
- Switch to the last used tool
These rules were made in the thought that the Apple Pencil would be used mostly for drawing apps. However, you are allowed to tell the Apple Pencil to perform a lot more. That said, it’s important that you let your user know what the tap would be doing.
In the code above, unless the Apple Pencil’s configuration is set to ignore, we change the text of ideaLabel when the app captures the tap action. If it is set to ignore, we can deduce that the user won’t be using the Apple Pencil as much. In this case, we will make the ideaButton visible by setting its alpha to 1.
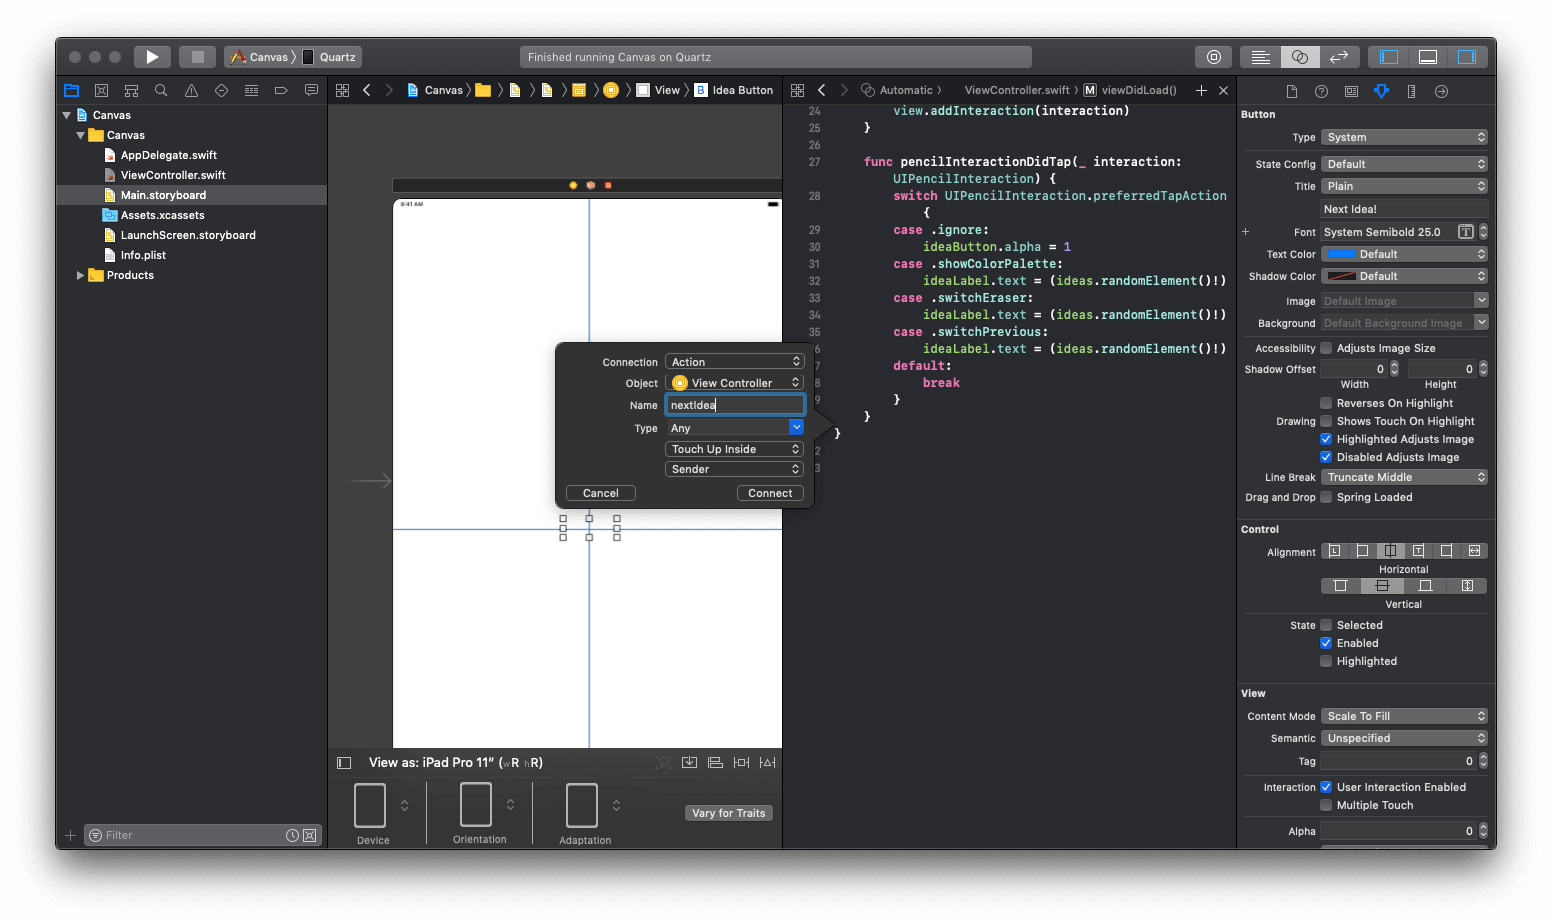
If you run the code, everything should work as expected. The only function that doesn’t work is the when you tap on the Next Idea! button. This is because we haven’t linked it to an IBAction. Just link them up and then the button will work.
After the changes, run the app to test again and everything should work flawlessly!
It’s hard to show the functionality of an app using screenshots. I shot a video to show you how the app works in action. Don’t forget to take a look!
Conclusion
The Apple Pencil is truly a fascinating accessory for iPad Pro users. For developers, it’s much more than a simple stylus. While this tutorial is primitive, the objective is to show you how to add Apple Pencil support to your iPad apps. As you can see, it’s pretty easy to do that. What to keep in mind when developing for the Apple Pencil and iPad Pro is to adopt the UIPencilInteractionDelegate.
I can’t wait to see what you’ll come up with this technology. If you want to learn more about developing for iPad Pro and Apple Pencil, I suggest you take a look at these videos:
For reference, you can check out the full Xcode project on GitHub.


