

Having great visual elements can give your App a unique personality. In this tutorial, we will look at 3D objects creation toolsets, online resources for 3D objects, SceneKit supported formats, most importantly, learn to build a very simple ARKit app using SceneKit.
Without further ado, let’s cook up some 3D objects and this is going to be fun! I hope you will enjoy this tutorial and thank you to everyone for sharing the previous ARKit tutorial.
Before we move, just a quick note about the prerequisite. We will be building on top of the knowledge from the previous ARKit tutorial. If you have new to ARKit, please check out the introductory tutorial and learn how to build a simple ARKit app with SceneKit first.
What you’re going to learn
Alright! There is a ton of things we will walk through together. Here is the topics you will learn in this tutorial:
- A brief introduction to 3D objects creation toolsets and resources
- How to implementing a single node 3D object
- How to add basic lighting
- How to implementing a multiple nodes 3D object
How to Create or Find the 3D Objects?
As we are going to render some 3D objects, let’s first see how we can create them or find the resources.
3D Objects Creation Toolsets
First, you can use 3D objects creation toolsets to create your 3D models from scratch. Or, you can also use these toolsets to export existing 3D models in certain file formats to one, which is SceneKit compatible. We will touch more on SceneKit-supported format later on. If you plan to create your own 3D objects, here are some of the tools you can check out:
Online Resources for 3D Objects
Instead of creating your own 3D objects, you probably like to get on-demand 3D models for your ARKit app. Here are some online resources that you may find helpful:
SceneKit Supported Format
We will use SceneKit to build the ARKit app. In order to load a 3D object onto the ARKit App, Xcode needs to read your 3D object file in a SceneKit supported format. That totally makes sense.
SceneKit can read scene contents from a file in a supported format, or from an NSData object holding the contents of such a file. — Apple’s Documentation
In this tutorial, the two SceneKit supported format that we will look into later are SceneKit Scene (.scn) and Digital Asset Exchange (.dae).
Getting Started with the Starter Project
To begin with, download the starter project first. I’ve built the skeleton of the app and bundled two 3D files so that we can focus on the ARKit implementation. Once downloaded, open it in Xcode and run it for a quick test.
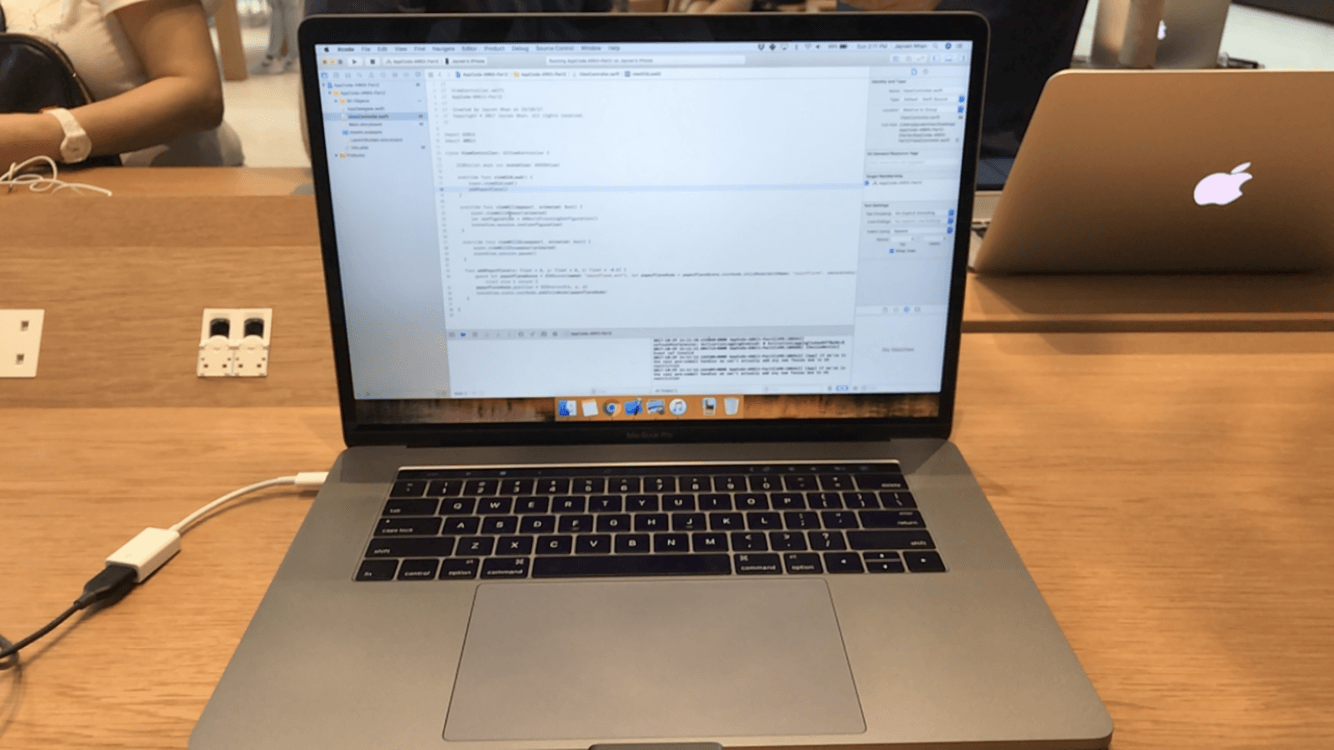
You should see the following on your iOS device:

Tap OK and you should be able to see your camera’s view. Something like this if you happen to be coding at the Apple Store.
Implementing a Single Node 3D Object
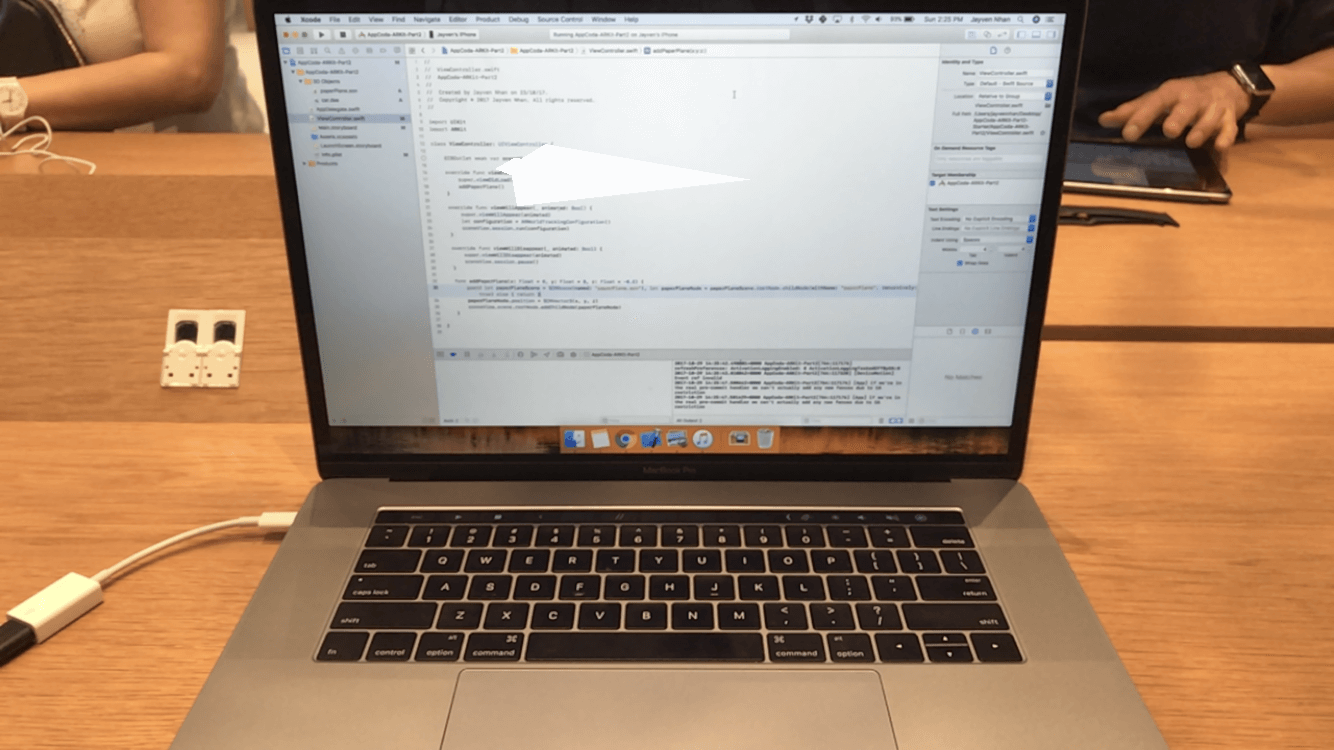
Awesome! Now it’s time to add a single node 3D object onto our ARSCNView. Insert the following method in the ViewController class:
func addPaperPlane(x: Float = 0, y: Float = 0, z: Float = -0.5) {
    guard let paperPlaneScene = SCNScene(named: "paperPlane.scn"), let paperPlaneNode = paperPlaneScene.rootNode.childNode(withName: "paperPlane", recursively: true) else { return }
    paperPlaneNode.position = SCNVector3(x, y, z)
    sceneView.scene.rootNode.addChildNode(paperPlaneNode)
}
In the code above, we first initialized and safely unwrapped a SCNScene object with a paperPlane.scn file, which is the 3D file bundled in the starter project.
Next, we initialized and safely unwrapped an SCNNode object with a paperPlane node name. We also set the recursively parameter to true. The recursively parameter decides whether SceneKit searches the child node subtree using a preorder traversal or not.
All scene content—nodes, geometries and their materials, lights, cameras, and related objects—is organized in a node hierarchy with a single common root node.
- Apple’s Documentation
Once the node is initialized, we set the paperPlaneNode’s position to the x, y, and z arguments. The default position is the zero vector, indicating that the node is placed at the origin of the parent node’s coordinate system. For the method, we set the default value of z to -0.5 indicating that the object is placed in front of the camera.
Finally, we add the paperPlaneNode to the rootNode of the sceneView.
Now call the addPaperPlane(x:y:z:) method inside the viewDidLoad() method:
override func viewDidLoad() {
    super.viewDidLoad()
    addPaperPlane()
}
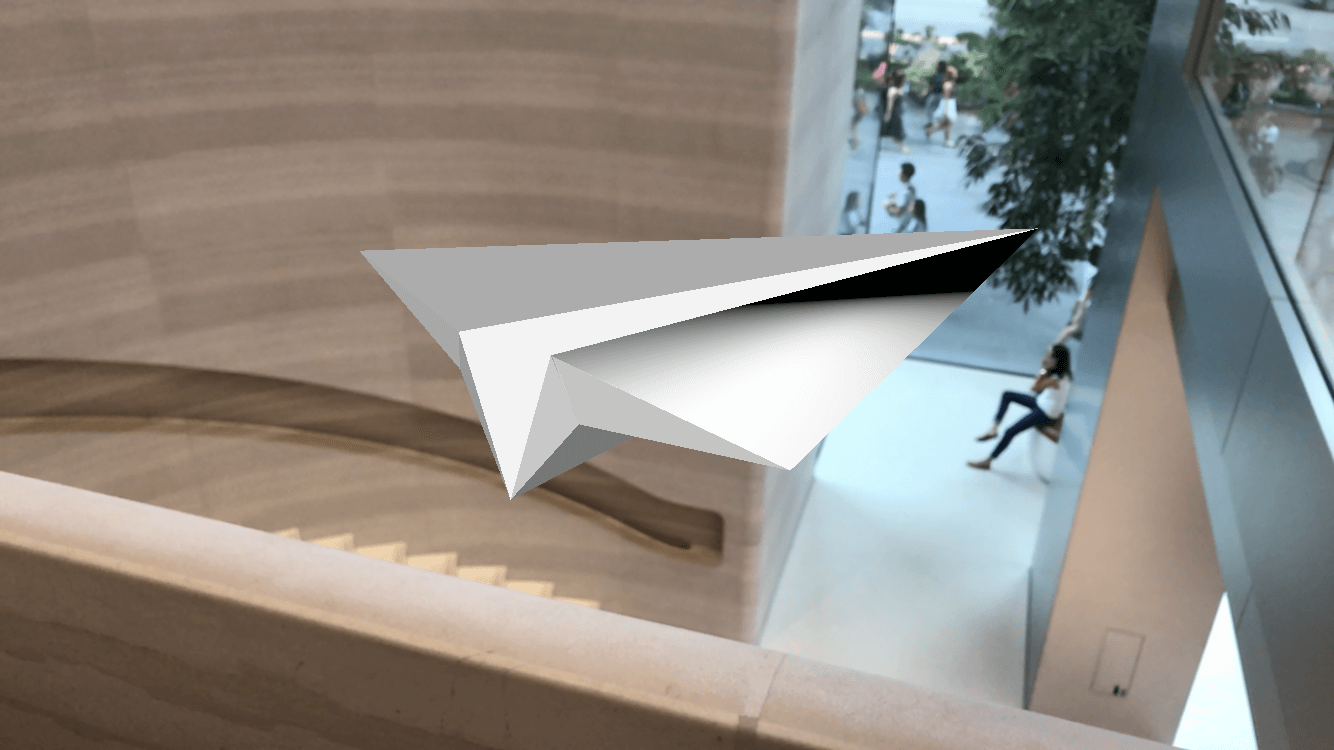
Build and run on your Device. You should see a solid white paper plane!
At the moment, the paper plane is a bit difficult to visualize. That’s because of a lack of light and shadow. In the real world, we see things with lights and shadows. Lights and shadows helps us visualize 3D objects.
If you open the paperPlane.scn file under the 3D Objects folder, you can see that the paper plane is solid white. So it doesn’t have much visual depths.

So let’s add some light onto our paper plane!
Adding Basic Lighting
There is more than one way to add lighting. For this project, we will focus on automatic lighting and automatic update lighting.
In the ViewController class, add the following method:
func configureLighting() {
    sceneView.autoenablesDefaultLighting = true
    sceneView.automaticallyUpdatesLighting = true
}
Cool. Here is what we just did:
- We created a
configureLighting()method. -
Inside of the method, we set the
sceneView’sautoenablesDefaultLightingproperty totrue. If theautoenablesDefaultLightingproperty is set to true, SceneKit automatically adds lights to the scene. Technically, SceneKit automatically adds and places an omnidirectional light source when rendering scenes that contain no lights or only contain ambient lights. -
Next, we set the
sceneView’sautomaticallyUpdatesLightingproperty totruetoo. When theautomaticallyUpdatesLightingproperty is set to true, the view automatically creates one or more SCNLight objects, adds them to the scene, and updates their properties to reflect estimated lighting information from the
camera scene. You would want to set this value to false if you want to directly control all lighting in the SceneKit scene.
Now call the configureLighting() method in the viewDidLoad() method:
override func viewDidLoad() {
    super.viewDidLoad()
    configureLighting()
    addPaperPlane()
}
Great! Build and run on your Device. You should see a paper plane with beautiful shapes, curves, and edges!
Let’s have a moment of silence to fall in love with the paper plane’s beautiful shapes, curves, and edges.
Implementing a Multiple Nodes 3D Object
Now some of your 3D model files may contain multiple nodes. In such a scenario, let’s take a look at how we can add a multiple nodes 3D object to our ARSCNView.
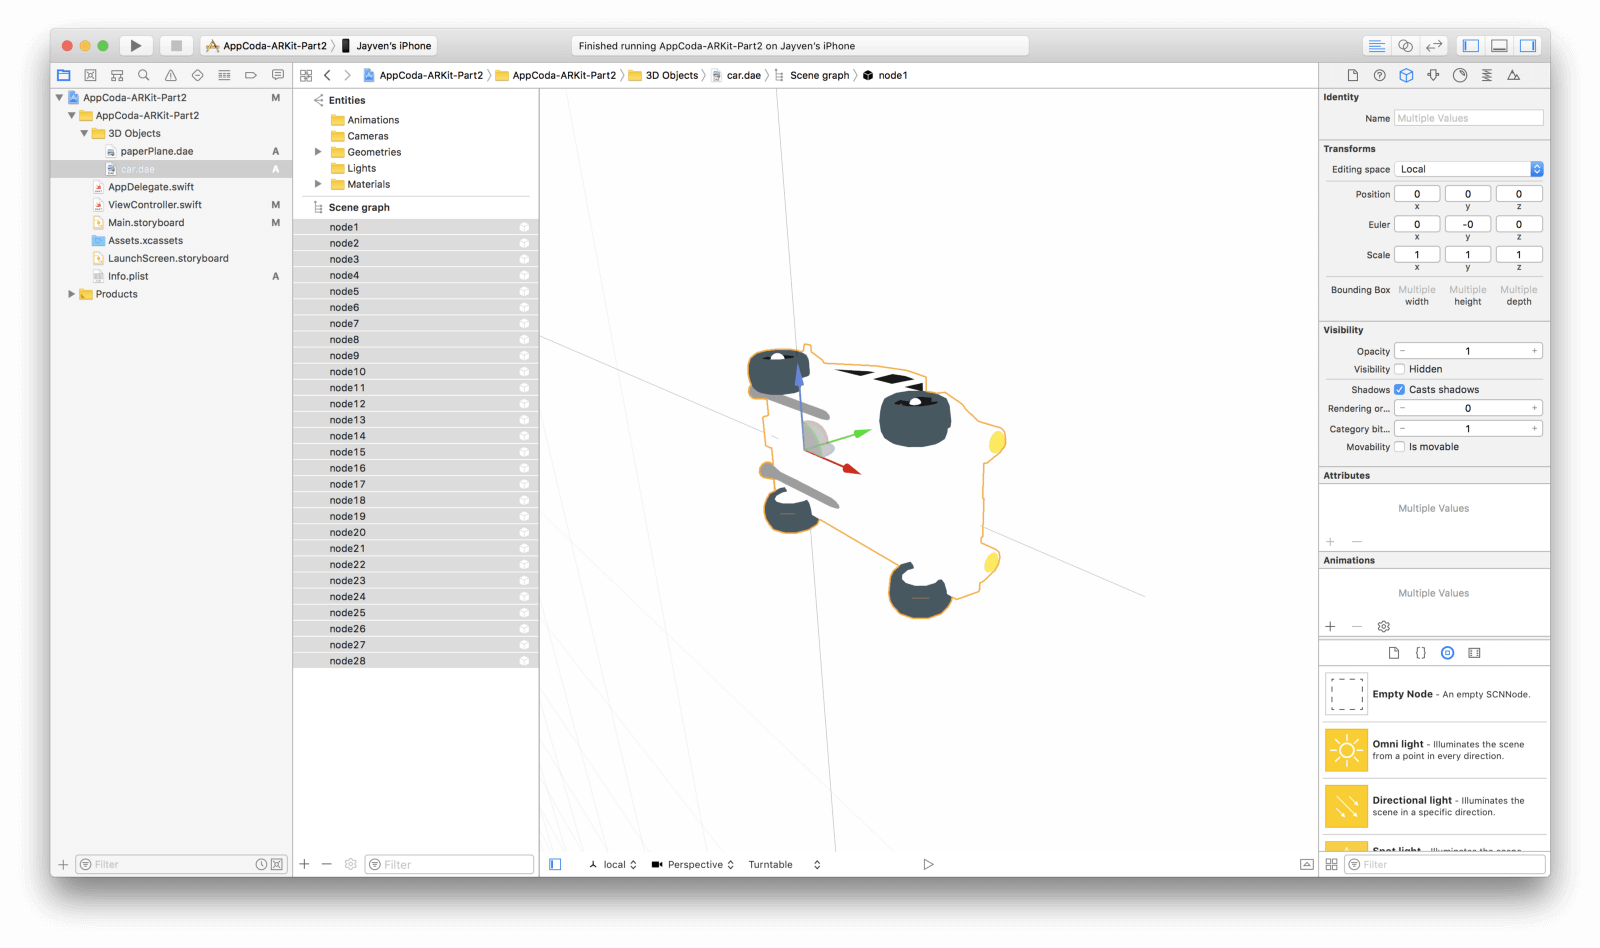
Under the 3D Objects folder, there is a car.dae file. If you click on the file, you will open the file in the Xcode Scene Editor. You can highlight all the nodes to see the outline of the 3D car object.
Cool. Open up ViewController.swift. Insert the following code under the addPaperPlane(x:y:z:) method:
func addCar(x: Float = 0, y: Float = 0, z: Float = -0.5) {
    guard let carScene = SCNScene(named: "car.dae") else { return }
    let carNode = SCNNode()
    let carSceneChildNodes = carScene.rootNode.childNodes

    for childNode in carSceneChildNodes {
        carNode.addChildNode(childNode)
    }

    carNode.position = SCNVector3(x, y, z)
    carNode.scale = SCNVector3(0.5, 0.5, 0.5)
    sceneView.scene.rootNode.addChildNode(carNode)
}
Here is what we did:
- First, we safely created a SCNScene object with the
car.daefile using theguard letstatement. Then we initialize a SCNNode object for the car node. -
Next, we save the the child nodes of the carScene’s rootNode. Afterwards, we loop through and add each of the car scene’s child node to the car node.
-
Then we simply set the position of the car node to the given argument values and transform the car node’s x, y, and z scale value by 0.5 to shift its position.
-
Finally, we add the car node to the sceneView’s scene root node.
Now comment out the addPaperPlane() method and call the addCar() method in the viewDidLoad() method:
override func viewDidLoad() {
    super.viewDidLoad()
    configureLighting()
    //addPaperPlane()
    addCar()
}
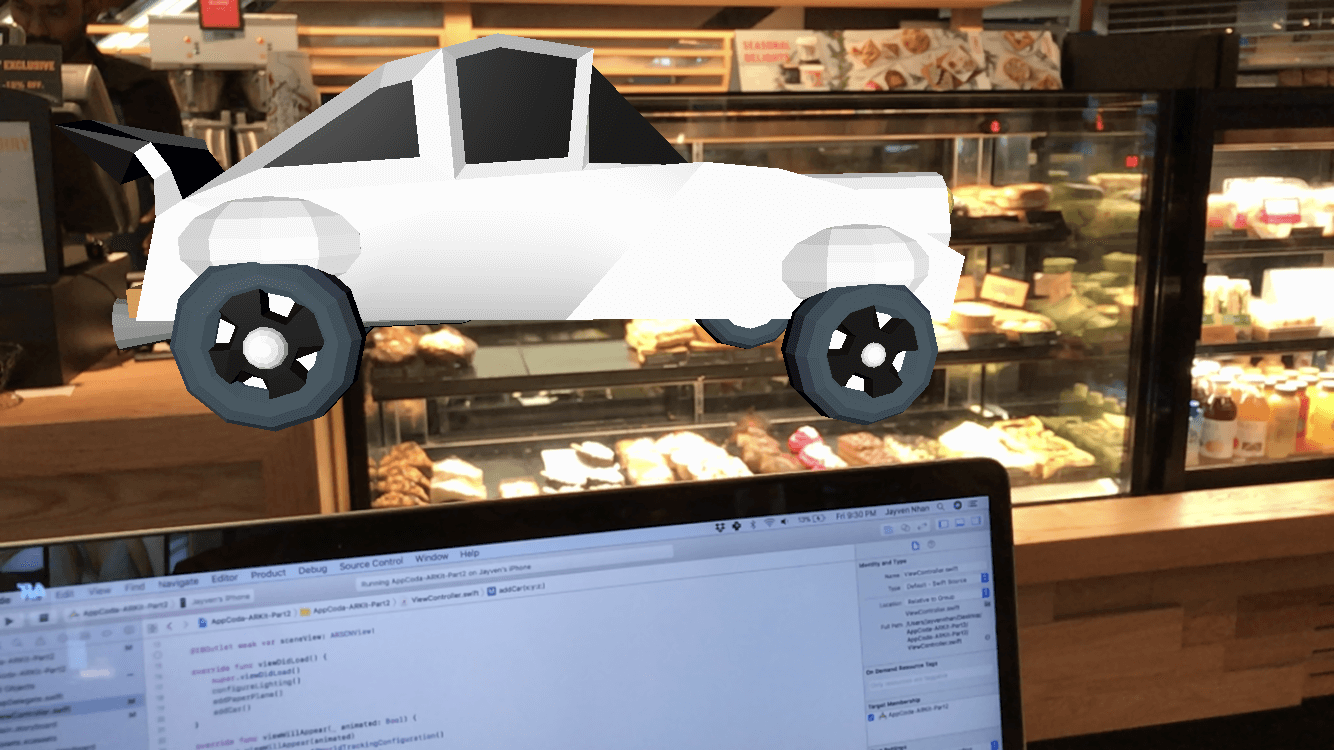
Build and run the Xcode project on your Device. And there should be a very cool floating car in front of you.
Wrap Up
Congratulations for making it this far into the tutorial! Hope you enjoy it.
For reference, you can download the complete project on GitHub.
If you would like to learn more about ARKit, then let me know by sharing this tutorial with your friends!


