

Welcome! This article will teach you about a key topic in iOS: layers. You probably already know about views in iOS, but you might not know that every single view is backed by something called layer. Layers are part of the Core Animation framework.
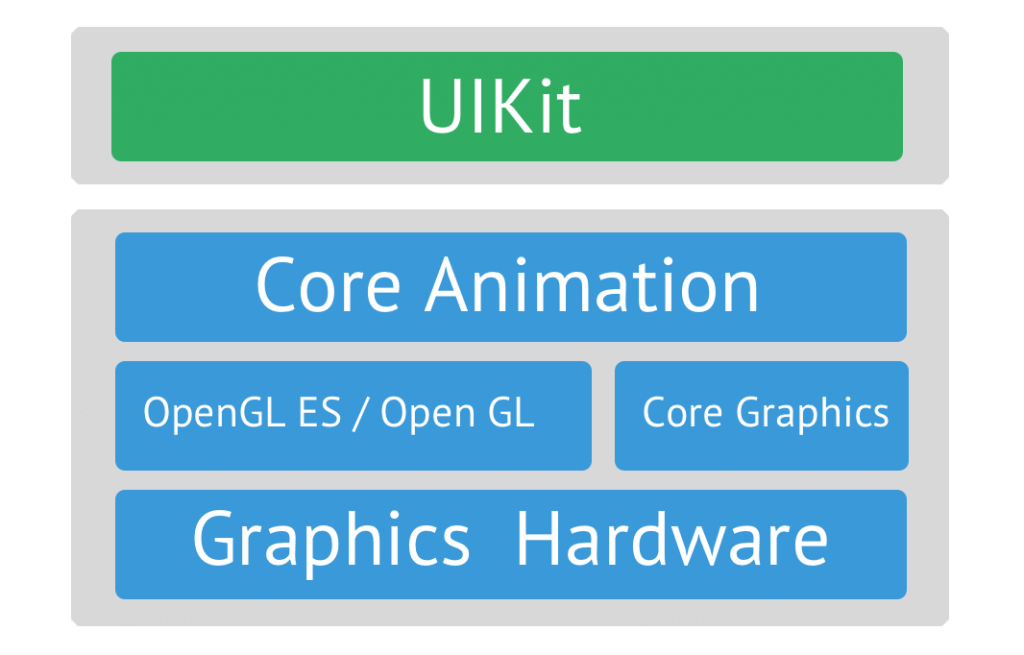
You may be wondering, “What’s the point? I never used a layer before so it might not be that important.” Whether you know it or not, your app uses layers heavily. Each and every view on iOS is backed by a layer, no matter what. Layers exist so that iOS can easily retrieve bitmap information about the views in your app to provide to devices’ GPUs. See the image below (credit to Apple) for a visual representation of where Core Animation lies in the iOS drawing hierarchy.
Why Layers?
On devices like smartphones, users expect great speed in everything that they do. It’s crucial to maintain a consistent frame rate that users perceive as “smooth”. On iOS, this rate is 60 frames per second. To keep the system moving at this rate, a very basic, but powerful, layer of graphics functionality was created, which runs directly on the GPU: OpenGL.
OpenGL provides the most low level (and the fastest) access to an iOS device’s graphics hardware. However, there is a tradeoff: OpenGL is very bare bones, and even the most simple of tasks require very large amounts of code.
To help alleviate this issue, Core Graphics was created, providing slightly higher level functionality with less code. The tradeoff with Core Graphics is a slightly lower level of functionality. To make working with Core Graphics even simpler, Core Animation was created. It provides the CALayer class, and allows some basic low level access to graphics capabilities.
Once Apple decided that a lot of Core Animation’s more advanced functionality wasn’t always necessary in regular apps, UIKit was created, which provides the highest level access to graphics on iOS. The advantage of this design scheme is the fact that you can choose which level of graphics access you need in your app and use it, allowing you to pick and choose exactly how much functionality you need, which can help prevent you from writing unnecessary code.
The disadvantage is that the higher level graphics APIs offer less functionality. The moral of this story is the following: CALayer exists so that iOS can quickly and easily generate bitmap information about your app’s view hierarchy, which is then handed over to Core Graphics, and eventually OpenGL, to be rendered on your device’s screen by its GPU. Although it isn’t necessary to use CALayer directly in most cases, the lower level APIs provide developers with some more flexible customization, which we will explore in this article.
Accessing CALayer
Enough talk about why layers exist. Let’s get to work! As I mentioned above, every view is backed by a layer, which can be accessed through the layer property of UIView. Assuming you have a myView object, you can access its layer like this:
myView.layer
Okay, what can we do with the layer once we got access to it? You’d be suprised to see how many things are possible. I will cover some of the techniques and effect in the rest of this tutorial.
Demo Project
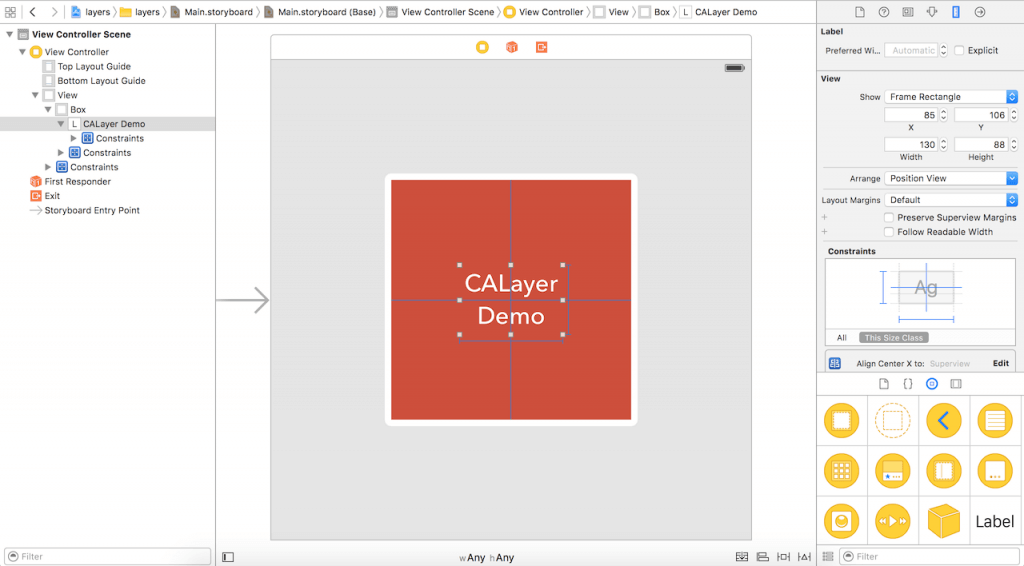
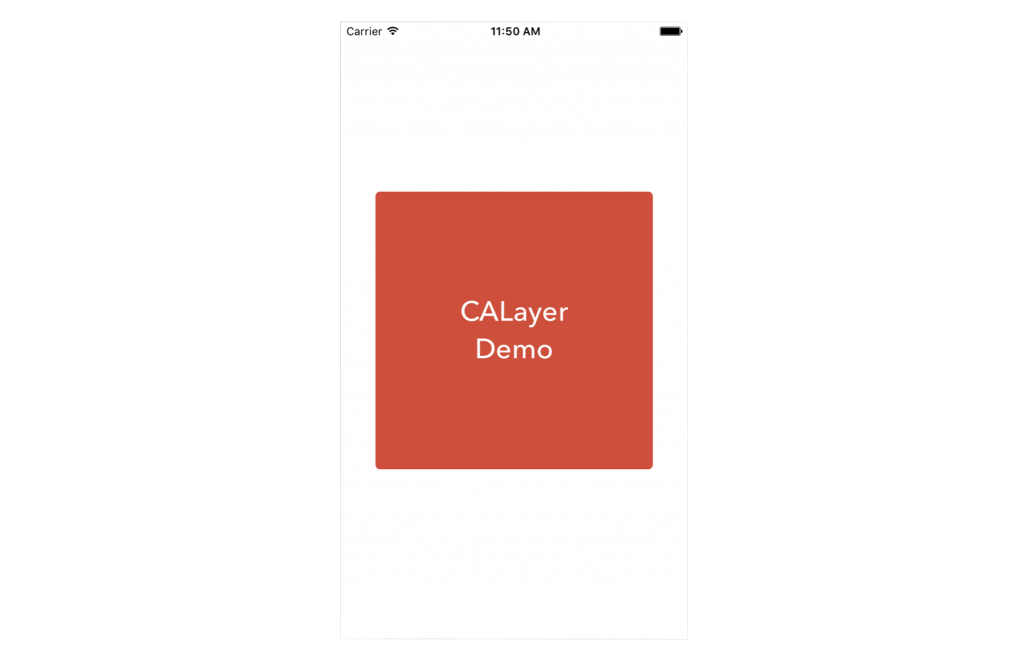
First, open the starter project and let’s get started! The best way to learn is by doing, so we will add custom effects to layers in this app. Opening it, you will see that it’s relatively simple. It’s a blank white view with a square black subview in the center. Let’s spruce this up a bit. Open the example project, and then head over to ViewController.swift and let’s get to work.
Creating Rounded Corners
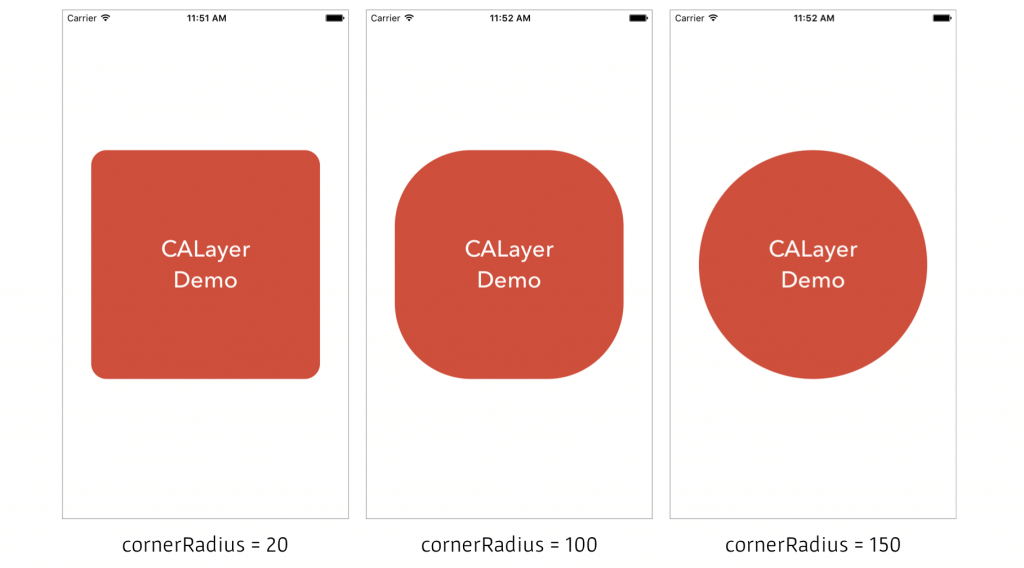
You can use the cornerRadius property of a CALayer to round its edges. Let’s try that out. Inside viewDidLoad(), add the following:
box.layer.cornerRadius = 5
As expected, this line of code will add a corner radius of 5 to box‘s layer. It looks like this:
Not too bad, right? Increasing the corner radius makes for more rounded edges, and decreasing it makes for less rounded ones. By default, all layers have a corner radius of 0.
Adding Shadow Effects
Shadow can help us create a sense of depth in our app, and are very useful in designing interfaces. With a shadow effect, we can make views appear to “float” onscreen. Let’s see how to create a shadow effect using CALayer. Insert the following code in the viewDidLoad method of ViewController:
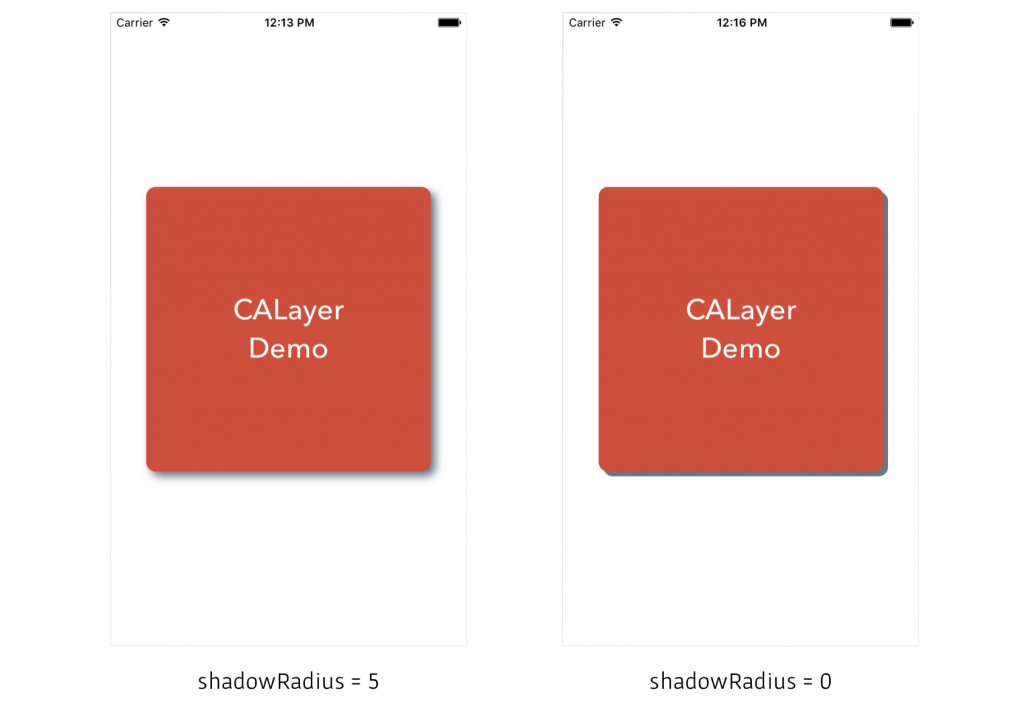
box.layer.shadowOffset = CGSizeMake(5, 5)
box.layer.shadowOpacity = 0.7
box.layer.shadowRadius = 5
box.layer.shadowColor = UIColor(red: 44.0/255.0, green: 62.0/255.0, blue: 80.0/255.0, alpha: 1.0).CGColor
Line #1: This line sets the layer’s shadow offset to (5, 5). A CGSize is taken for layer.shadowOffset. Passing (5, 5) as the value for layer.shadowOffset means that the layer’s shadow should be 5 points to the right and 5 points below box.layer.
Line #2: This line sets the layer’s shadow opacity to 0.7. This means that the shadow should be 70% opaque.
Line #3: This line sets the layer’s shadow radius to 5. The shadow radius is the blur radius to apply to the shadow created by box.layer. A higher radius makes the shadow more spread out, but less visible. A lower one makes the shadow more visible and more focused. A shadow radius of 0 results in no blurring at all. In other words, this makes it the exact same size and shape as the layer it’s applied to.
Line #4: This line sets the layer’s shadow color to midnight blue. Note that this property is of type CGColor, not a UIColor. Converting between these two types is easy. You just write myUIColor.CGColor.
Let’s take a look!
Applying Borders
CALayer also allows us to easily apply borders. Let’s add a border to box.
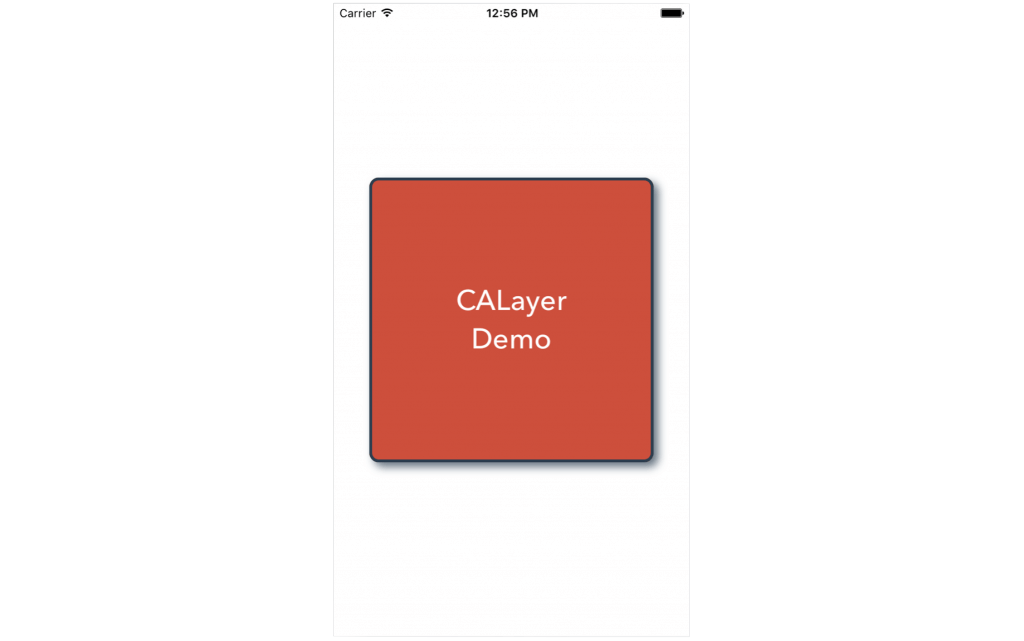
box.layer.borderColor = UIColor.blueColor().CGColor
box.layer.borderWidth = 3
Line #1: This line sets box‘s border color to midnight blue. This will result in any border being displayed on box to have a blue color.
Line #2: This line set’s box‘s border width to 3. This means that the border drawn around box will have a thickness of 3 points.
Let’s see what adding a border to box looks like.
Displaying Images
You can also assign an image to a layer so that the layer displays the image. We have a lovely image of a tree included in our example project, thanks to this website. Let’s make our layer display the image. Insert the following code in viewDidLoad:
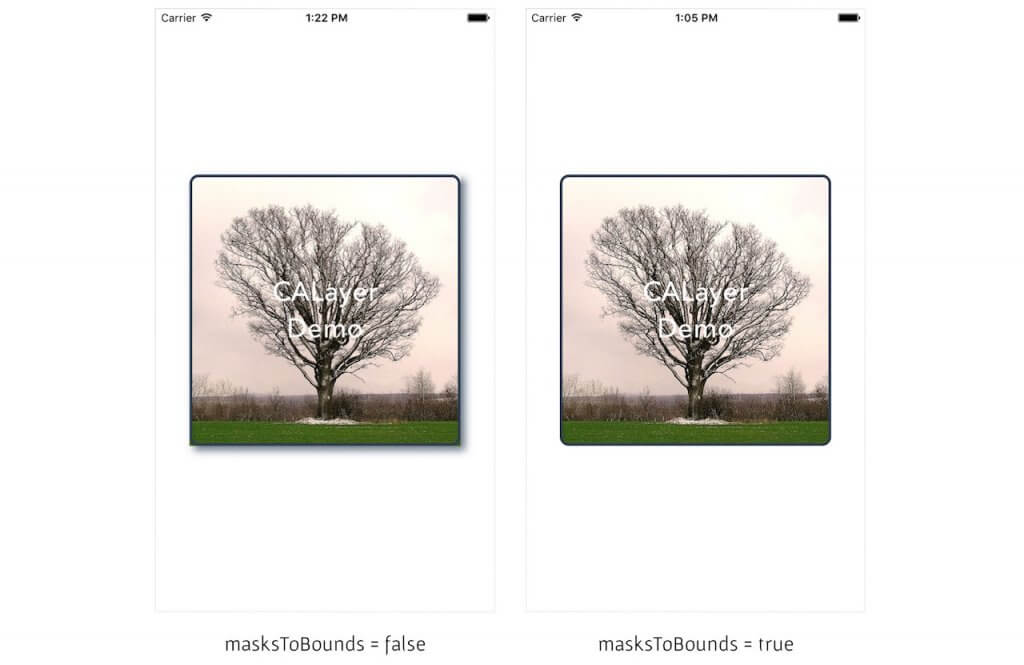
box.layer.contents = UIImage(named: "tree.jpg")?.CGImage
box.layer.contentsGravity = kCAGravityResize
box.layer.masksToBounds = true
Line #1: This creates a new UIImage with the file name tree.jpg and assigns it to the contents property of the layer.
Line #2: This sets the layer’s contents gravity to resize, which means that all of the contents of the layer will be resized to fit it perfectly.
Line #3: We enable masksToBounds to true so that any sublayers of the layer that extend outside its boundaries will be clipped to those boundaries. If you don’t understand what it means, you can set it to false to see the differences.
Here is the result.
Background Color and Opacity
We talked about adding special effects to CALayer that aren’t possible through UIKit, but we should also discuss how it’s possible to modify most of the properties UIKit exposes on UIView through CALayer. As an example, you can alter the background color and opacity of the view like this:
box.layer.backgroundColor = UIColor.blueColor().CGColor
box.layer.opacity = 0.5
CALayer Performance
Adding a lot of custom effects to layers can have an impact on performance. Now, we’ll talk about 2 properties on CALayer that can help us dramatically improve our app’s performance.
First, let’s talk about drawsAsynchronously. This is a property on CALayer that specifies whether or not the CPU work necessary to draw the layer should be performed on a background thread. If this is set to true, the layer will look exactly the same as usual, but the CPU computation necessary to draw it will be performed on a background thread. You should set this to true if you have a view in your app that’s redrawn a lot, such as a map view or a table view.
Next is shouldRasterize. This is a property on CALayer that specifies whether or not the layer should be rasterized. When this property is true, the layer is drawn once. Whenever it is animated, it isn’t redrawn and the bitmap information from the first draw is recycled. This should be set to true if you have a view in your app that doesn’t need to be redrawn frequently. Note that when setting shouldRasterize, a layer’s appearance may change on Retina devices. This is because layers have what’s called a rasterization scale, which is the scale to rasterize the layer with. To prevent this from happening, set the layer’s rasterizationScale to UIScreen.mainScreen().scale, so that the layer is rasterized on the same scale that the screen is drawn.
Note that 99% of the time, you won’t have to set either of these properties yourself. Setting them manually can lead to poor performance. Only set one of these 2 properties on your own if you have determined that the drawing of a view or layer is affecting your app’s performance.
Conclusion
Now you know what CALayer is! Having some knowledge of slightly lower level graphics can help you create some cool effects in your apps. Hope you enjoy this beginner’s guide.
For reference, you can download the sample project on GitHub. If you have any questions or feedback, please leave me comment below.


