
As you may know, we have released our first iOS game on App Store. Honestly, we do not have any game development experience. As we always said, “getting your hands dirty is the best way to learn programming”.
We started out by developing a simple memory game. We’re sure that it won’t be a big hit. However, it’s a great learning experience even the game do not generate good money. In coming tutorials, we’ll share with you some of the implementation techniques such as game center integration, in-app purchase implementation, Nextpeer integration for multiplayer support, etc. To start off, let’s see how you can use UIImageView to implement simple animation.

UIImageView for Animations
In iOS, creating sophisticated animations does not require you to write complex code. The UIImageView class provides the easiest way for developers to implement animations. All you need to do is to create an UIImageView object with a series of images for animating. Once you trigger the animation, the image view will automatically render the individual frames. Cool, right?

Image series for animation
The UIImageView makes it very easy to implement simple animation. Let’s create a new Xcode project and see how it works.
Creating SimpleAnimation Project
First, fire up Xcode (make sure you’re using 4.6 or up) and create a new project using “Single View application” template.

Create a new project using the Single View Application template
Click “Next” to continue. In reference to the below figure, fill in all the required values for the Xcode project. Make sure you enables the “Use Storyboards” option.

Simple Animation Project Settings
Click “Next” to continue. Xcode then asks you where you saves the “SimpleAnimation” project. Pick any folder (e.g. Desktop) to save your project.
Implementing the ViewController
Before implementing the ViewController class, first download the image pack which includes all images for creating the animation. Unzip the image pack and add all images to the SimpleAnimation project.
In the project navigator, select the “ViewController.m” and edit the “viewDidLoad” method with the following code:
- (void)viewDidLoad
{
    [super viewDidLoad];

    // Load images
    NSArray *imageNames = @[@"win_1.png", @"win_2.png", @"win_3.png", @"win_4.png",
                        @"win_5.png", @"win_6.png", @"win_7.png", @"win_8.png",
                        @"win_9.png", @"win_10.png", @"win_11.png", @"win_12.png",
                        @"win_13.png", @"win_14.png", @"win_15.png", @"win_16.png"];

    NSMutableArray *images = [[NSMutableArray alloc] init];
    for (int i = 0; i < imageNames.count; i++) {
        [images addObject:[UIImage imageNamed:[imageNames objectAtIndex:i]]];
    }

    // Normal Animation
    UIImageView *animationImageView = [[UIImageView alloc] initWithFrame:CGRectMake(60, 95, 86, 193)];
    animationImageView.animationImages = images;
    animationImageView.animationDuration = 0.5;

    [self.view addSubview:animationImageView];
    [animationImageView startAnimating];
}
That's the code we need to create the animation. We first load all the images and save it into an array. We then create an UIImageView object and provide it with the image array as the value of animationImages. This array represents the "frames" of a dancing cartoon. You can control the frame rate by setting the animationDuration property. The property specifies the amount of time it takes to go through one cycle of the images. In the example, it takes 0.5 second to go through 16 images.
Optionally, you can also set the animationRepeatCount property, that specifies the number of times to repeat the animation. If it's not set, the animation will be repeated indefinitely.
With all the properties configured, you can simply call up startAnimating method to begin animating the image. Compile and run the app to see how it works.
In order to give you a better idea about the animationDuration property, try to add a slow motion animation by adding the below code in the "viewDidLoad" method:
    // Slow motion animation
    UIImageView *slowAnimationImageView = [[UIImageView alloc] initWithFrame:CGRectMake(160, 95, 86, 193)];
    slowAnimationImageView.animationImages = images;
    slowAnimationImageView.animationDuration = 5;

    [self.view addSubview:slowAnimationImageView];
    [slowAnimationImageView startAnimating];
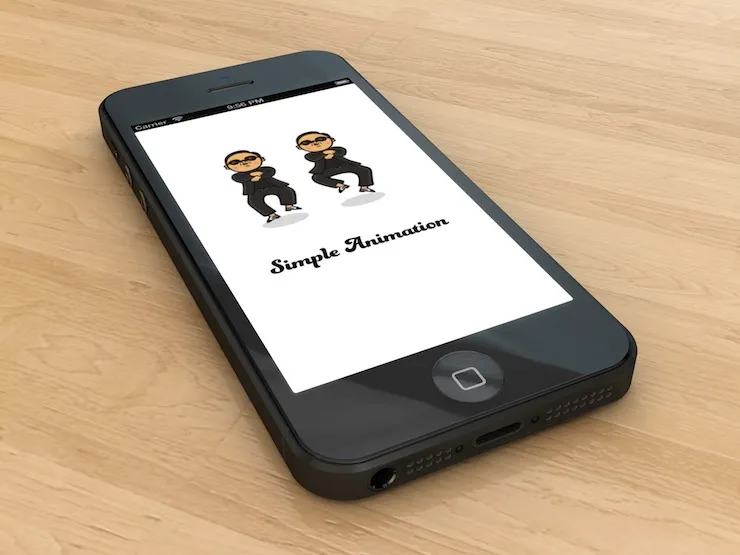
The above code will add another animation but with different animation duration. Compile and run the app again. Your app should look like this:

SimpleAnimation App
What's Coming Next?
UIImageView provides a very easy way to implement interesting animation. Later, we'll look into other ways to create visual effects. For your complete reference, you can download the whole Xcode project here.
As always, feel free to leave us comment and feedback. And don't just read the tutorial. Remember to "get your hands dirty". This is the best way to learn programming.


