

In this tutorial we will talk about Stripe integration. Stripe provides one of the most powerful libraries for accepting payments online and mobile apps. If you are planning to sell products in your iOS apps and searching for a payment solution, Stripe should be on the top of your list.
I get asked a lot about why iOS developers need to use Stripe rather than In-App Purchase. According to Apple, you’re required to use In-App Purchase to sell digital content such as extra game levels for your game, and bonus content for your apps. For physical goods like clothing, you’re allowed to use other payment solutions such as Stripe. So, in this tutorial, I will give you a brief introduction of Stripe, explain how it works and show you how to build a demo app using Stripe’s API for accepting credit card payments.
What is Stripe?
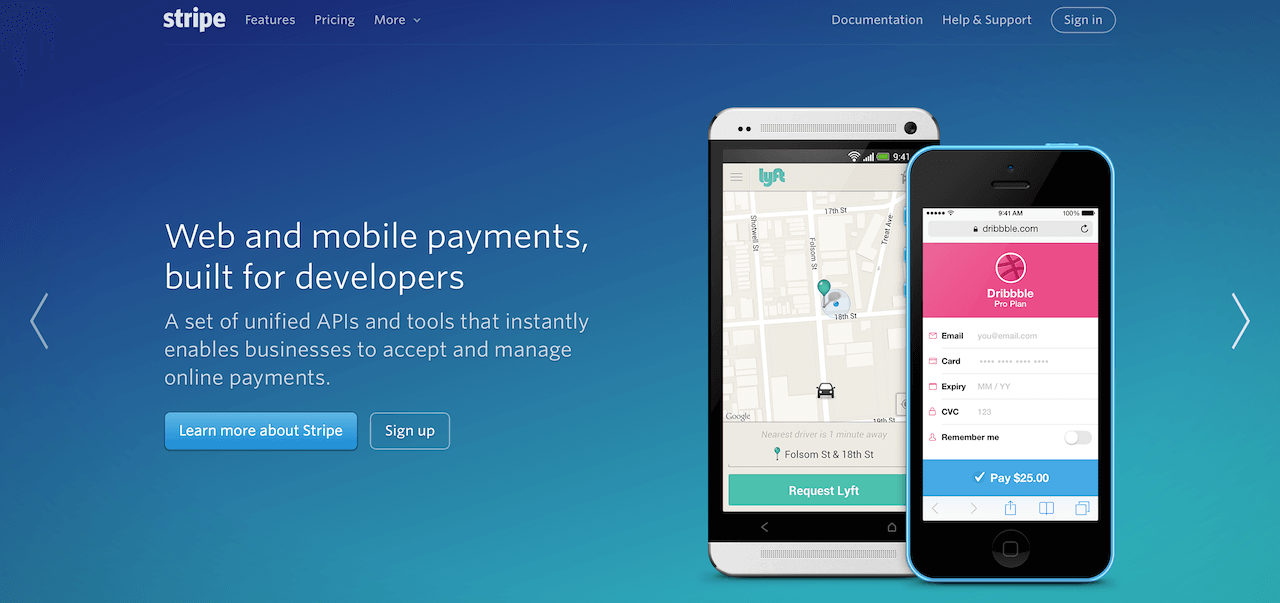
Stripe is built for developers. It provides friendly APIs that instantly enables businesses to accept and manage mobile payments. You do not have to worry about opening a merchant account or setting up a credit card gateway. With Stripe, you can easily enable your app to take a payment from credit cards and even make recurring payments.
Stripe wants to make online/mobile transactions as easy as possible. As you will soon see, on top of the easy-to-use APIs, it even streamlines the registration process. The integration process is just so straightforward. This is one of the reasons why this company expands so quickly and has made its name in the startup world.
Take a Look at Our App
To save you time from building the app from scratch and focus on learning Stripe, I have created the project template for you. First, download the project and have a trial run.
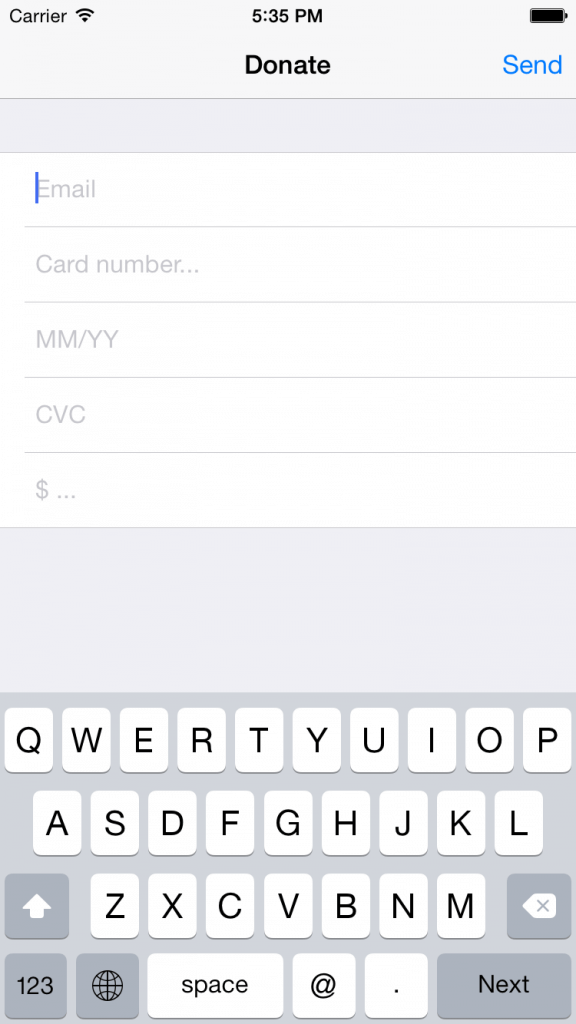
In this tutorial, we will create a Demo app called “Donate” to demonstrate how to accept credit card payment using Stripe.
Donate App Cycle and How Stripe Works
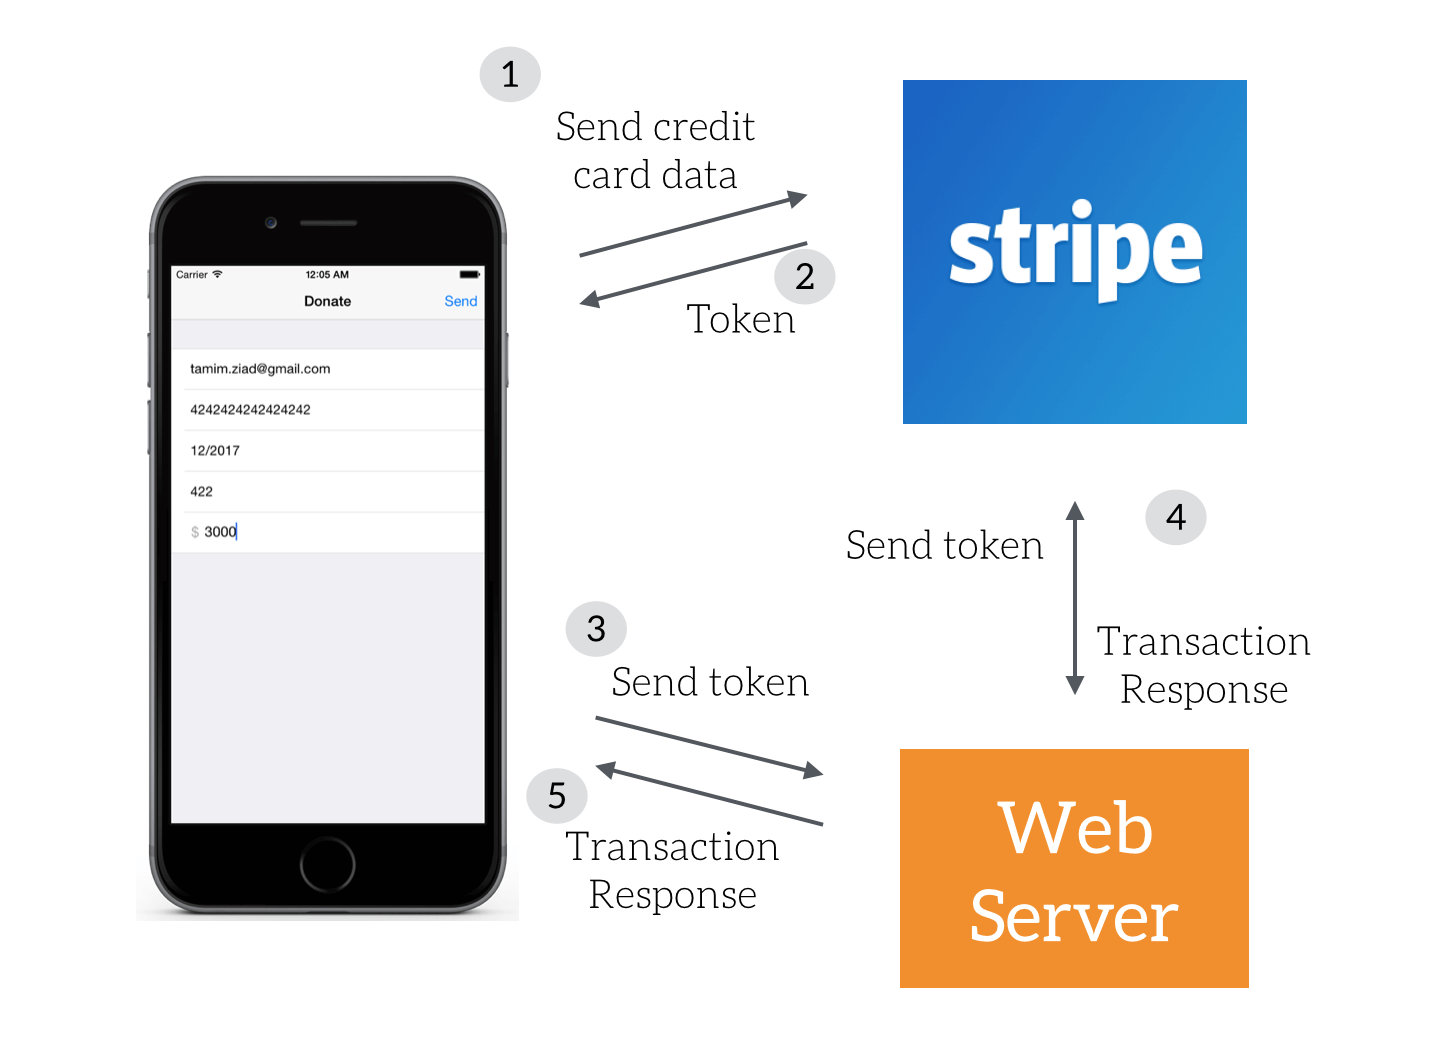
Before we dive into the implementation, let’s first see how the app will communicate with Stripe and process the transaction. In brief, here is how the app works when the customer sends a payment:
- The app first collects payment information including email, credit card number, expiration date, CVC, and payment amount from the payment form. It then sends the credit card data to Stripe backend by calling its API.
- If the payment information is valid, Stripe will return you a token. At this point, the credit card is not charged yet. Later, you’ll use the token to perform the actual transaction.
- Now that your app gets the token. The next step is to send it to your own server to complete the charging process. For security reasons, Stripe requires you to perform the actual charging process through a server instead of the mobile device itself. No worries. Stripe has provided us with server code to implement the charging process easily. We’ll talk about that in later section.
- Your web application sends the token to Stripe to perform the actual charging. No matter the transaction succeeds or not, Stripe will return you the result.
- Lastly, the server side sends a response back to the app about the transaction result.
Note: The response returned is in JSON format, so if you are not familiar with JSON parsing, please check out this tutorial to learn more about it.
Creating a Stripe Test Account
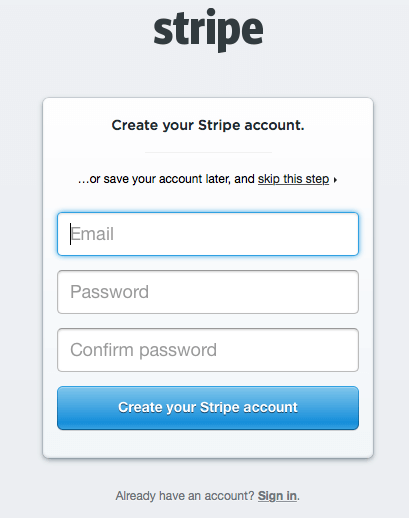
Creating a test account on Stripe is pretty straightforward and can be done within a few seconds. Stripe simplifies the whole registration process and allows developers to sign up an account without filling in any information. I really like this streamlined process. This can be really useful if you are developing an app for a client or you just want to explore the APIs of Stripe.
The first step is to go to Stripe and click the sign up button:
You’ll be directed to the signup page to create a new account. Here, you can fill in your personal information. But as I mentioned before, Stripe streamlines the registration process. Here you can simply click “skip this step” to proceed. You’ll then be able to access the Stripe dashboard through a temporary account for testing purpose.
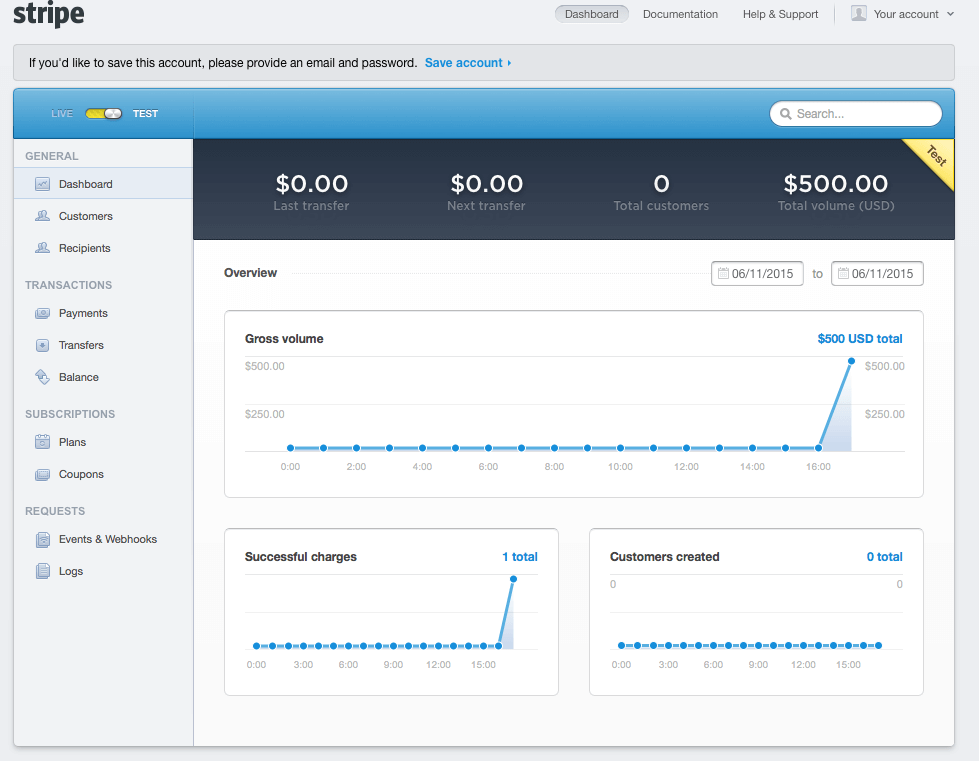
Once done, Stripe will present you the dashboard:
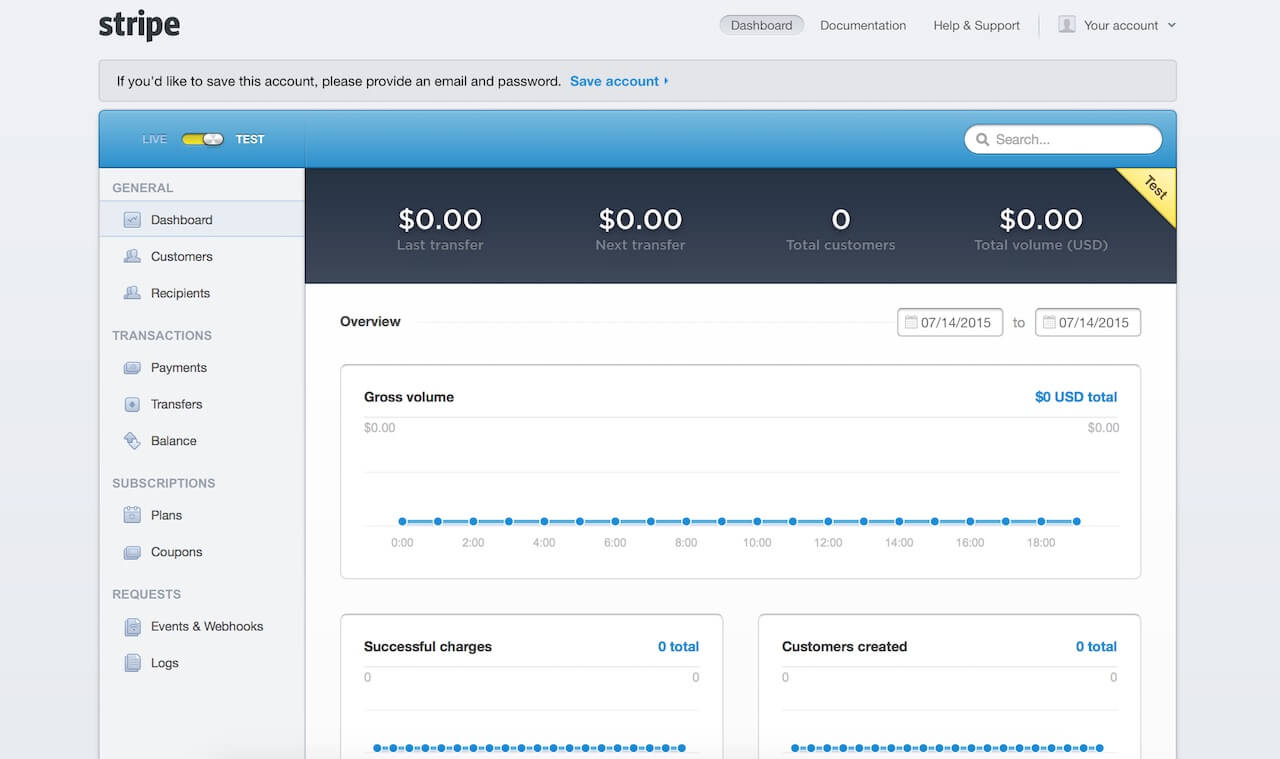
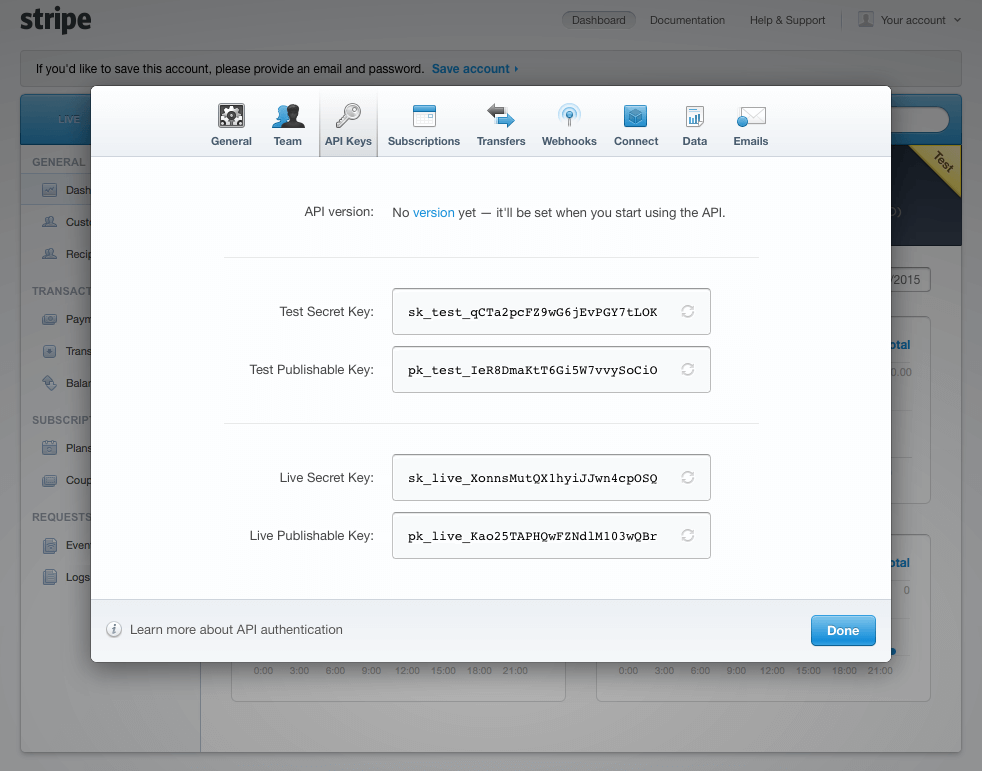
Next, go to “Your Account” menu and press “Account Settings”, then click the “API keys” tab to reveal the keys for our app development.
That’s it for Stripe configuration. From now on, you can use the Stripe APIs to test transaction. Later you’ll come back to the dashboard to check if the transactions are successfully processed.
Adding the Stripe Library Using Cocoapods
Before using Stripe in our Xcode project, we have to bundle the library as a dependency. There are a couple of ways to do that. In the demo, we will use Cocoapods, which is a well-known dependency manager for Swift projects. Like this demo, many projects rely on third-party libraries to work. Cocoapods is a tool that helps developers manage the dependency of the required libraries and ensures they’re up to date.
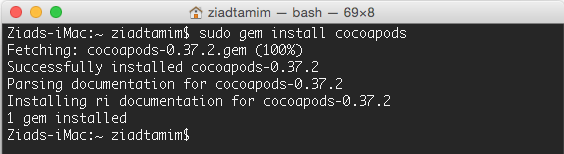
If you do not have Cocoapods installed, executing the following command in Terminal to install it:
sudo gem install cocoapods
Just be patient, you may need to wait for a couple of minutes before the installation finishes. When it’s done, you should see something like “gems installed.”
Next, create an empty file named “Podfile” at the root folder of the Xcode project directory. Open it with your favorite text editor and paste the following line in it:
pod 'Stripe', '~> 4.0'
pod 'AFNetworking', '~> 2.5.4'
The Podfile tells Cocoapods which libraries we want to use. In this case, the libraries we need are Stripe version 4.0 and AFNetworking version 2.5.4.
Now, quit Xcode and open Terminal. Change to the root directory of the Xcode project. The root directory is the one containing “Podfile”. Next, type this in Terminal:
pod install
CocoaPods will look for “Podfile” and attempt to install the dependencies we configure. The download and installation process can take several minutes. When it completes, the result should look like this:
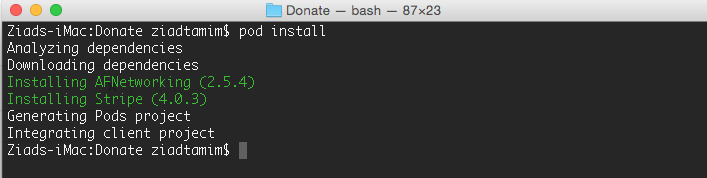
CocoaPods has downloaded, and bundled the Stripe & AFNetworking libraries in your Xcode project. However, from now on, we won’t be using the original app project. CocoaPods has generated another workspace called Donate.xcworkspace for you. This workspace contains both our original project and the CocoaPods project.
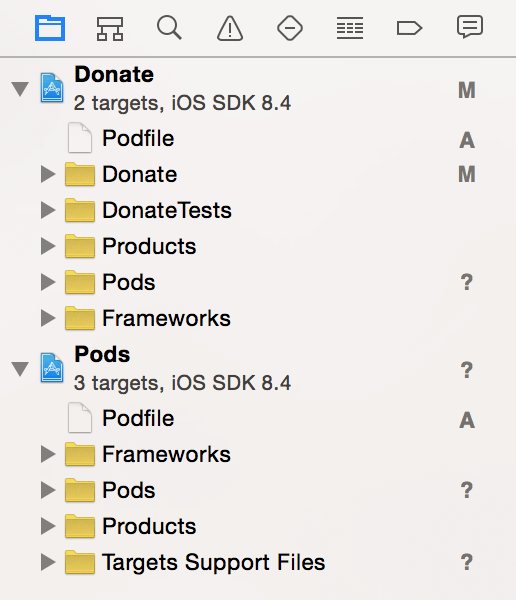
Now open the new Workspace (i.e. Donate.xcworkspace) in Xcode. You should note that there are two projects: Pods and Donate.
Using Objective-C in Swift Project
Stripe’s library is written in Objective-C, and our project is written in Swift. These two don’t work together without a proper configuration. Any Objective-C library, project or class can be used in a Swift project by setting up a bridging header. Technically speaking, such bridge will translate header files from Objective-C to Swift.
You can create a bridging header by following these procedures:
- Add a new header file to the Donate directory by right-clicking the Donate directory in the project navigator, followed by clicking “New File…”.
- Select iOS -> Source category, choose the “Header File” template and click Next.
- Name the class “Donate-Bridging-Header.h”, then press continue to proceed and save the file.
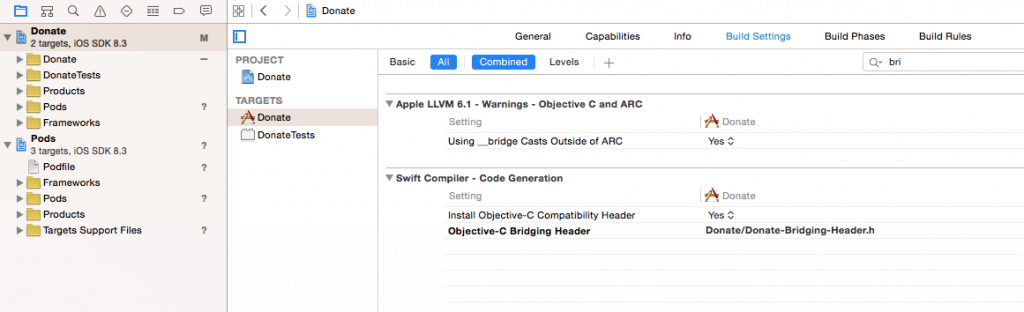
- Next, go to “Build Settings”, and search for “Objective-C Bridging Header”. Set the value to “Donate/Donate-Bridging-Header.h”.
Once done, open the Donate-Bridging-Header.h file and write the following code:
#import#import
Great! We’ve finally completed the project configuration. Now we are ready to dive into the implementation of our demo app.
Configure API Keys
The very first thing you have to do is configure your Stripe API key. You can find your key in the Stripe dashboard by selecting “Account Settings” -> “API keys”. For now, we will use just the test keys so you can test our transactions without using a real credit card.
Open AppDelegate.swift and insert a line of code (highlighted in yellow):
func application(application: UIApplication, didFinishLaunchingWithOptions launchOptions: [NSObject: AnyObject]?) -> Bool {

     // Stripe Configuration
     Stripe.setDefaultPublishableKey("pk_test_IeR8DmaKtT6Gi5W7vvySoCiO")

     return true
}
Here we configure Stripe with our test publishable API key. Note that you have to change it to yours.
Note: Later when you roll out your app to production, you can update the publishable key to a live one.
Collecting Credit Card Information
To perform a transaction, your app should have a mean to collect the user’s information. Stripe suggests three ways to collect the payment information:
- through Apple Pay to access your users’ stored payment information
- by using Stripe’s built-in payment form component, PaymentKit
- by building our own payment form
In this tutorial, we’ll opt for the third option and build our own payment form. Stripe requires us to collect at least the card number and expiration date. But I also recommend to secure CVC in order to prevent fraudulent transactions and gain a trust from users. The other thing you may want to obtain is email address, so you can keep a record of the person who makes the donation for later communication.
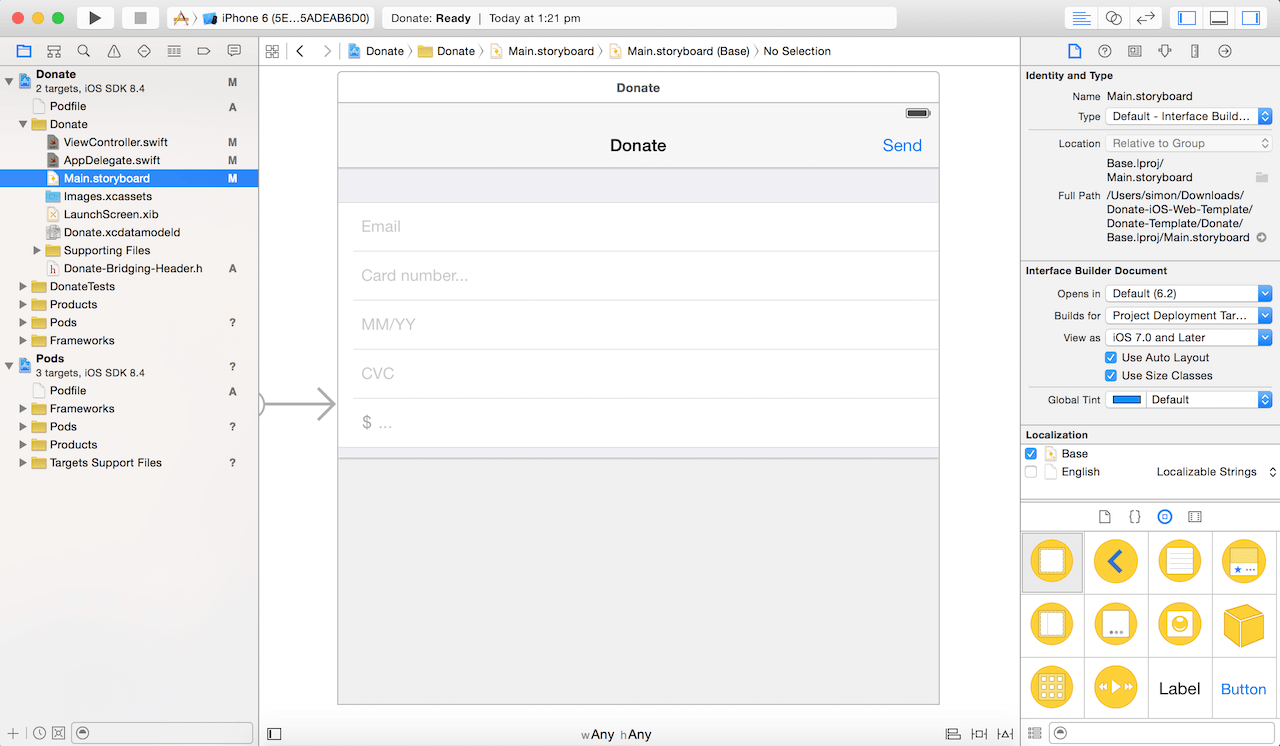
If you’re using the project template, I have already built the payment interface for collecting customers’ payment details. All the text fields are associated with the corresponding outlets in the ViewController.swift file.
Now, open ViewController.swift and update the donate method like this:
@IBAction func donate(sender: AnyObject) {

        // Initiate the card
        var stripCard = STPCard()

        // Split the expiration date to extract Month & Year
        if self.expireDateTextField.text.isEmpty == false {
            let expirationDate = self.expireDateTextField.text.componentsSeparatedByString("/")
            let expMonth = UInt(expirationDate[0].toInt()!)
            let expYear = UInt(expirationDate[1].toInt()!)

            // Send the card info to Strip to get the token
            stripCard.number = self.cardNumberTextField.text
            stripCard.cvc = self.cvcTextField.text
            stripCard.expMonth = expMonth
            stripCard.expYear = expYear
        }
}
When the user taps the Donate button, this action method will be triggered. We first initialize a STPCard object and assemble the data into it.
Next, add the following code to the same method:
var underlyingError: NSError?
stripCard.validateCardReturningError(&underlyingError)
   if underlyingError != nil {
        self.spinner.stopAnimating()
        self.handleError(underlyingError!)
   return
}
The STPCard class comes with very handy method called validateCardReturningError that saves us from implementing our own validation logic. The class sends the collected card info to its server, and return an error if the card information is invalid.
Again, add the code below to the same method as we did previously:
STPAPIClient.sharedClient().createTokenWithCard(stripCard, completion: { (token, error) -> Void in

            if error != nil {
                self.handleError(error!)
                return
            }

            self.postStripeToken(token!)
        })
Once we confirm the credit card is valid, we invoke the createTokenWithCard method of the STPAPIClient class to send off the credit card data via a secure HTTPS request. Stripe will return you a token if the request is successful.
At this point, the customer’s credit card is not charged. Stripe only gives you an one-time token. Later you’ll send this token to your own server and perform the actual charging.
In case it fails to retrieve the token, the app will simply display an error to the user. Insert the following method in the ViewController class:
In the same file, add the following code:
func handleError(error: NSError) {
        UIAlertView(title: "Please Try Again",
            message: error.localizedDescription,
            delegate: nil,
            cancelButtonTitle: "OK").show()

    }
Setting Up Your Local Server
As mentioned at the very beginning of the tutorial, the charging of the customer’s credit card actually happens on our own server. For security reasons, Stripe doesn’t charge the credit card which is sent directly from an app. It only generates you a token. Your app will then pass this token to your backend to follow up with the actual charging.
So before moving onto the implementation of the app, let’s stop for a minute and setup our server in order to process the payment. To create our backend, we will use PHP as the primary language and make use of the library provided by Stripe. No worries. You don’t need to be an expert in web development. Just go ahead and follow the steps as described, and you will be able to configure the required backend for processing the Stripe payment.
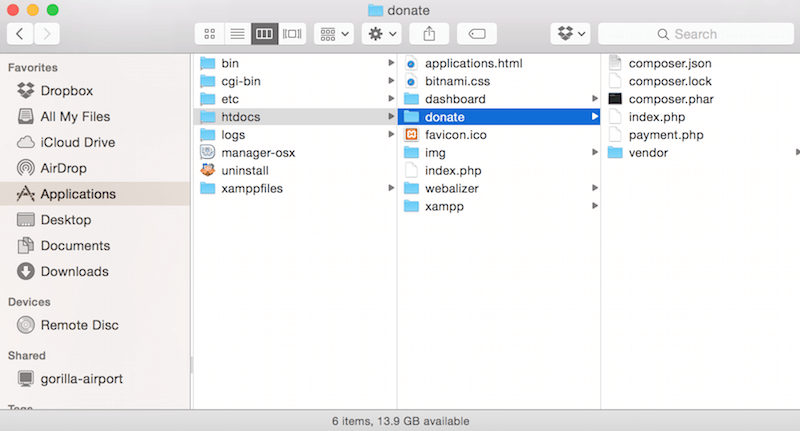
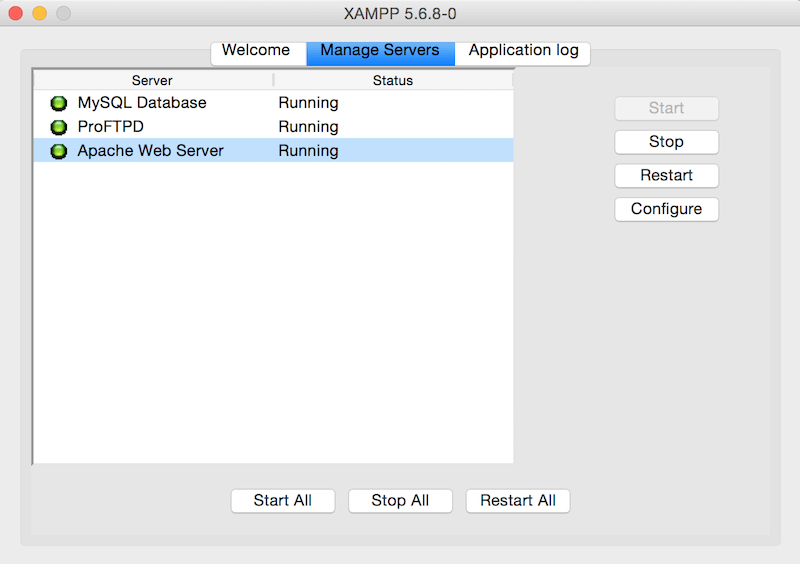
First, download XAMPP (for OS X) v5.6.8 (or up), and install it onto your Mac. Next, download this zipped file and unzip it. After that, go to the folder where XAMPP is installed. Normally it is installed under the “Applications” folder. Open the folder “Applications/XAMPP/htdocs”, then copy the folder that you just unzipped to here.
Once done, go back to the XAMPP folder and open “manager-osx”. When launched, hit the button “Start All” under the “Manage Server” tab as shown below:
The next step is to go to “Applications/XAMPP/htdocs/donate”. Open the file “payment.php” with any text editor you are comfortable with.
Replace the API key with your Test Secret key, that was demonstrated earlier in this tutorial:
\Stripe\Stripe::setApiKey("sk_test_qCTa2pcFZ9wG6jEvPGY7tLOK");
That’s it! You’ve just completed the configuration of your backend. Isn’t it easy?
Sending the Token to the Backend for Payment Processing
Now that our backend is ready to process the payment, let’s switch back to Xcode and start sending the token to our backend by making a HTTP POST request. Open ViewController.swift and insert the following code:
func postStripeToken(token: STPToken) {

        let URL = "http://localhost/donate/payment.php"
        let params = ["stripeToken": token.tokenId,
            "amount": self.amountTextField.text.toInt()!,
            "currency": "usd",
            "description": self.emailTextField.text]

        let manager = AFHTTPRequestOperationManager()
        manager.POST(URL, parameters: params, success: { (operation, responseObject) -> Void in

            if let response = responseObject as? [String: String] {
                UIAlertView(title: response["status"],
                    message: response["message"],
                    delegate: nil,
                    cancelButtonTitle: "OK").show()
            }

            }) { (operation, error) -> Void in
                self.handleError(error!)
        }
}
As we are hosting our backend locally, the URL is set to http://localhost/donate/payment.php. If you host the script in a remote server, please change it accordingly.
To perform the actual charge, Stripe requires us to submit the token, plus the payment amount, currency, and description. You can use the description field as a payment note. In the example, we simply use the field to store the customer’s email.
Once the parameters are configured, we submit an asynchronous POST request using AFHTTPRequestOperationManager, an API provided by AFNetworking. If the request succeeds, we display the payment response to the user.
That’s it! You can now run the app and perform a test transaction. For testing purpose, you can use the credit card number 4242 4242 4242 4242, along with any future expiration date (e.g 07/2019) and CVC (e.g. 222), to simulate a transaction:

To further verify if the payment succeeds, you can check out Stripe’s dashboard:
Summary
In this tutorial, I have walked you the basics of Stripe. You should know how to integrate Stripe in your app to accept credit card payment. For further information, I encourage you to check out the official documentation. Stripe provide many ways to accomplish payments through its APIs, you can go to its documentation for further information.
For reference, you can download the entire Donate project file here. Please use Xcode 6.3 (or up) to run the project. Note that you have to change the Secret key in the AppDelegate.swift file. I hope you guys enjoy this tutorial and as always leave us comments below.


