

SwiftUI already streamlines the creation of view animations. One example is the matchedGeometryEffect modifier, which enables developers to define the appearance of two views. The modifier calculates the disparities between the two views and automatically animates the size and position changes. With iOS 17, Apple continues to improve the SwiftUI framework and provide a new view called PhaseAnimator, which allows us to build more sophisticated animations.
In this tutorial, we will explore the capabilities of PhaseAnimator and learn how to utilize it to create multi-step animations.
Building a Simple Animation with PhaseAnimator
The PhaseAnimator view, or the .phaseAnimator modifier, enables you to generate multi-step animations. By cycling through a collection of phases that you provide, each representing a distinct step, you can create dynamic and engaging animations.
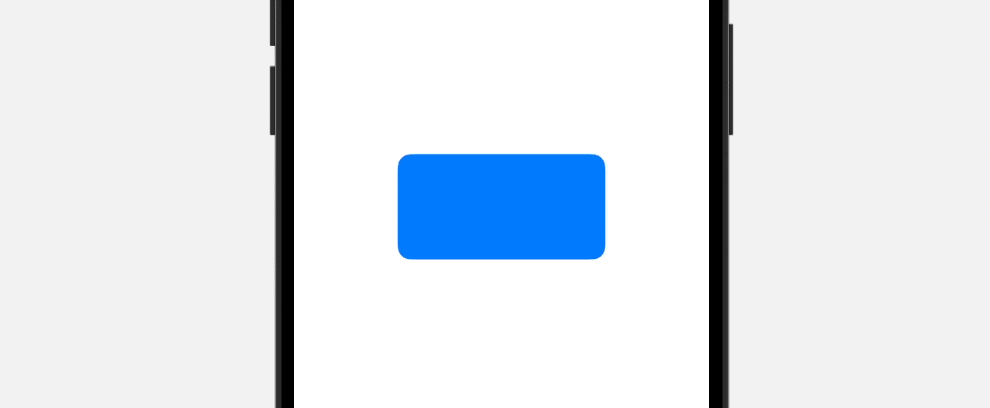
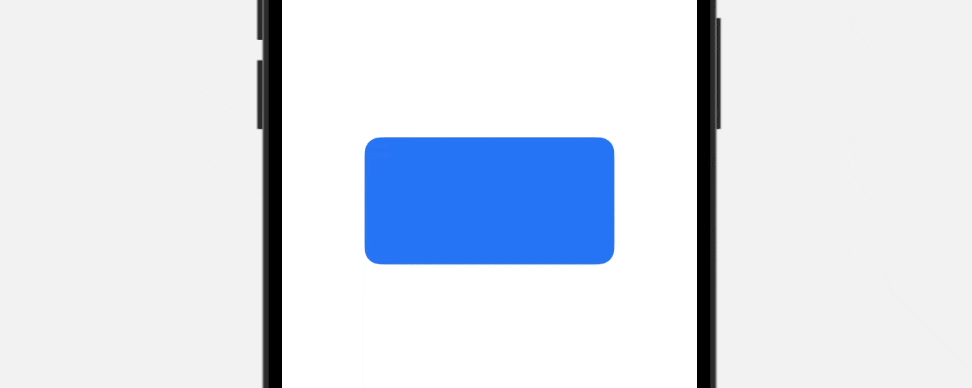
Let me give a simple example, so you will understand how to work the phase animator. We will animate the transformation of a rounded rectangle. It begins as a blue rectangle, then scales up, changes color to indigo, and incorporates a 3D rotation animation.
We can use the RoundedRectangle view to create the rounded rectangle and attach the phaseAnimator modifier to the rectangle like this:
struct ContentView: View {
    var body: some View {
        RoundedRectangle(cornerRadius: 25.0)
            .frame(height: 200)
            .phaseAnimator([ false, true ]) { content, phase in
                content
                    .scaleEffect(phase ? 1.0 : 0.5)
                    .foregroundStyle(phase ? .indigo : .blue)
            }
    }
}
Within the phase animator, we specify two phases: false and true. The view builder closure takes two parameters. The first parameter is a proxy value that represents the modified view. The second parameter indicates the current phase.
When the view initially appears, the first phase (i.e. false) is active. We set the scale to 50% of the original size and the foreground color to blue. In the second phase, the rectangle scales back to its original size and the color transitions to indigo.
The phase animator automatically animates the change between these two phases.
To create the 3D rotation animation, you can attach the rotation3DEffect modifier to the content view like below:
.rotation3DEffect(
    phase ? .degrees(720) : .zero,
                          axis: (x: 0.0, y: 1.0, z: 0.0)
)
If you want to customize the animation, phaseAnimator also provides the animation parameter for defining your preferred animation. Based on the given phase, you can specify the animation to be used when moving from one phase to another. Here is an example:
.phaseAnimator([ false, true ]) { content, phase in
    content
        .scaleEffect(phase ? 1.0 : 0.5)
        .foregroundStyle(phase ? .indigo : .blue)
        .rotation3DEffect(
            phase ? .degrees(720) : .zero,
                                  axis: (x: 0.0, y: 1.0, z: 0.0)
        )
} animation: { phase in
    switch phase {
    case true: .smooth.speed(0.2)
    case false: .spring
    }
}
Using Enum to Define Multi Step Animations
In the previous example, the animation consisted of only two phases: false and true. However, in more complex animations, there are often multiple steps or phases involved. In this case, an enum is a great way to define a list of steps for the animation.
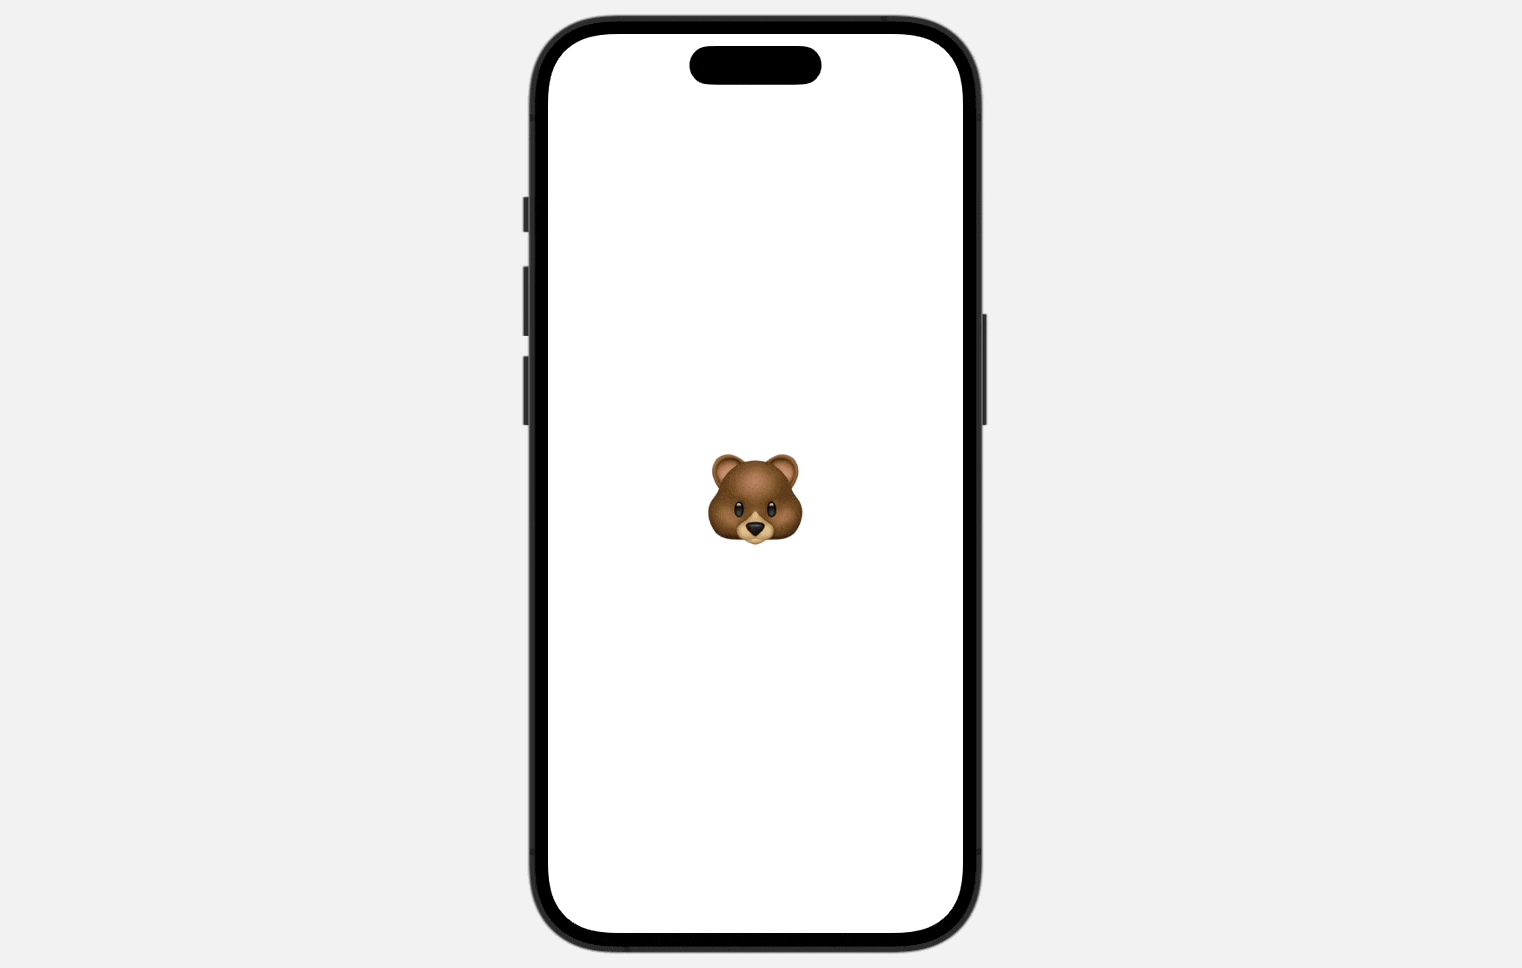
Let’s consider an example of animating an emoji icon with the following steps:
- Initially, the emoji icon is centered on the screen.
- It scales up by 50% and rotates itself by 720 degrees.
- Next, it moves upward by 250 points while simultaneously scaling down by 20%.
- Then, it moves downward by 450 points. While descending, it rotates itself by 360 degrees and scales down by 50%.
- Finally, it returns to its original position.
With these steps, we can create a dynamic animation for the emoji icon.
To implement this multi-step animation, we can define an enum like this:
enum Phase: CaseIterable {
    case initial
    case rotate
    case jump
    case fall

    var scale: Double {
        switch self {
        case .initial: 1.0
        case .rotate: 1.5
        case .jump: 0.8
        case .fall: 0.5
        }
    }

    var angle: Angle {
        switch self {
        case .initial, .jump: Angle(degrees: 0)
        case .rotate: Angle(degrees: 720)
        case .fall: Angle(degrees: 360)
        }
    }

    var offset: Double {
        switch self {
        case .initial, .rotate: 0
        case .jump: -250.0
        case .fall: 450.0
        }
    }
}
In this enum, we have four cases that represent different steps of the animation. During each phase, we perform scaling, rotation, or movement on the emoji icon. To accomplish this, we define three computed properties for each action. Within each property, we specify the values for the particular animation phase or step.
For instance, in the “rotate” phase, the emoji should be scaled up by 50% and rotated by 720 degrees. The scale property returns 1.5, and the angle property returns Angle(degrees: 720).
With the Phase enum, we can now easily animate the emoji with the phase animator like below:
Text("🐻")
    .font(.system(size: 100))
    .phaseAnimator(Phase.allCases) { content, phase in
        content
            .scaleEffect(phase.scale)
            .rotationEffect(phase.angle)
            .offset(y: phase.offset)

    } animation: { phase in
        switch phase {
        case .initial: .bouncy
        case .rotate: .smooth
        case .jump: .snappy
        case .fall: .interactiveSpring
        }
    }
The Phase.allCases automatically informs the phase animator about the available phases. Depending on the given phase, the emoji icon is scaled, rotated, and moved according to the computed values.
To customize the animation, we can specify a particular animation, such as snappy, for different phases instead of using the default animation.
Using Triggers
Currently, the phase animator initiates the animation automatically and repeats it indefinitely. However, there may be situations where you prefer to trigger the animation manually. In such cases, you can define your criteria by specifying the desired conditions in the trigger parameter of the phase animator.
For example, the emoji animation should be triggered when a user taps on it. You can first declare a state variable like this:
@State private var startAnimation = falseNext, you update the phaseAnimator modifier by adding the trigger parameter:
.phaseAnimator(Phase.allCases, trigger: startAnimation, content: { content, phase in
    content
        .scaleEffect(phase.scale)
        .rotationEffect(phase.angle)
        .offset(y: phase.offset)
}, animation: { phase in
    switch phase {
    case .initial: .bouncy
    case .rotate: .smooth
    case .jump: .snappy
    case .fall: .interactiveSpring
    }
})
After making the code changes, the animation will only be triggered when the value of startAnimation is switched from false to true. To achieve this, attach the onTapGesture modifier to the Text view.
.onTapGesture {
    startAnimation.toggle()
}
When a user taps the emoji, we toggle the value of startAnimation. This triggers the multi-step animation.
Summary
The introduction of PhaseAnimator has made the process of creating multi-step animations incredibly simple. By using an enum to define what changes should happen at each step of the animation, you can create dynamic and engaging animations with just a few lines of code. SwiftUI’s PhaseAnimator, along with other helpful features, takes care of the hard work for you, so developers can focus on making impressive animations without any hassle.
If you enjoy reading this tutorial, you can continue to check out our Mastering SwiftUI book to learn more about the SwiftUI framework.


