

One of the best things about the iPhone is how great it is to play games with. It’s awesome to think that you can play near home console level games on a device that fits in your pocket. However, games get even greater when you can show your friends how amazing you are at playing them! That’s why the geniuses in Cupertino created ReplayKit.
In my last tutorial, I showed you how to add screen recording into your app. The app allowed you to tap a record button, record a screen capture, and then edit, save, and share the video right from the app. Today’s tutorial is a little more advanced but takes ReplayKit to an entirely new level. If you haven’t read my last tutorial on ReplayKit, I suggest you give it a quick skim because the app we are making in this tutorial has many similarities.
Today I am going to show you how to add real live broadcasting into your app. With live broadcasting, users who play your game that have a Mobcrush, Periscope, or other supported streaming accounts can simply tap a button, and start streaming live. This way all of their viewers can watch them play your awesome game without the need of any special equipment or devices. All they need is just the Internet connection!
I will walk you through two core classes that power live broadcasting: RPBroadcastActivityViewControllerDelegate and RPBroadcastController. I will show you how to have the user enable or disable the microphone during their broadcast. On top of all that, I will give you some tips about things to add to your broadcasting app so as to pass the app review.
App Overview
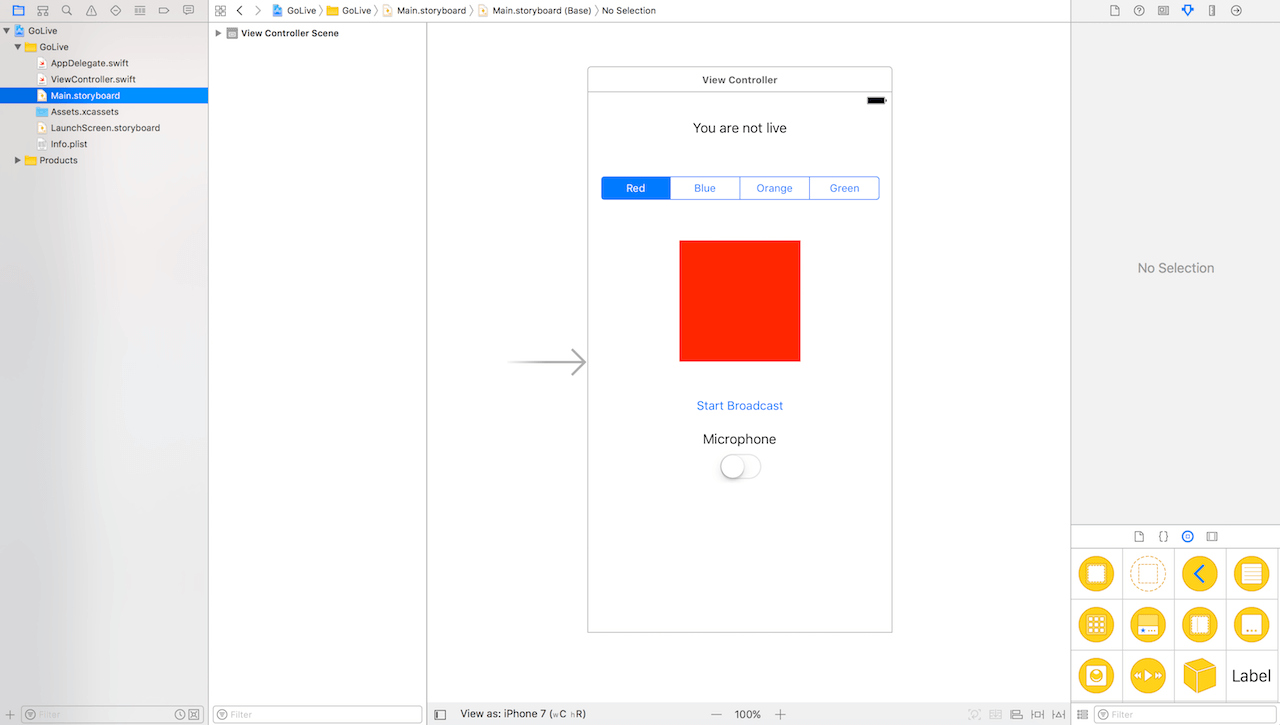
The app we are creating today is actually pretty simple to create. It consists of a status label, a button to start or stop broadcasting, and a switch to toggle the microphone on or off. Similar to the app we made in the screen recording tutorial, it also has a segmented view with a colored square. You can change the colors of the square with the segmented view. We add this so you can do something in the app while your live streaming so you can properly test it.
When you tap the start button, a view will appear which will allow you to choose your broadcasting service. After you choose one, the service’s UI will come up and allow you to add a name to your broadcast. Once the broadcast starts, the status label will indicate that you are live. You can choose to turn on the microphone or not. When you stop the broadcast, the session will end and you will then be able to start another one.

Creating a Mobcrush Account
There are many apps that support ReplayKit live streaming such as Periscope and Shou. However, today we will use the game streaming service Mobcrush to test our app. If you have heard of Twitch, Mobcrush is very similar to it. However, Twitch sadly does not currently support ReplayKit live streaming. Fortunately, whenever they decide to add support, you will not need to change any code in your app. Live broadcasting will automatically work with it.
Let’s start by going to the App Store and downloading Mobcrush.
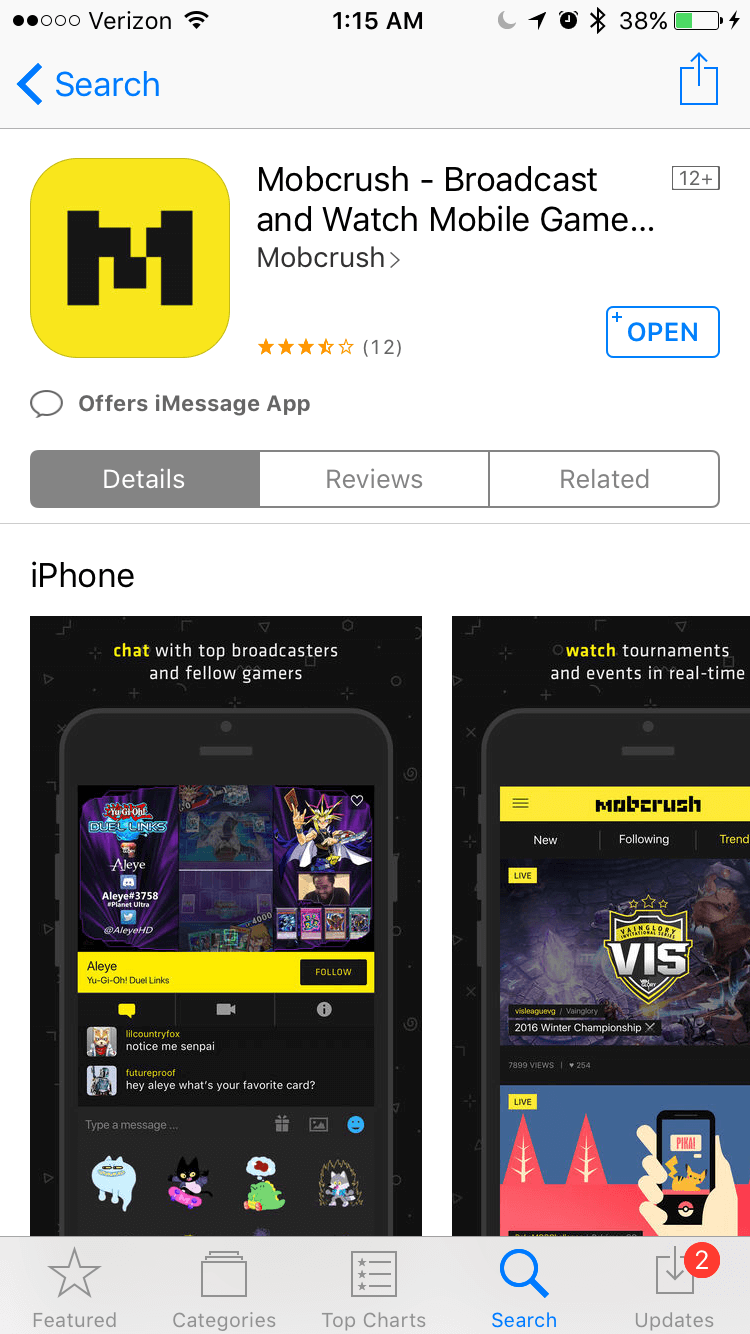
Once the app is downloaded, tap Sign Up and create an account. After you created your account, you can add profile info and a profile picture (optional). We are done with this step!
Starter Project
Since this app is very similar to the app in my screen recording tutorial on a UI basis, I created a starter project so we can get right to the good stuff. First, download the starter project off of GitHub.
Once you have the project downloaded, open it up and look around. You will probably first notice that it generates an error saying that the ViewController class does not conform to the RPBroadcastActivityViewController protocol. Don’t worry about this yet because we will be adding a function to take care of this later. This should be the only error you see.
If you head to the storyboard, you will see all of the UI elements I mentioned above. You will also notice that the microphone toggle and label are set to hidden. This is because the user will only be able to change the state of the microphone when they are live broadcasting, so they will unhide when a broadcast is started.
Now head to the ViewController.swift file and take a look at the empty functions. You will also notice a function at the bottom that is not empty called colorSelector. This is the function that takes care of the color changing square and segmented view controlling it. I included the full function so you won’t need to worry about changing anything unless you want to add more colors. You will also notice at the top that there is an outlet for each UI element.
Getting Started
We will start by creating the objects we will need. We need to create a RPBroadcastController object for starting and controlling the broadcast, and a RPScreenRecorder object for handling the microphone.
Add the following code at the top of the class under the outlets:
let controller = RPBroadcastController()
let recorder = RPScreenRecorder.shared()
These two lines create the objects.
Now let’s go down to the didPressBroadcastButton action. This action is triggered by the broadcast button of course. If the user is broadcasting, it will run the stopBroadcasting() function and if they aren’t, it will run startBroadcasting().
Add the following code to didPressBroadcastButton:
if controller.isBroadcasting {
    stopBroadcast()
} else {
    startBroadcast()
}
The RPBroadcastController object has a property called isBroadcasting that indicates the broadcasting status. Base on its value, we toggle the live broadcast.
Starting a Broadcast
When a user taps the button, it’s time to start a broadcast.
So let’s take a minute to talk about what happens after the user taps the start button. The app needs to show something called the Broadcast Activity View Controller. This is how a user choose which screaming service he/she wants to use.
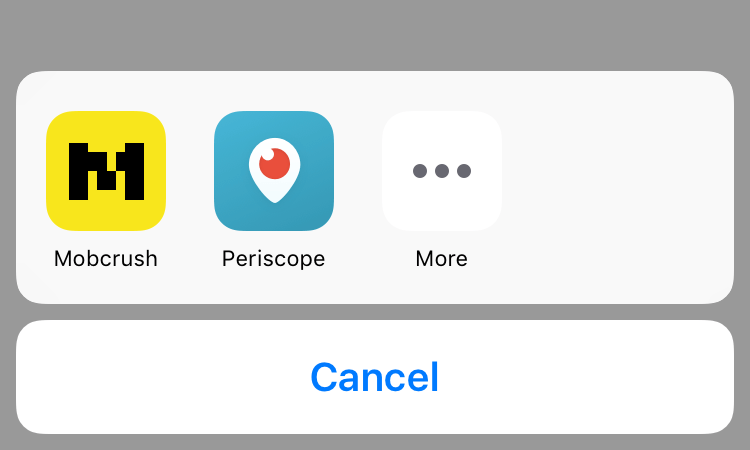
We can present this view by using the RPBroadcastActivityViewController class. Once the user chooses a service, a user interface provided by the service will appear. The nice thing about ReplayKit is that we don’t need to add any more code for that.
Once the user taps the start button in the service’s UI, we dismiss BroadcastActivityViewController and start the broadcast.
Head down to the startBroadcast() function and add the following code:
//1
RPBroadcastActivityViewController.load { broadcastAVC, error in

    //2
    guard error == nil else {
        print("Cannot load Broadcast Activity View Controller.")
        return
    }

    //3
    if let broadcastAVC = broadcastAVC {
        broadcastAVC.delegate = self
        self.present(broadcastAVC, animated: true, completion: nil)
    }
}
So what’s going on here?
- 1: To present the Broadcast Activity UI, we call the
loadfunction theRPBroadcastActivityViewController. After the broadcast activity view controller is loaded, the completion block will be called with theRPBroadcastActivityViewControllerto be presented (i.e.broadcastAVC). - 2: We add a guard to make sure there is no error.
- 3: We use an
if letto make sure thatbroadcastAVCisn’t nil, set the broadcastAVC’s delegate to itself (this helps with error handling). Finally we present the broadcastAVC.
Now that we’ve loaded the broadcastAVC, we need to handle it. Add the following delegate function to ViewController.swift:
func broadcastActivityViewController(_ broadcastActivityViewController: RPBroadcastActivityViewController,
                                     didFinishWith broadcastController: RPBroadcastController?,
                                     error: Error?) {
    //1
    guard error == nil else {
        print("Broadcast Activity Controller is not available.")
        return
    }

    //2
    broadcastActivityViewController.dismiss(animated: true) {
        //3
        broadcastController?.startBroadcast { error in
            //4
            //TODO: Broadcast might take a few seconds to load up. I recommend that you add an activity indicator or something similar to show the user that it is loading.
            //5
            if error == nil {
                print("Broadcast started successfully!")
                self.broadcastStarted()
            }
        }
    }
}
Let me go through the code above step by step. This function will be called after the user selects their service in the service’s UI.
- 1: We add a guard to check for errors.
- 2: The broadcastAVC is dismissed.
- 3: After the view is dismissed, we start the broadcast by calling
startBroadcast. - 4: I have added a TODO here. When the user taps the button to start, it usually takes a few seconds for everything to load and officially start the broadcast. Since this is just a demo app, it doesn’t matter. However, I suggest that you add an activity indicator of some sorts for a real world app.
- 5: If there is no error, we print that the broadcast started and call the
broadcastStarted()function which will change the UI. We will add to that function now.
Now that the broadcast is started, we need to update our UI so the user knows that they are broadcasting.
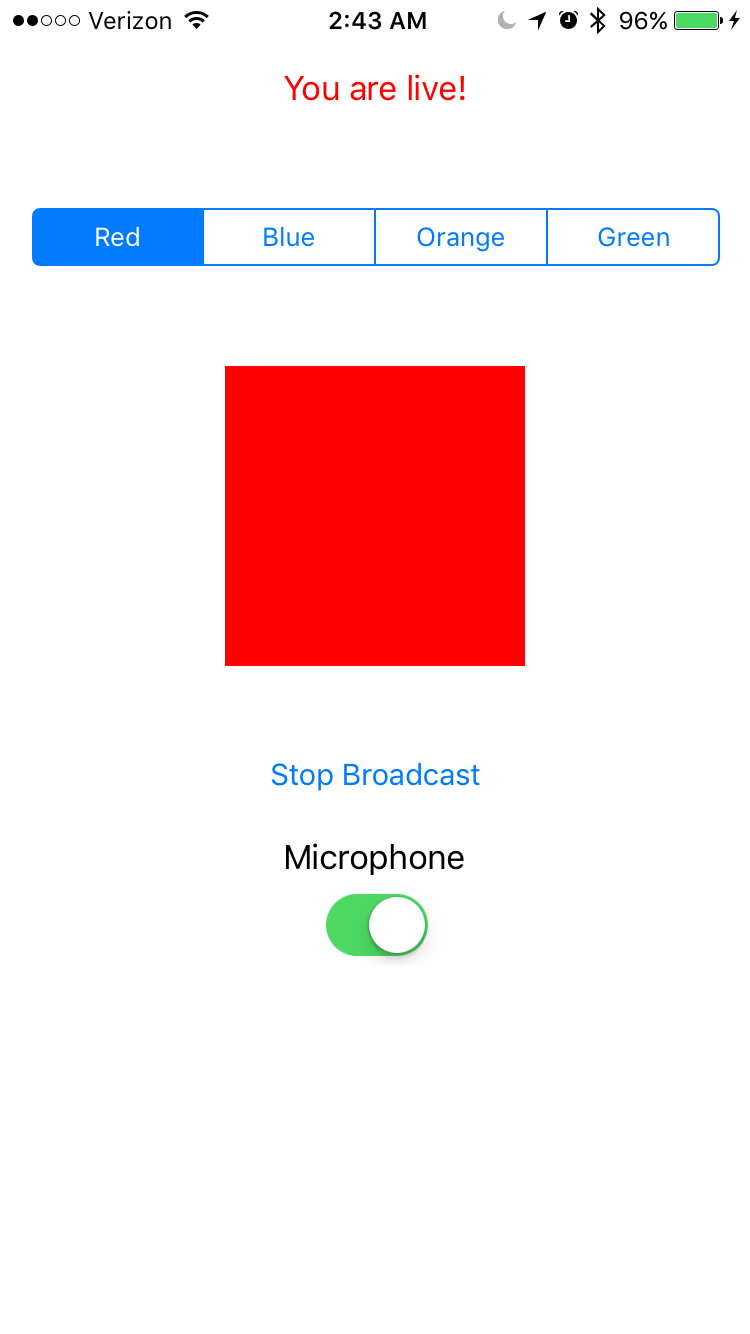
It is REQUIRED by Apple that you have some type of indicator in your app to tell the user that they are broadcasting. If you do not, your app will be rejected in review. This can be anything from a flashing red dot to a label that says when you are broadcasting which is what is exactly what is in this app.
Go down to the broadcastStarted() function and add the following code:
broadcastButton.setTitle("Stop Broadcast", for: .normal)
statusLabel.text = "You are live!" // Any app that does not notify the user that they are live will be rejected in app review.
statusLabel.textColor = UIColor.red
micSwitch.isHidden = false
micLabel.isHidden = false
Here we update the title of the broadcast button, change the text and color of the status label, and unhide the microphone toggle and label. That’s it for this step!
Stopping the Broadcast
So we have started a broadcast, YAY! Now we need to stop it. Lucky for us, this part is way easier.
Head over to the stopBroadcast() function and add the following:
controller.finishBroadcast { error in
    if error == nil {
        print("Broadcast ended")
        self.broadcastEnded()
    }
}
Here we tell the controller to finish the broadcast. If there is no error, we print that it ended successfully and call the broadcastEnded() function to update the UI.
Add the following to broadcastEnded():
broadcastButton.setTitle("Start Broadcast", for: .normal)
statusLabel.text = "You are not live"
statusLabel.textColor = UIColor.black
micSwitch.isHidden = true
micLabel.isHidden = true
This pretty much just reverses everything that broadcastStarted() did. It sets the button title, the status to show that you are no longer broadcasting, and re-hides the mic switch.
That’s it! The broadcast can now stop.
Now you might be asking “Mitchell, shouldn’t I be screen recording and live broadcasting at the same time so I can share and save the broadcast when it’s over?” That’s a good question!
With every streaming service that supports live streaming, your broadcast is saved to their website when it is over. So in the case of Mobcrush, you can go to your account on the website or app to watch and download your broadcast. Others can also watch your recorded broadcast any time in case they missed you live. Because of this, there is no reason to waste resources on your device by broadcasting and recording at the same time. ReplayKit won’t even allow you to do this.
Handling the Microphone
What good is live broadcasting if viewers can’t hear your screaming and cheering while playing? No worries. We can enable the microphone while streaming!
Head to the enableMic action. This action is called every time the microphone switch’s value is changed. As you can see, I have added a handy if statement which detects the state of the switch, aren’t I so nice? 🙂
In the if block, add the following code. This will turn the microphone on.
recorder.isMicrophoneEnabled = true
In the body of else, turn the microphone off by adding the following code:
recorder.isMicrophoneEnabled = false
Your user’s games will never be silent again!
Go Live!
Now it’s time to test out your app. Run the project on your device (not the simulator) and tap “Start Broadcast”.
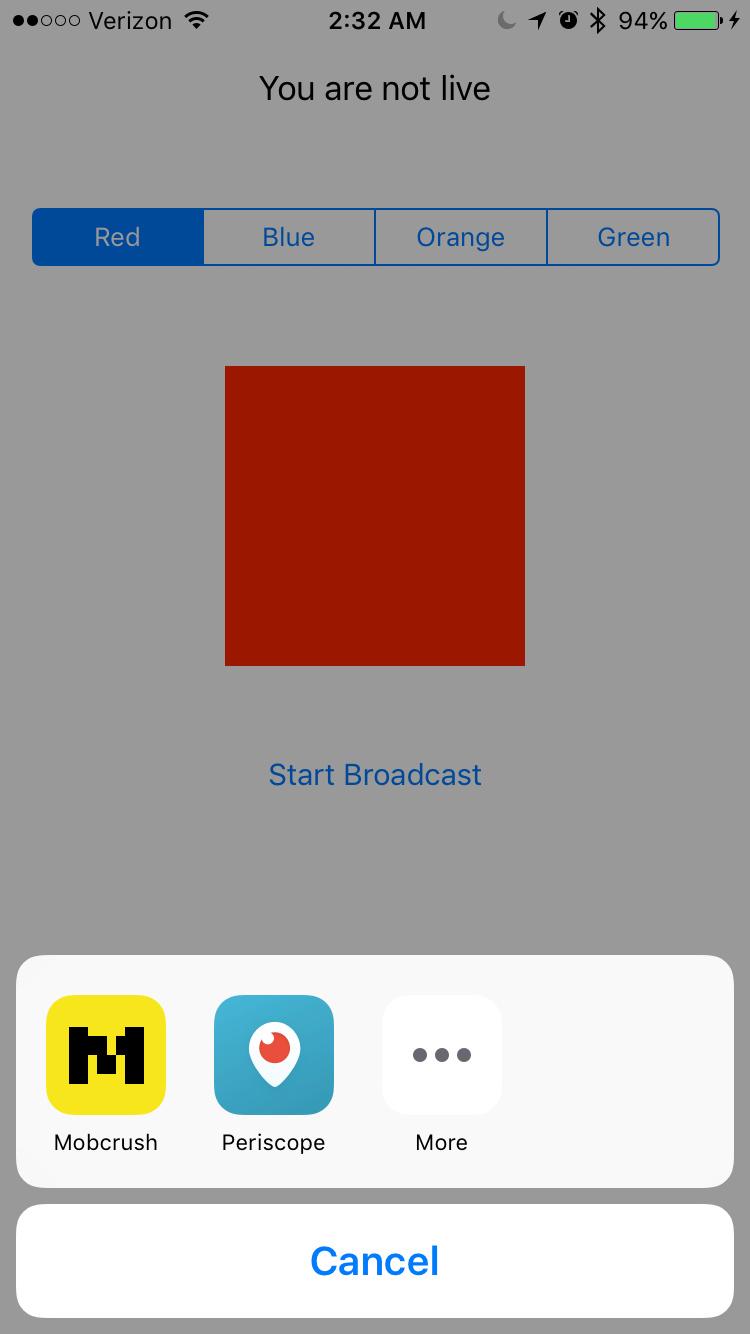
Now you can see the streaming services you have on your phone. You might just have Mobcrush. But since I have Periscope on my phone and it also supports ReplayKit, it shows up for me as well.
Tap the Mobcrush icon.
This is what I was talking about when I mentioned the service’s UI. Enter an awesome title for your broadcast and tap “Start Broadcast”.
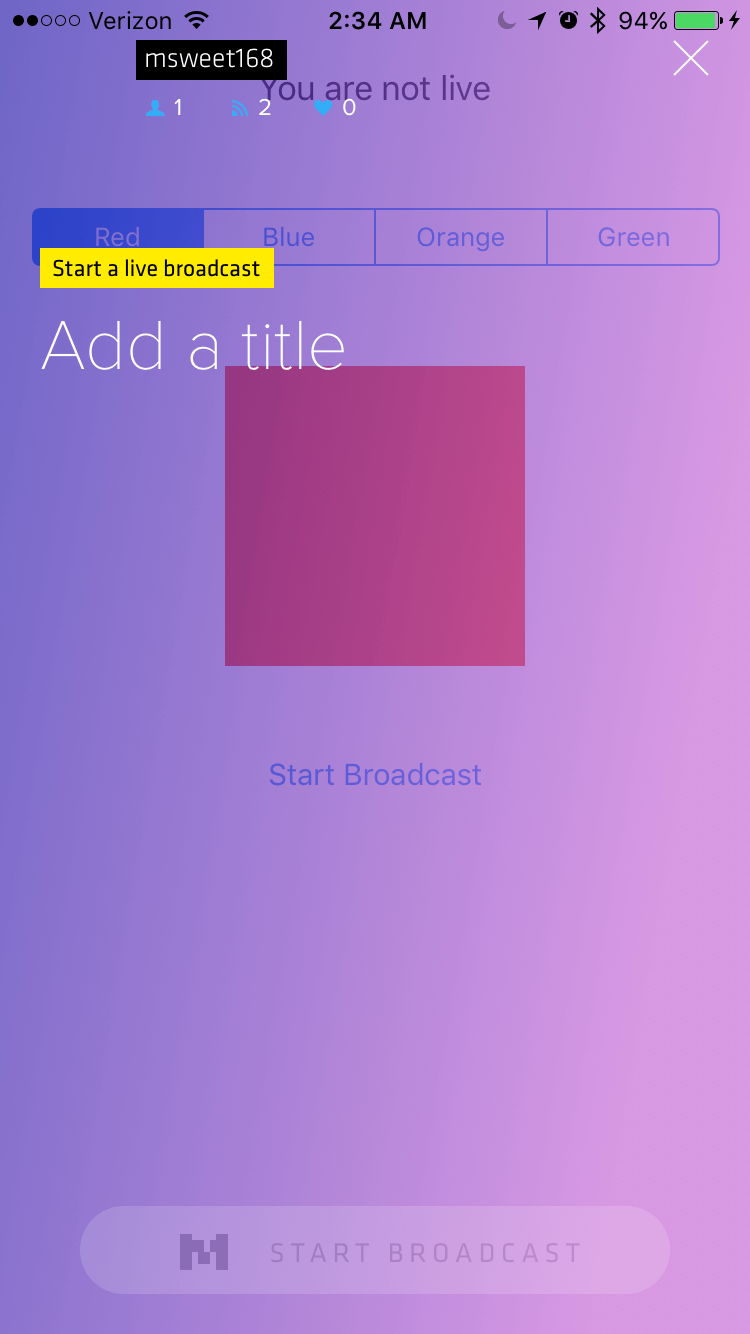
My Mobcrush is msweet168 if you want to see the broadcasts I did while testing this app and even the one I’m about to do now to get you more screenshots.
So as you can see, the status label shows that I am live, the broadcast button now says “Stop Broadcast”, and the microphone switch is unhidden. You can turn the microphone and add some commentary.
Tap “Stop Broadcast” to stop streaming.
Wrap Up
Congratulations! You now have successfully made an awesome live streaming app! Isn’t it cool how simple it is to add such a powerful feature? I personally hope that more and more games in the future will support live broadcasting because it is so fun to use. So add this feature to your apps! Once you do, leave a comment so I can check it out.
There is so much more to ReplayKit than what I have covered in my last two tutorials. Also, this was just a simple demo app. When you are adding live broadcasting to your own apps, make sure you focus more on the UI and error handling. Be sure to look at the official documentation to discover everything you can do.
I also suggest that you add special handling for when a user closes the app while streaming. ReplayKit will automatically pause the broadcast, but when the app is reopened, it is the developer’s job to resume it. This was mentioned in the WWDC16 session Go Live With ReplayKit.. Attending this session during WWDC16 helped me significantly to come up with this tutorial. So do check out the video to learn more.
For reference, the complete demo app that I created is available on GitHub.
If anything in this tutorial confused you or you have some suggestions, feel free to leave a comment below and I can help you out! What do you think of ReplayKit? Are you excited to go put live broadcasting into your games? Leave a comment and let me know.


