

In a previous tutorial, we took a deep dive into creating an image carousel from scratch. We utilized fundamental SwiftUI views like stack views and geometry readers to craft a dynamic carousel UI that worked seamlessly across older iOS versions.
However, if your app exclusively targets the latest iOS version, there is no need to embark on a ground-up implementation of the image carousel. With the latest advancements in SwiftUI, you can now easily create the same fluid carousel UI with significantly less code. With the arrival of iOS 17, the built-in ScrollView introduces an intuitive paging feature, empowering developers to build image carousels and similar UI layouts with a few lines of code.
In this tutorial, we will show you how to create a similar carousel UI using the new version of ScrollView. You’ll be impressed by how little code is needed to accomplish this.
Let’s get started.
Building a Carousel UI with ScrollView and LazyHStack

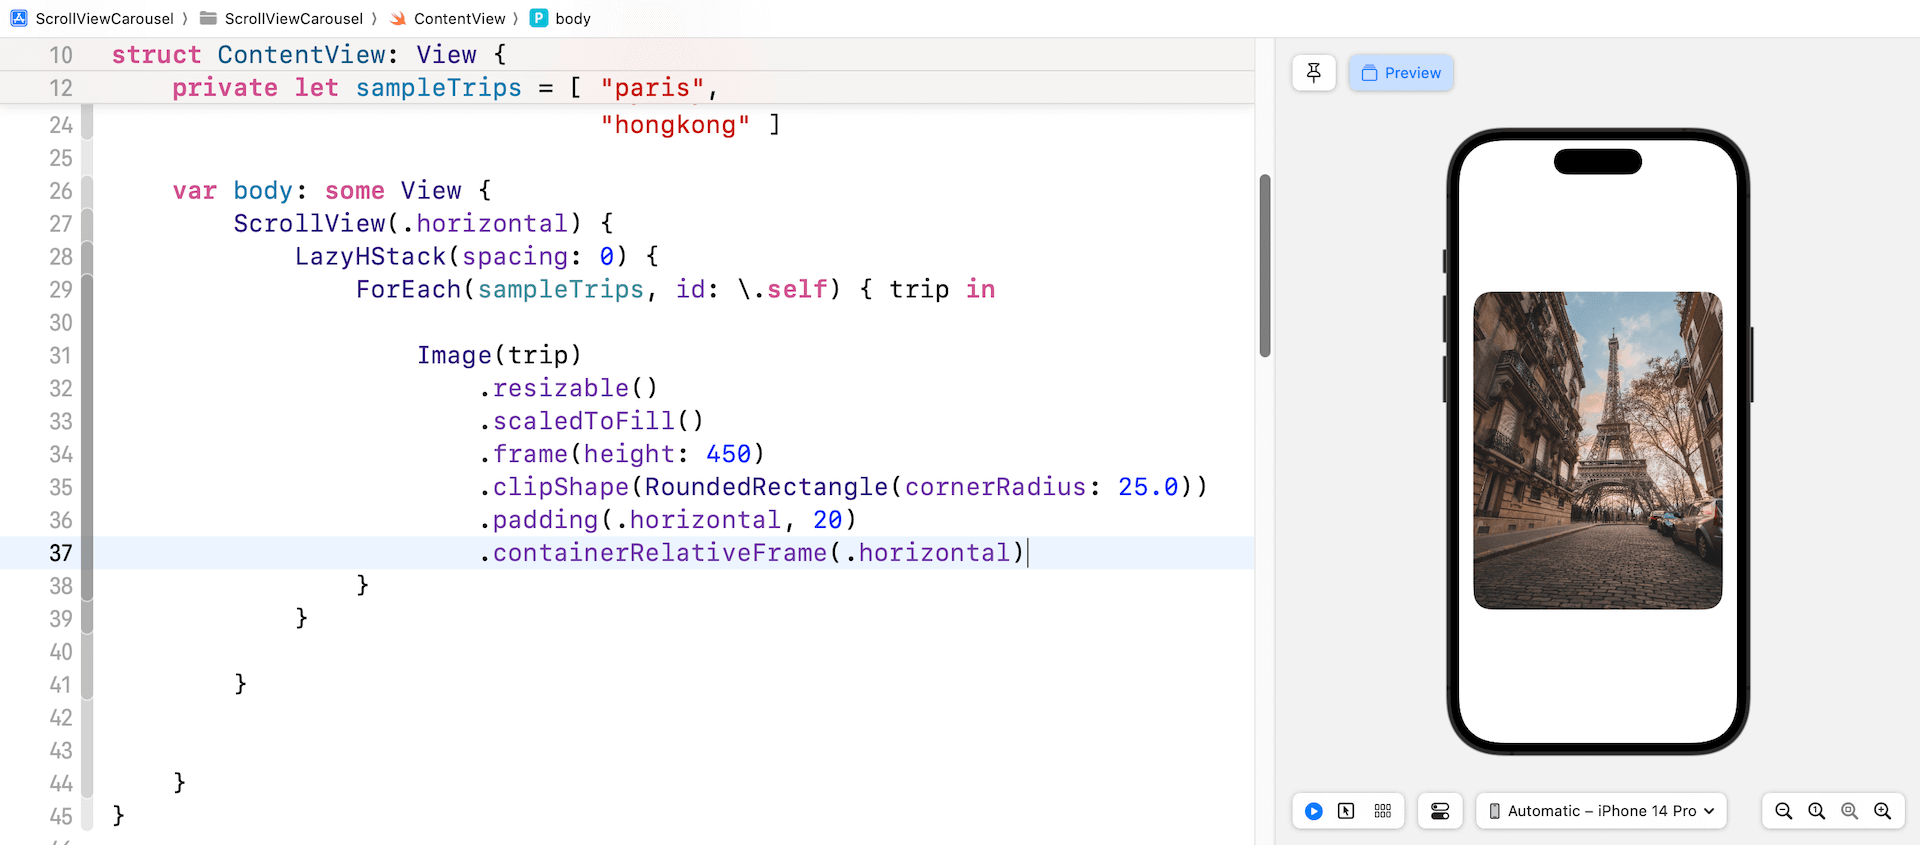
Assuming you have created a SwiftUI project and imported a set of images into the asset catalog, you can create a simple carousel UI using horizontal ScrollView and LazyHStack. Here is a sample code snippet:
struct ContentView: View {

    private let sampleTrips = [ "paris",
                                "florence",
                                "amsterdam",
                                "ghent",
                                "santorini",
                                "budapest",
                                "london",
                                "cuba",
                                "osaka",
                                "kyoto",
                                "seoul",
                                "sydney",
                                "hongkong" ]

    var body: some View {
        ScrollView(.horizontal) {
            LazyHStack(spacing: 0) {
                ForEach(sampleTrips, id: \.self) { trip in

                    Image(trip)
                        .resizable()
                        .scaledToFill()
                        .frame(height: 450)
                        .clipShape(RoundedRectangle(cornerRadius: 25.0))
                        .padding(.horizontal, 20)

                }
            }
        }
    }
}
The implementation is very straightforward. We utilize a LazyHStack view to horizontally arrange a set of images, and a horizontal scroll view to manage the scrolling operation. In the preview canvas, you should be able to swipe left (or right) to scroll through the photos.
Using Container Relative Frame
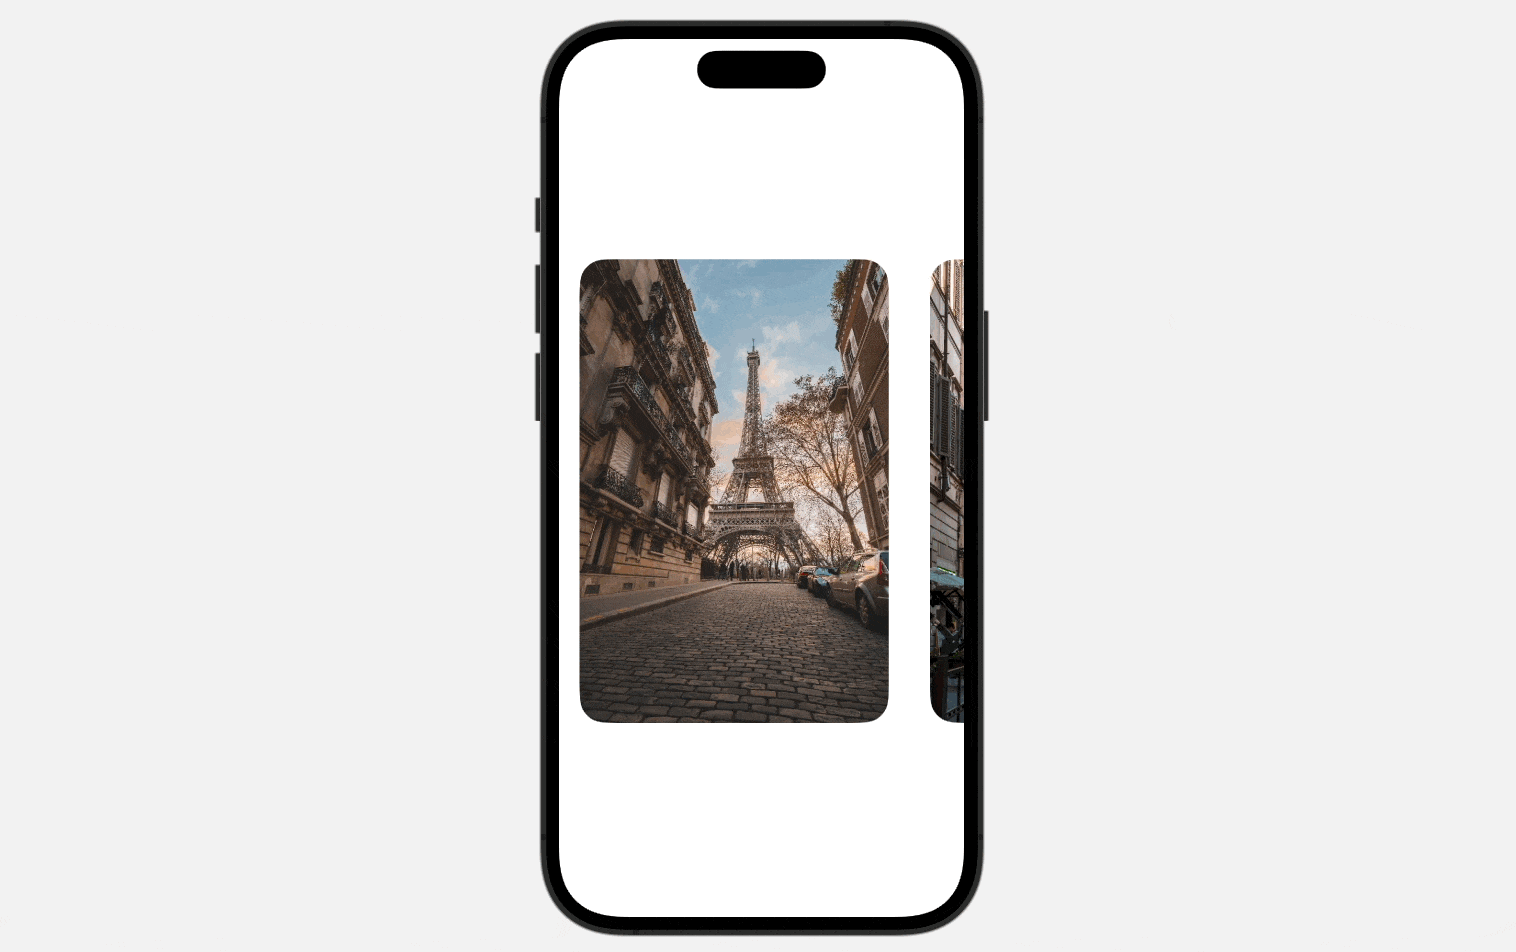
You may notice that each image does not expand to occupy the entire screen width. Therefore, before implementing the paging feature, let us address this issue first.
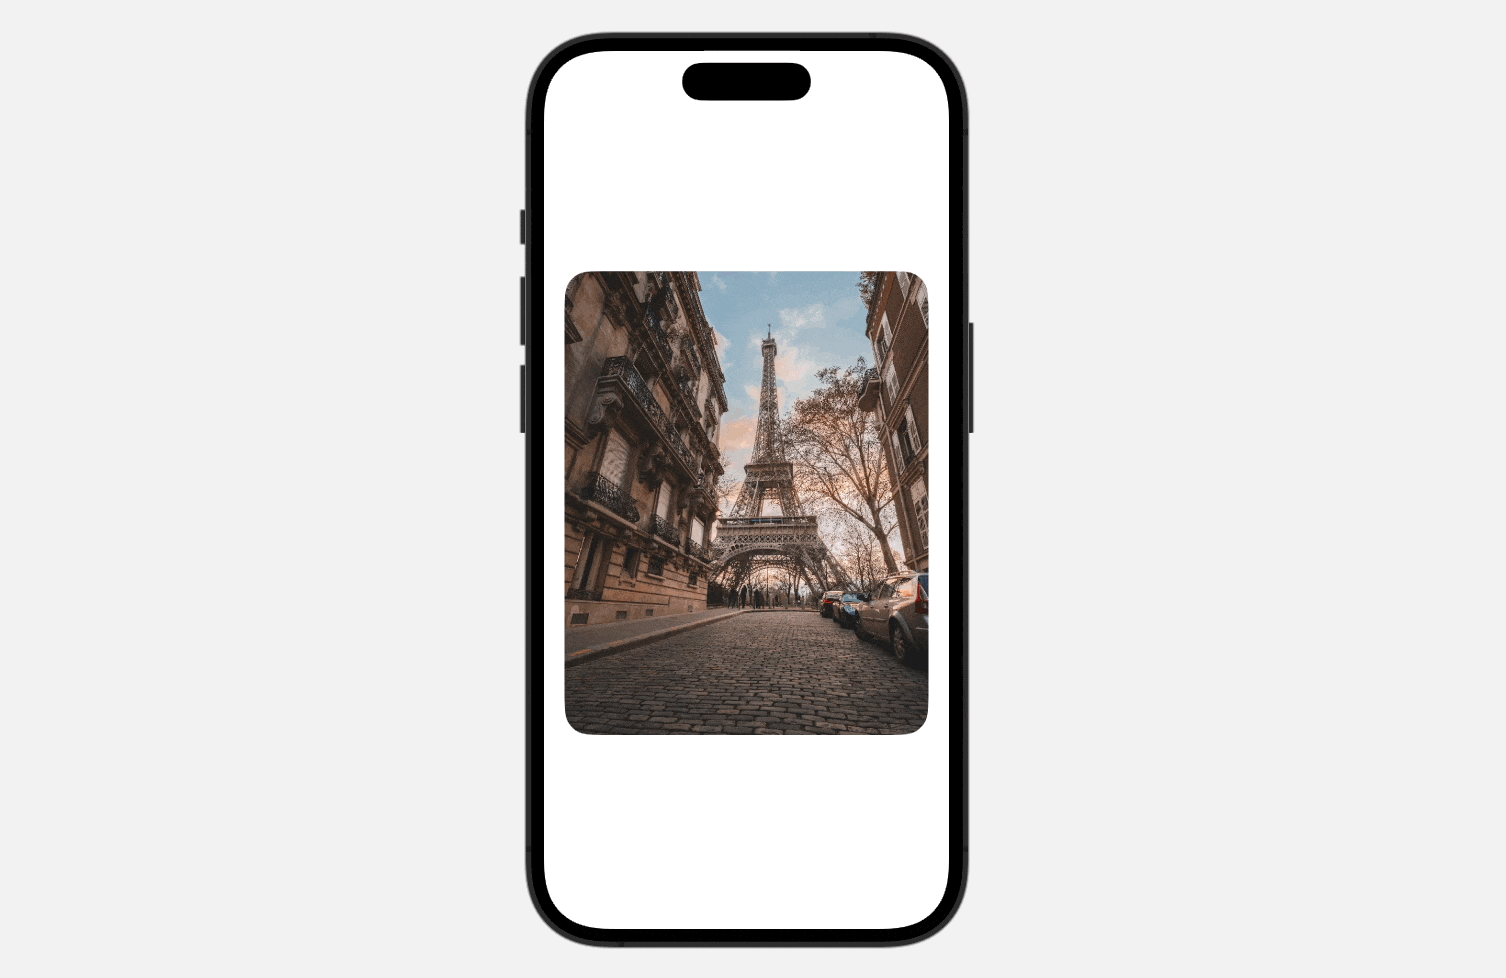
In iOS 17, SwiftUI introduces a new modifier named containerRelativeFrame. By attaching this modifier to the Image view, the image automatically takes up all the available space. As an option, you can specify the axis for this expansion.
For instance, if you attach the containerRelativeFrame modifier to the Image view, the image will expand to take up the width of the screen.
Enable Paging Control
With the upcoming release of iOS 17, enabling paging control for a scroll view becomes incredibly easy with just one line of code. The new scrollTargetBehavior modifier allows developers to effortlessly set the scroll behavior of ScrollView. To enable paging, all you need to do is attach the scrollTargetBehavior modifier to the ScrollView and set its value to .paging:
ScrollView(.horizontal) {
    .
        .
        .
}
.scrollTargetBehavior(.paging)
Alternatively, you can set the value to .viewAligned and attach the scrollTargetLayout modifier to the stack view:
ScrollView(.horizontal) {
    LazyHStack(spacing: 0) {
        .
                .
                .
    }
    .scrollTargetLayout()

}
.scrollTargetBehavior(.viewAligned)
Both approaches create a similar paging animation. You can test it in the preview canvas.

Animating the Scroll Transition
To enhance the user experience, let’s incorporate a delightful animation when transitioning between images. In our previous tutorial, we introduced the scrollTransition modifier, which enables you to observe view transitions and apply animated effects. We will leverage this modifier to animate the image transition and create a more engaging user experience.
Insert the following lines of code and place it below the containerRelativeFrame modifier:
.scrollTransition(.animated, axis: .horizontal) { content, phase in
    content
        .opacity(phase.isIdentity ? 1.0 : 0.8)
        .scaleEffect(phase.isIdentity ? 1.0 : 0.8)
}
The scrollTransition modifier enables us to monitor the transition between image views. When the image view is not in the identity phase, we make the image view smaller and more transparent. Once the image view has completed its entrance onto the screen, we reset both the opacity and size to their original state. This results a smooth and elegant animated transition.
Summary
In comparison to the previous tutorial, this tutorial is significantly shorter. The updated version of ScrollView, equipped with paging support and scroll transition, simplifies the creation of carousel user interfaces. However, it is important to note that this new feature is only accessible on iOS 17 or later. If your app requires to support older versions of iOS, you may need to refer to this tutorial and use foundation SwiftUI views to create the image carousel.
If you want to dive deeper into SwiftUI, don’t forget to check out our Mastering SwiftUI book.


