

One common question that arises when using scroll views in SwiftUI is how to detect the scroll position. Prior to the release of iOS 17, developers had to come up with their own solutions to capture the scroll positions. However, the new version of SwiftUI has updated ScrollView with a new modifier called scrollPosition. With this new feature, developers can effortlessly identify the item that is being scrolled to.
In this tutorial, we will take a closer look at this new modifier and examine how it can assist you in detecting scroll positions in scroll views.
Using the ScrollPosition Modifier to Detect Scroll Positions
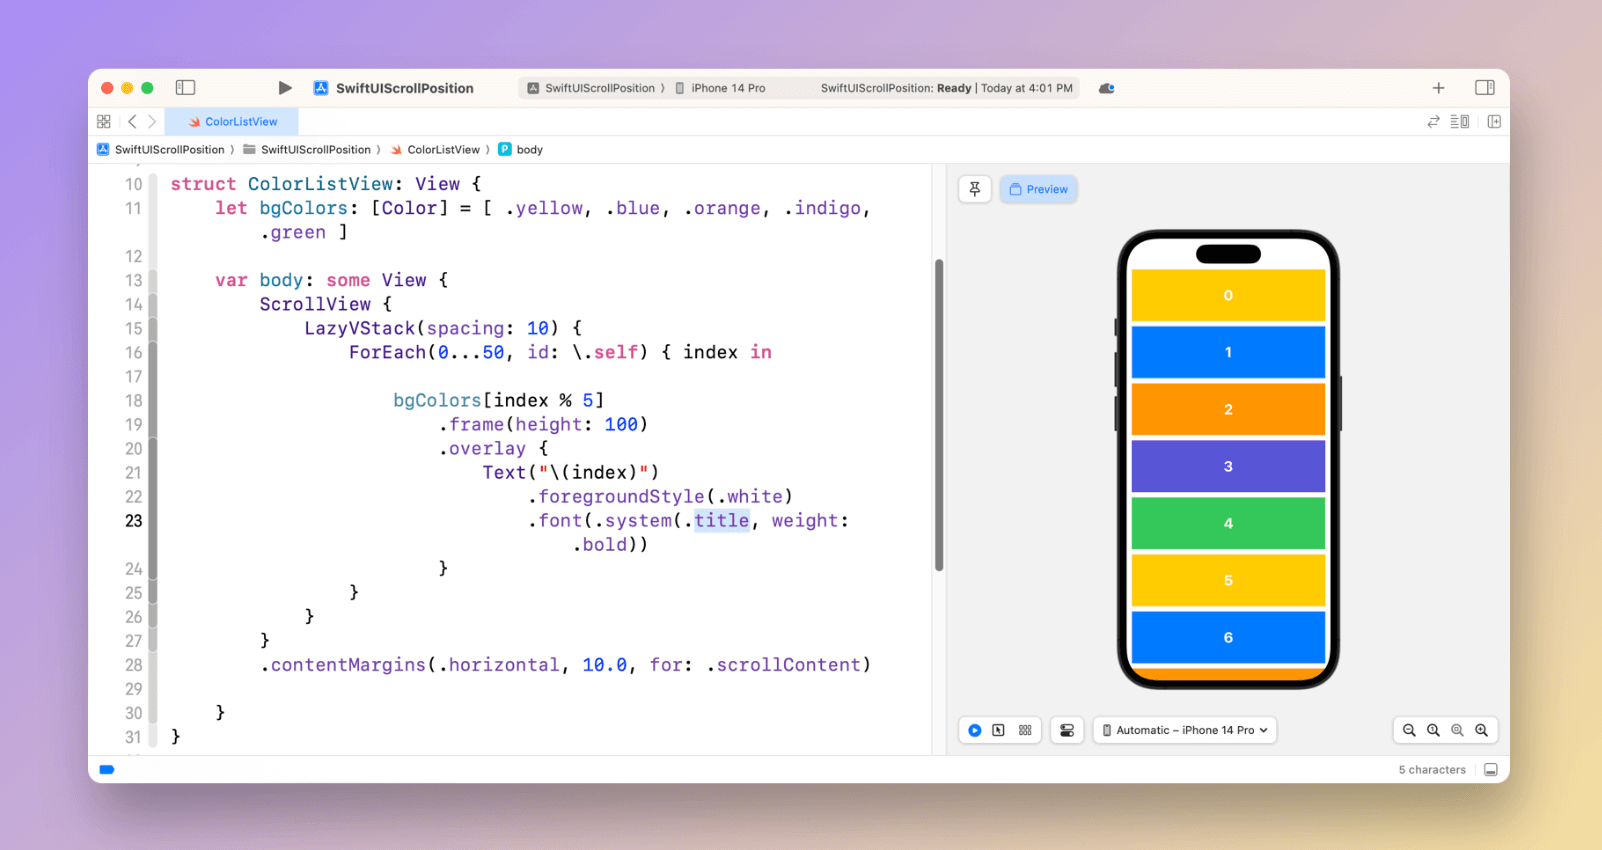
Let’s begin with a simple scroll view that displays a list of 50 items.
struct ColorListView: View {
let bgColors: [Color] = [ .yellow, .blue, .orange, .indigo, .green ]
var body: some View {
ScrollView {
LazyVStack(spacing: 10) {
ForEach(0...50, id: \.self) { index in
bgColors[index % 5]
.frame(height: 100)
.overlay {
Text("\(index)")
.foregroundStyle(.white)
.font(.system(.title, weight: .bold))
}
}
}
}
.contentMargins(.horizontal, 10.0, for: .scrollContent)
}
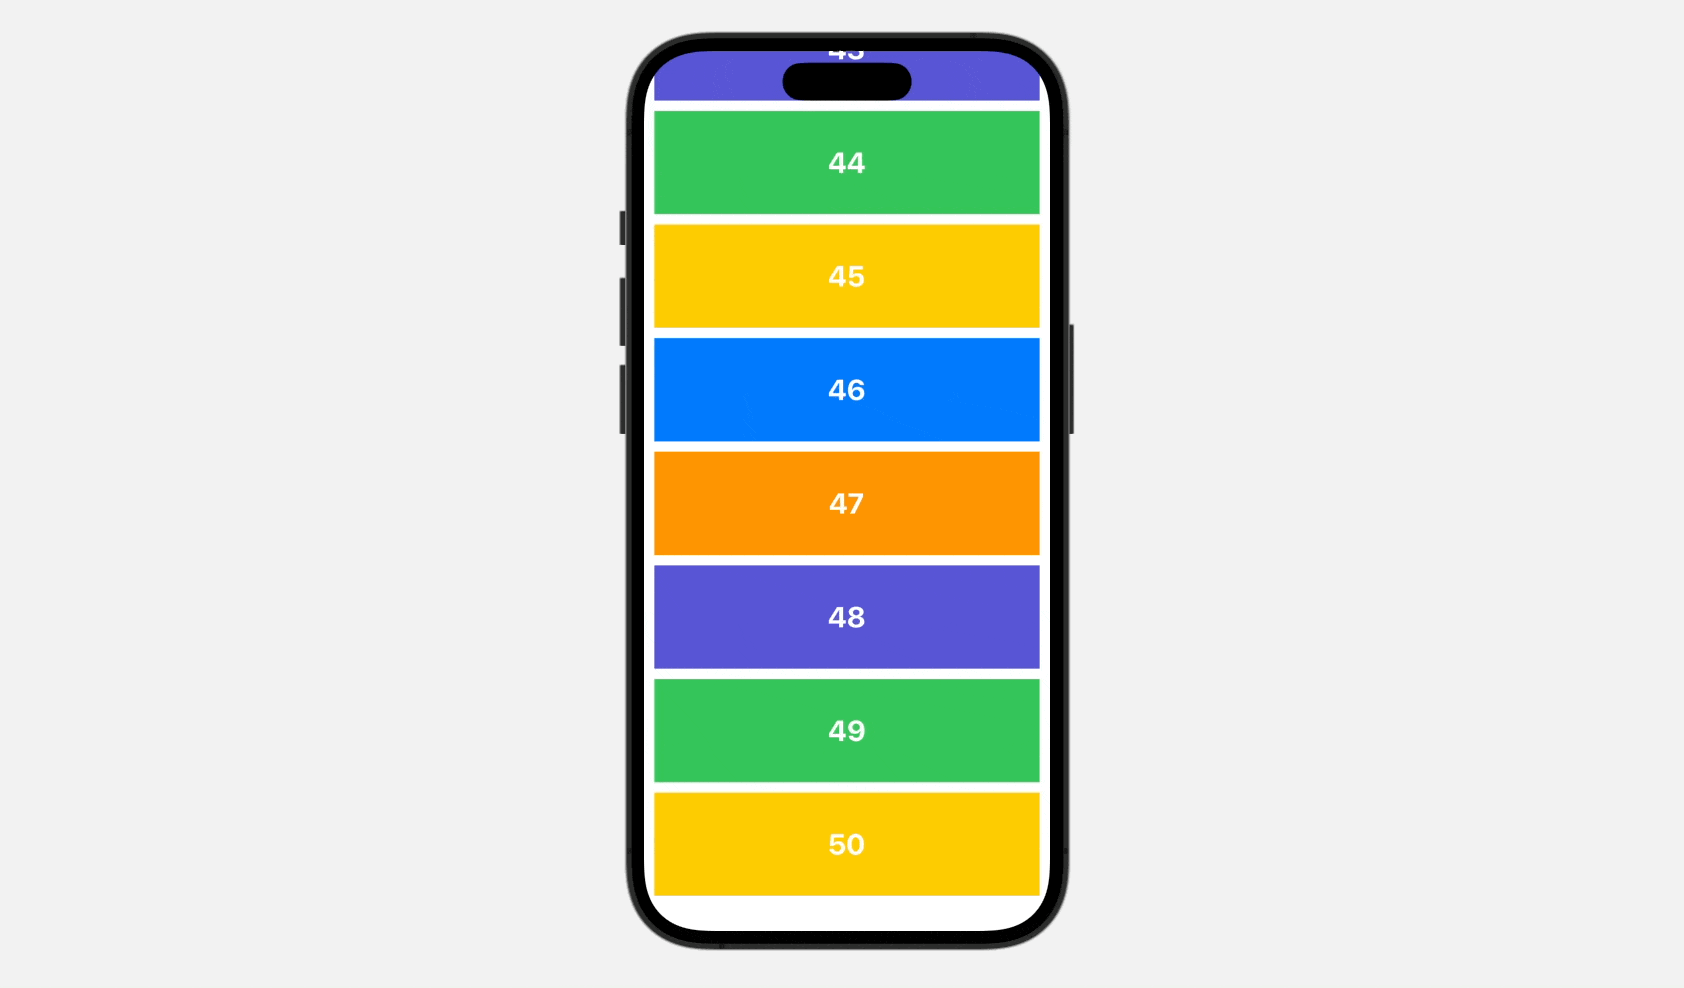
}The code is quite straightforward if you are familiar with implementing a scroll view in SwiftUI. We utilize a ForEach loop to present 50 color items, which are then embedded within a vertical scroll view. If you add this code to a SwiftUI project, you should be able to preview it and see something similar to the figure below.
To keep track of the current scroll position or item, you should first declare a state variable to hold the position:
@State private var scrollID: Int?Next, attach the scrollPosition modifier to the scroll view. This modifier takes a binding to scrollID, which stores the scroll position:
ScrollView {

  ...

}
.scrollPosition(id: $scrollID)
As the scroll view scrolls, the binding will be updated with the index of the color view.
Lastly, attach the scrollTargetLayout modifier to the LazyVStack view as follows:
LazyVStack(spacing: 10) {

    ...

}
.scrollTargetLayout()
Without the scrollTargetLayout() modifier, the scrollPosition modifier will not work correctly. The scrollPosition modifier relies on the scrollTargetLayout() modifier to configure which the layout that contains your scroll targets.
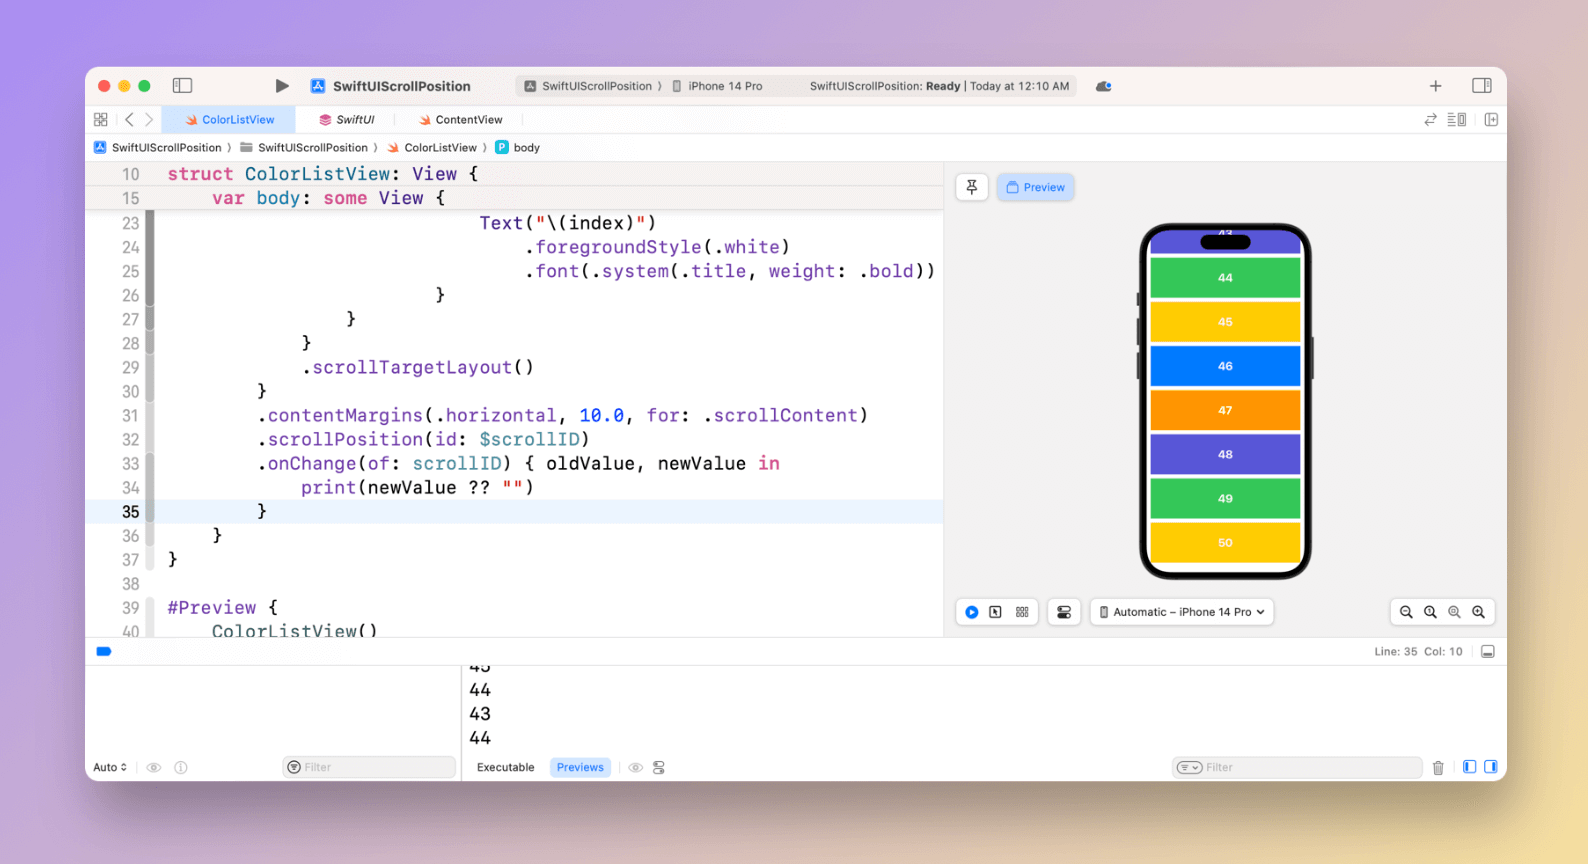
To observe the changes of the scroll position, you can attach a onChange modifier to the scroll view and print the scroll ID to the console:
.onChange(of: scrollID) { oldValue, newValue in
    print(newValue ?? "")
}
As you scroll through the list, the current scroll position should be displayed in the console.
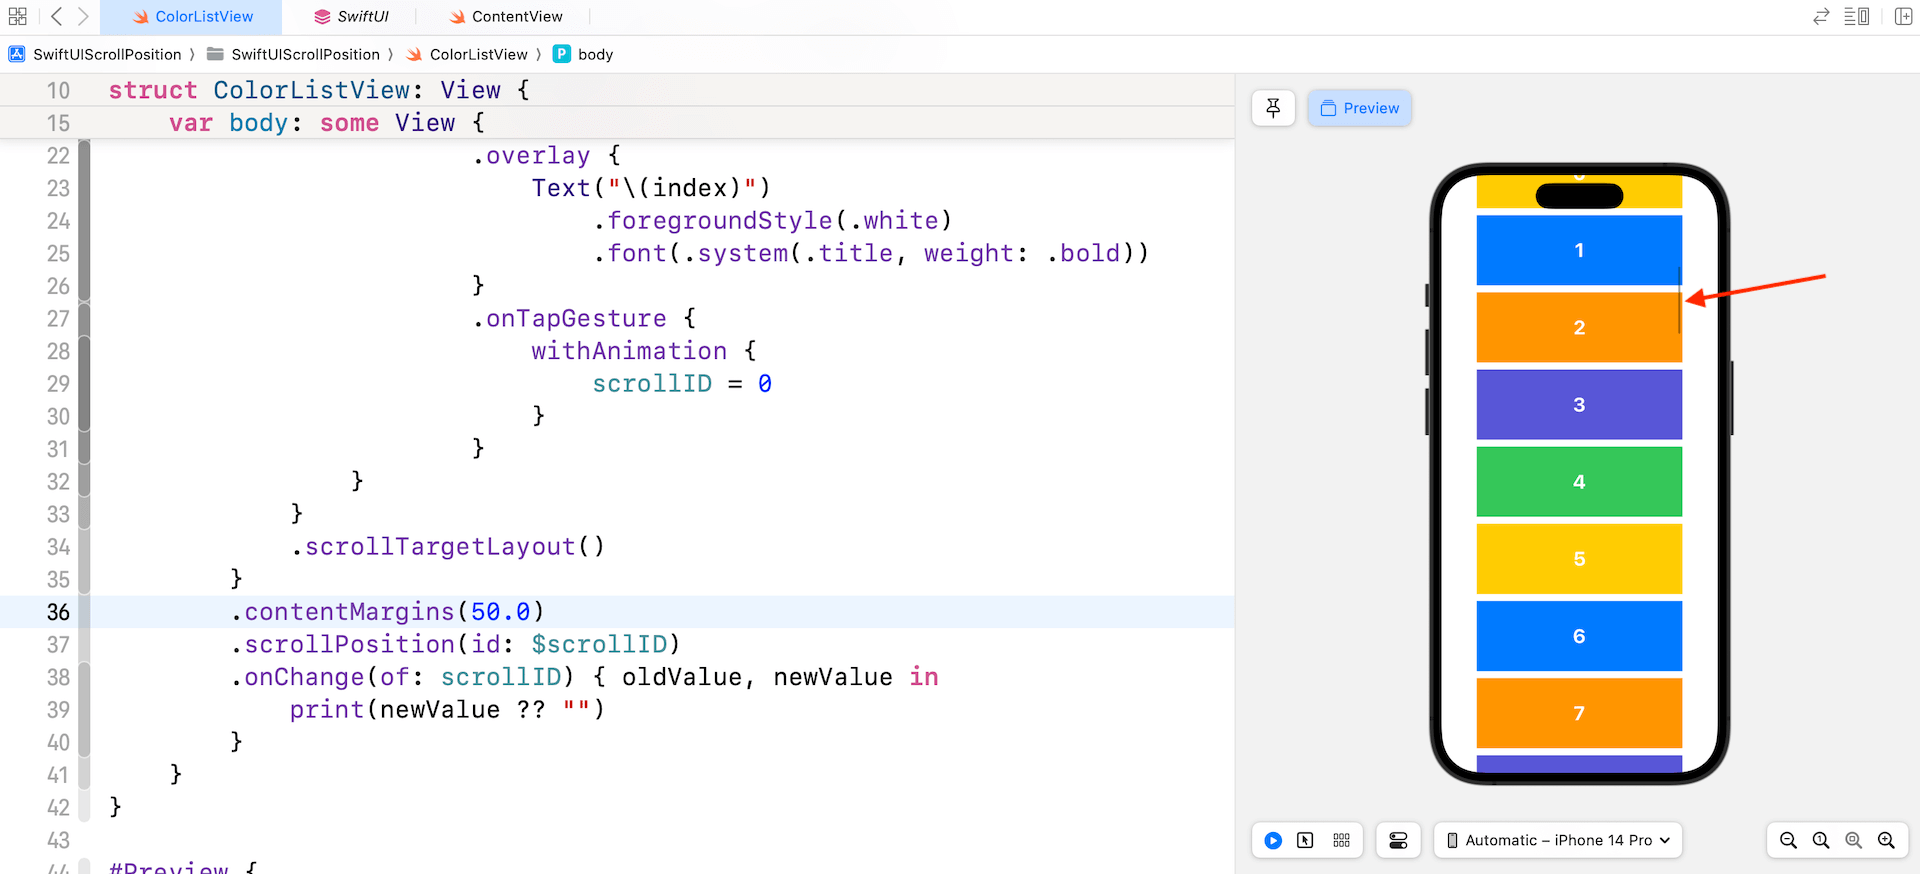
Scroll to the Top
Let’s implement one more feature using the scrollPosition modifier. When a user taps any of the color views, the list should automatically scroll back to the top.
This can be achieved by adding a onTapGesture modifier to each color view, and passing a closure that sets the scrollID to 0 within it. When the user taps on any of the color views, the scrollID will be updated to 0, which will cause the list to scroll back to the top.
bgColors[index % 5]
    .frame(height: 100)
    .overlay {
        Text("\(index)")
            .foregroundStyle(.white)
            .font(.system(.title, weight: .bold))
    }
    .onTapGesture {
        withAnimation {
            scrollID = 0
        }
    }
Adjusting Content Margins of Scroll Views
Now that you know how to detect the scroll position, let’s discuss one more new feature of scroll views in iOS 17. First, it’s the contentMargins modifier. This is a new feature in SwiftUI that allows developers to customize the margins of scrollable views. With contentMargins, you can easily adjust the amount of space between the content and the edges of the scroll view, giving you more control over the layout of your app.
We have already used this modifier in the sample code that sets the horizontal margin to 10 points.
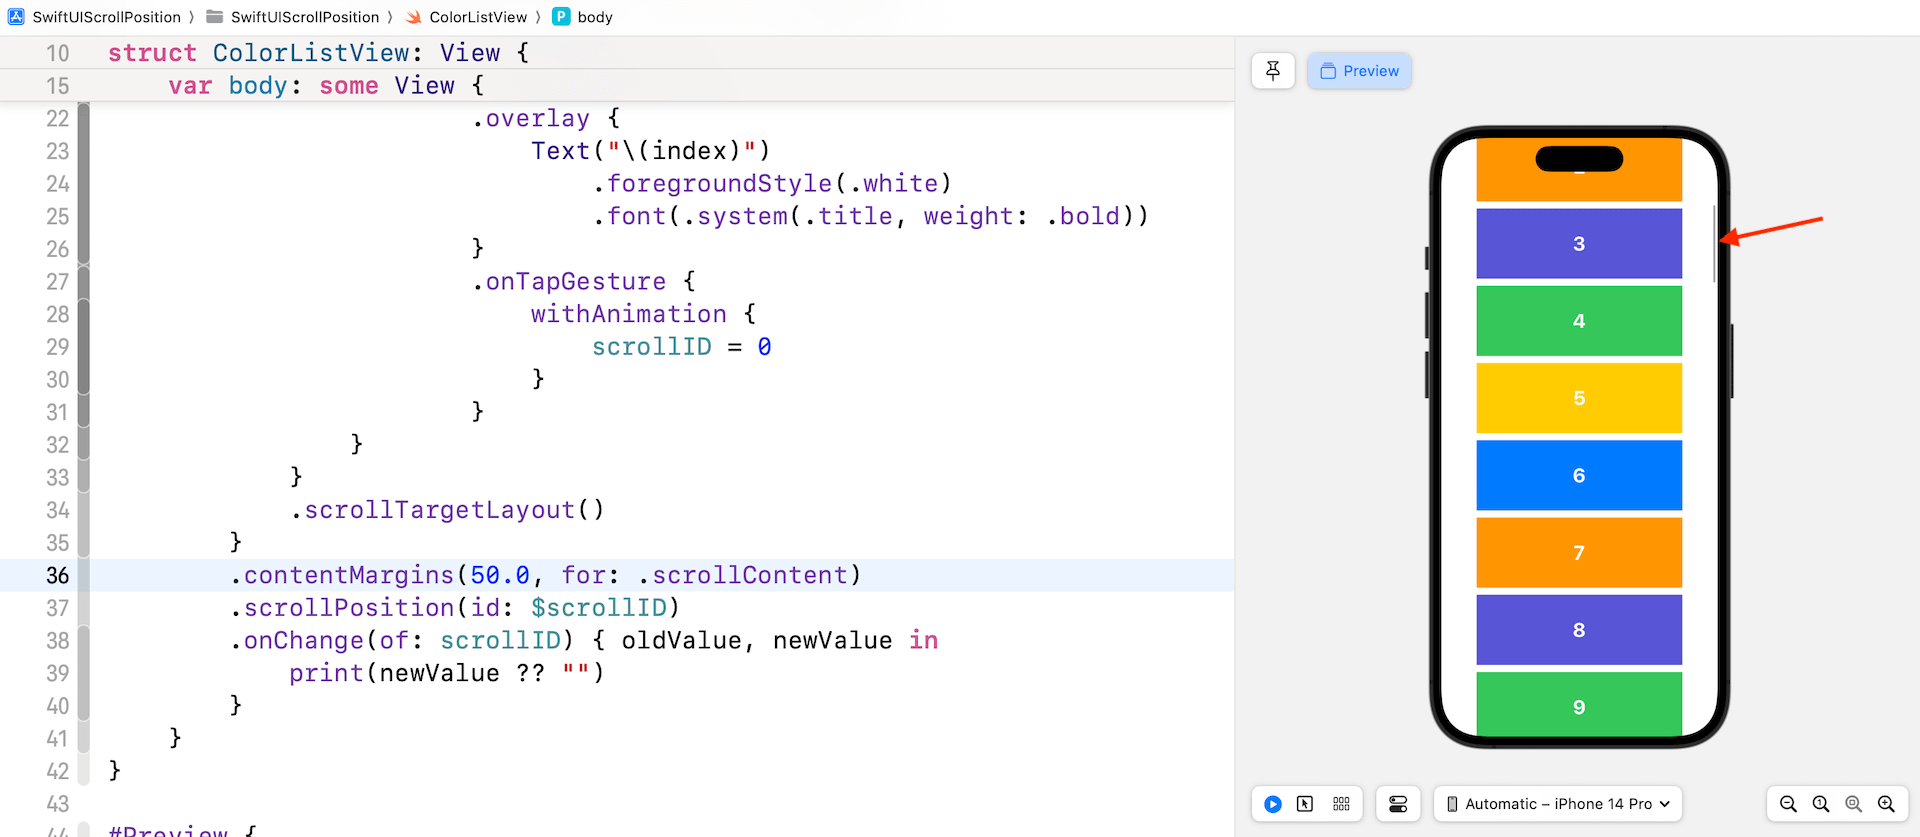
.contentMargins(.horizontal, 10.0, for: .scrollContent)The .scrollContent parameter value indicates that the content margin should only be applied to the scroll content, rather than the entire scroll view. If you do not specify the edges and placement parameters, the contentMargins modifier will apply the margins to all edges of the scroll view. For example, in the code below, it insets the entire scroll view by 50 points, including the scroll bar.
In case if you want to keep the scroll bar at its original position, you can set the placement parameter to .scrollContent.
Summary
The new scrollPosition modifier is one of the most anticipated features of scroll views. In iOS 17, SwiftUI finally introduces this feature allowing developers to detect scroll positions. In this tutorial, we have demonstrated the usage of this new modifier and introduced another new modifier called contentMargins, which enables developers to customize the margins of scrollable views.
With these new features in SwiftUI, developers can now effortlessly create more customized and visually appealing layouts for their apps.
If you’re interested in learning more about SwiftUI, don’t forget to check out our Mastering SwiftUI book.


