

One recent question I got is about the implementation of search bar in SwiftUI projects. Unlike UIKit, SwiftUI doesn’t come with a built-in control for search bar. You may use the UIViewRepresentable protocol to reuse UISearchBar in your SwiftUI project. However, as you look at the search bar, it’s not too difficult to build one entirely using SwiftUI. In this tutorial, let’s try to build a SwiftUI version of search bar.
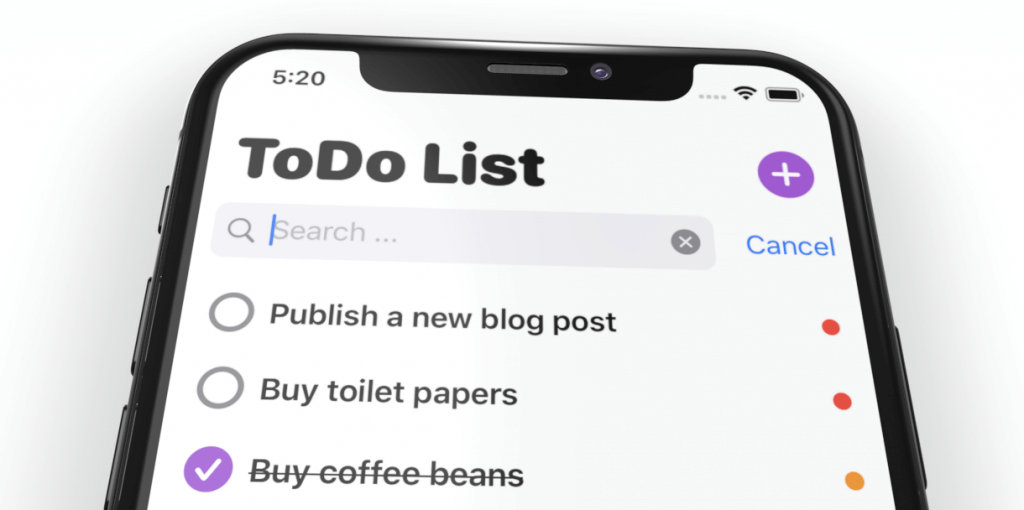
The figure below gives you an idea about the search bar we’re going to build. The look & feel is the same as that of UISearchBar in UIKit. We will also implement the Cancel button which only appears when the user starts typing in the search field.
Editor’s note: If you are new to SwiftUI, you can check out our introductory tutorial here.
Implementing the Search Bar UI
To help you focus on building the search bar, you can download this starter project. Compile it once to make sure it works. The app should show you a list of to-do items. Now, let’s build a search bar by implementing the SearchBar.swift file.
If you look at the standard search bar in iOS, it’s actually composed of a text field and a cancel button.
import SwiftUI

struct SearchBar: View {
    @Binding var text: String

    @State private var isEditing = false

    var body: some View {
        HStack {

            TextField("Search ...", text: $text)
                .padding(7)
                .padding(.horizontal, 25)
                .background(Color(.systemGray6))
                .cornerRadius(8)
                .padding(.horizontal, 10)
                .onTapGesture {
                    self.isEditing = true
                }

            if isEditing {
                Button(action: {
                    self.isEditing = false
                    self.text = ""

                }) {
                    Text("Cancel")
                }
                .padding(.trailing, 10)
                .transition(.move(edge: .trailing))
                .animation(.default)
            }
        }
    }
}
First, we declared two variables: one is the binding of the search text and the other one is a variable for storing the state of the search field (editing or not).
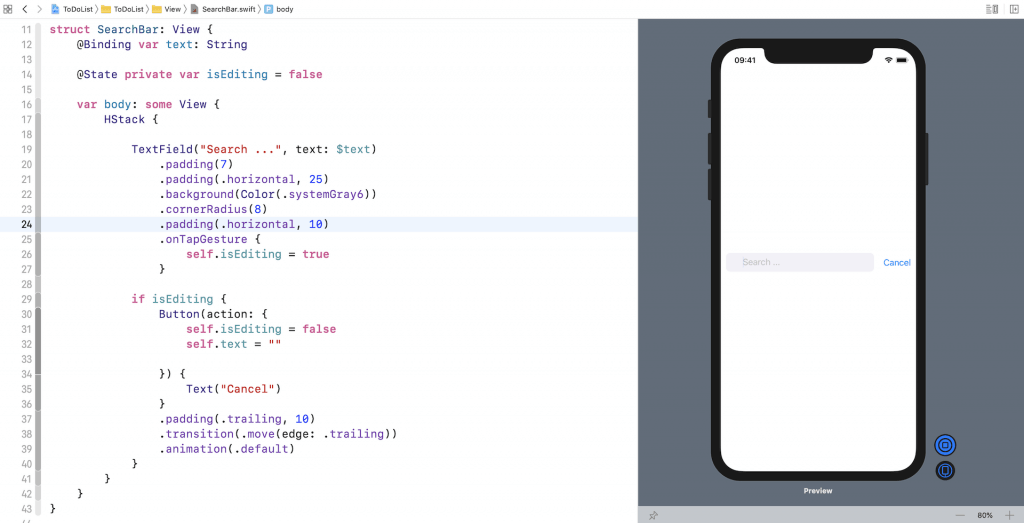
We used a HStack to layout the text field and the Cancel button. The button is only displayed when the user taps the search field. In order to preview the search bar, please also insert the following code:
struct SearchBar_Previews: PreviewProvider {
    static var previews: some View {
        SearchBar(text: .constant(""))
    }
}
Once you added the code, you should be able to preview the search field. Click the play button to test the search field. When you select the text field, the Cancel button should appear.
There are a couple of things missing in the current version of search bar: the search icon and the cross icon. To add these icons to the text field, we can attach an overlay modifier to it. Place the following code after .cornerRadius(8):
.overlay(
    HStack {
        Image(systemName: "magnifyingglass")
            .foregroundColor(.gray)
            .frame(minWidth: 0, maxWidth: .infinity, alignment: .leading)
            .padding(.leading, 8)

        if isEditing {
            Button(action: {
                self.text = ""
            }) {
                Image(systemName: "multiply.circle.fill")
                    .foregroundColor(.gray)
                    .padding(.trailing, 8)
            }
        }
    }
)
We overlay two system images on the text field. For the “multiply.circle.fill” image, it only appears when someone starts typing in the search field. When it’s clicked, it will reset the search field to blank. Again, you can test the search bar in the preview by clicking the Play button.
Using the Search Bar for Data Filtering
Now that the search bar is ready for use, let’s switch over to ContentView.swift and add the search bar to the list view.
Right before the List view, insert the following code:
SearchBar(text: $searchText)
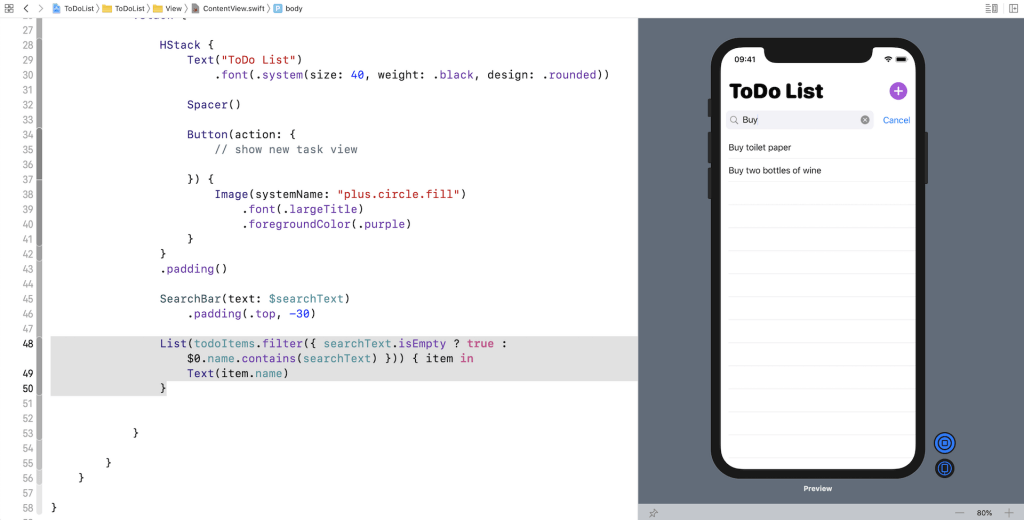
.padding(.top, -30)This will add the search bar between the title and the list view. The searchText is a state variable for holding the search text. As the user types in the search field, this variable will be updated accordingly.
To filter the result, you will need to update the List view like this:
List(todoItems.filter({ searchText.isEmpty ? true : $0.name.contains(searchText) })) { item in
    Text(item.name)
}
In the code, we use the filter function to search for those to-do items which matches the search term. In the closure, we first check if the search text has a value. If not, we simply return true, which means that it returns all the items. Otherwise, we check if the name field contains the search term.
Run the app to try out the search. It should filter the to-do item as you type.
Dismissing the Keyboard
As you can see, it’s not hard to create our own search bar entirely using SwiftUI. While the search bar is working, there is a minor issue we have to fix. Have you tried to tap the cancel button? It does clear the search field. However, the software keyboard is not dismissed.
To fix that, we need to add a line of code in the action block of the Cancel button:
// Dismiss the keyboard
UIApplication.shared.sendAction(#selector(UIResponder.resignFirstResponder), to: nil, from: nil, for: nil)
In the code, we call the sendAction method to resign the first responder and dismiss the keyboard. You can now run the app using a simulator. When you tap the cancel button, it should clear the search field and dismiss the software keyboard.
Summary
In this tutorial, we showed you how to implement a search bar. As you can see, it’s not difficult to build one entirely using SwiftUI. However, if you want to dive deeper and learn how to manage the items in database, you can check out our Mastering SwiftUI book. We will further show you how to persist the data using Core Data and handle search using fetch request. Plus, you will get the full source code of a to-do list app.
For reference, you can download the final project here.


