Chapter 1
The Development Tools, the Learning Approach, and the App Idea

So you want to create your own app? That's great! Creating an app is a fun and rewarding experience. I still remembered the joy when I first created an app years ago, even though the app is just so simple and elementary.
Before we dive into iOS programming, let's go through the tools you need to build an app and get prepared the mindset for learning iOS app development.
The Tools
Apple has favored a closed ecosystem over the open system. iOS can be only run on Apple's own devices including iPhone and iPad. It is very much unlike its competitor, Google, that Android is allowed to run on mobile devices from different manufacturers. As an aspiring iOS developer, what this means to you is that you will need a Mac for app development.
1. Get a Mac
Having a Mac is the basic requirement for iOS development. To develop an iPhone (or iPad) app, you need to get a Mac that is capable to run on macOS version 14 (or later). If you now own a PC, the cheapest option is to purchase the Mac Mini. As of this writing, the retail price of the entry model is US$599. You can hook it up to the monitor of your PC. I would recommend you to pick the basic model of Mac mini with Apple M1 chip. It should be good enough to run the iOS development tools smoothly. Of course, if you have a bigger budget, get the higher model or an iMac with better processing power.
2. Register Your Apple ID
You will need an Apple ID to download Xcode, access iOS SDK documentation, and other technical resources. Most importantly, it will allow you to deploy your app to a real iPhone/iPad for testing.
If you have downloaded an app from the App Store, it is quite sure that you already own an Apple ID. In case you haven't created your Apple ID before, you have to get one. Simply go to Apple's website (https://appleid.apple.com/account) and follow the procedures for registration.
3. Install Xcode
To start developing iOS apps, Xcode is the only tool you need to download. Xcode is an integrated development environment (IDE) provided by Apple. Xcode provides everything you need to kick start your app development. It already bundles the latest version of the iOS SDK (short for Software Development Kit), a built-in source code editor, graphic user interface (UI) editor, debugging tools and much more. Most importantly, Xcode comes with an iPhone (and iPad) simulator so you can test your app without the real devices.
To install Xcode, go up to the Mac App Store and download it. If you're using the latest version of Mac OS, you should be able to open the Mac App Store by clicking the icon in the dock. In case you can't find it, you may need to upgrade your Mac OS.
In the Mac App Store, simply search "Xcode" and click the "Get" button to download it.
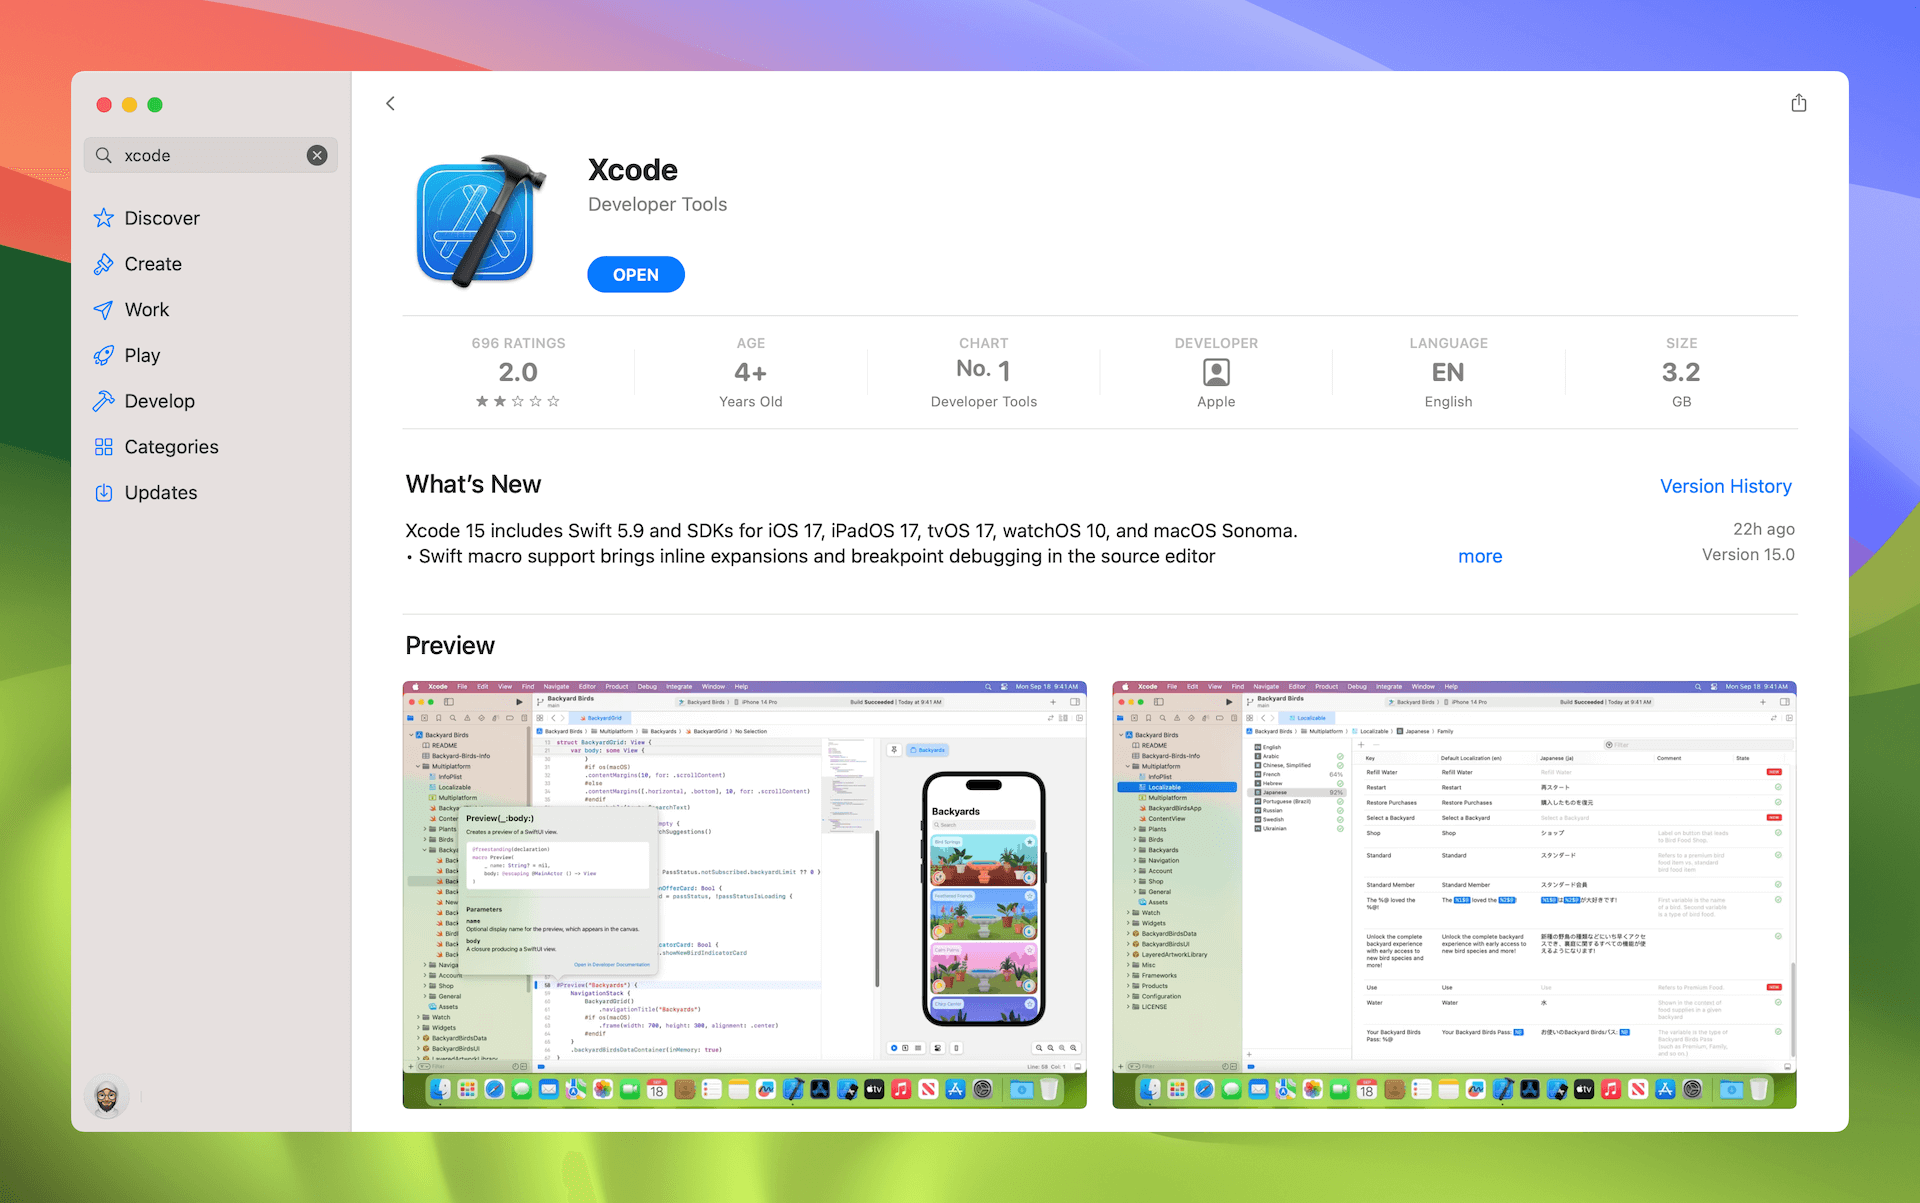
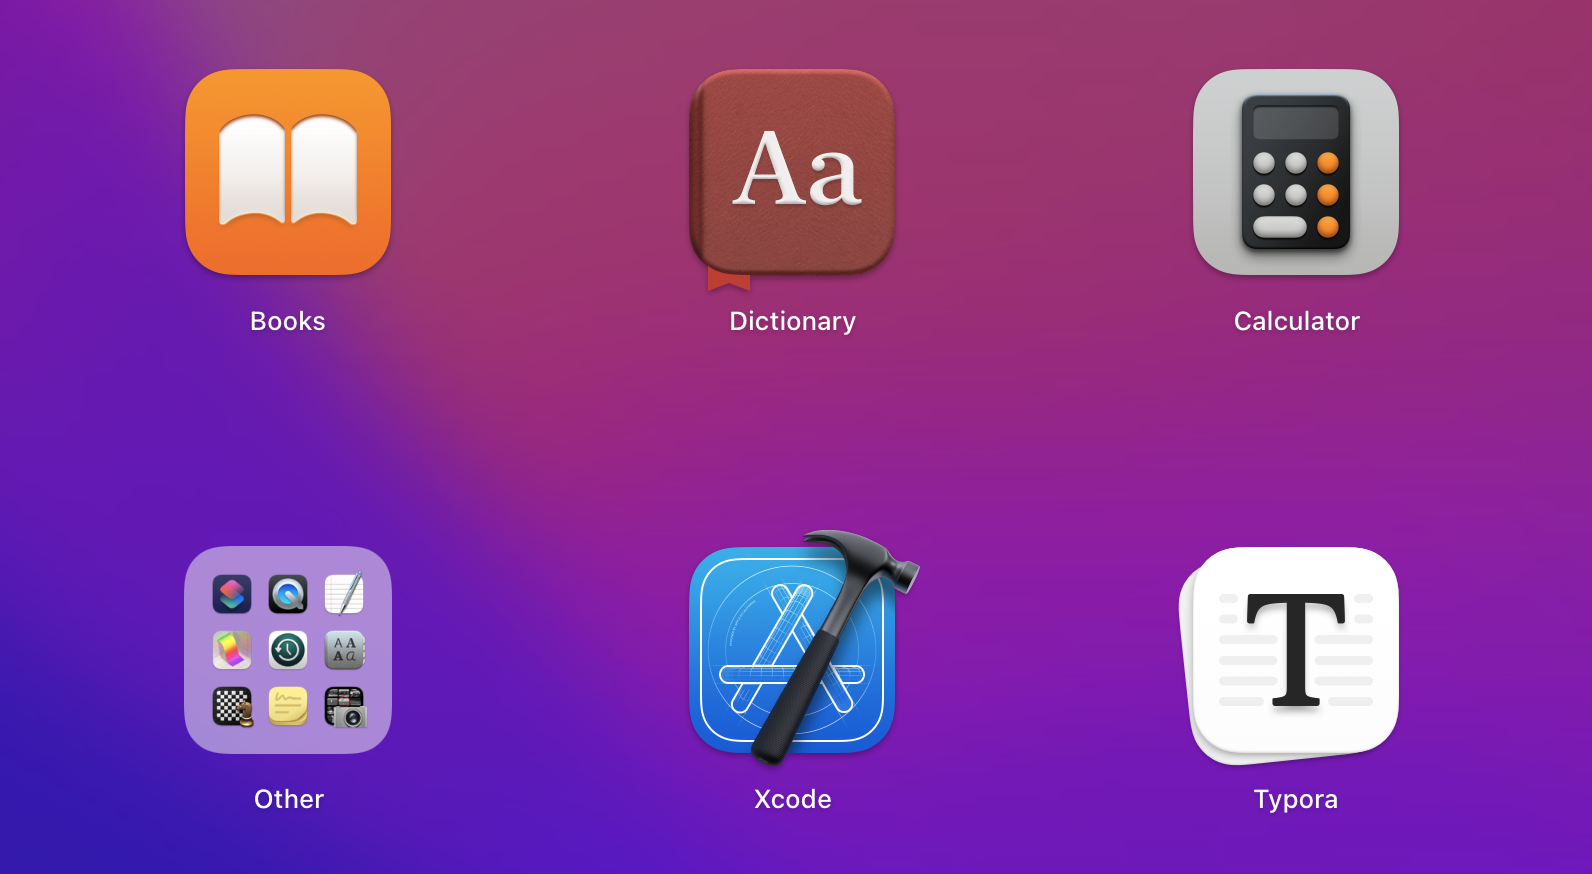
Once you complete the installation process, you will find Xcode in the Launchpad.
At the time of this writing, the latest version of Xcode is 15. Throughout this book, we will use this version of Xcode to create the demo apps. Even if you have installed Xcode before, I suggest you upgrade to the latest version. This should make it easier for you to follow the tutorials.
4. Enroll in the Apple Developer Program (Optional)
A common question about developing an iOS app is whether you need to enroll in the Apple Developer Program (https://developer.apple.com/programs/). The short answer is optional. First, Xcode already includes a built-in iPhone and iPad simulator. You can develop and test out your app on Mac, without enrolling in the program.
Starting from Xcode 7, Apple has changed its policy regarding permissions required to build and run apps on devices. Before that, the company required you to pay US$99 per year in order to deploy and run your apps on a physical iPhone or iPad. Now, program membership is no longer required. Everyone can test their apps on a real device without enrolling in the Apple Developer Program. Having said that, if you want to try out some advanced features such as in-app purchase, push notifications or CloudKit, you still need to apply for the program membership. Most importantly, you're not able to submit your app to App Store without paying the annual membership fee.
So, should you enroll in the program now? The Apple Developer Program costs US$99 per year. It's not big money but it's not cheap either. Since you're reading this book, you're probably a newcomer and just start exploring iOS development. The book is written for beginners. We will first start with something simple. You are not going to tap into the advanced features until you grasp the basic skills.
Therefore, even if you do not enroll into the program, you will still be able to follow most of the content to build an app and test it on your device. For now, save your money. I will let you know when you need to enroll in the program. At that time, you're encouraged to join the program as you're ready to publish the app to the App Store!
The Learning Approach
I have been teaching iOS programming from 2012 through blogging, online courses, and in-person workshops. What I found is that it is the learning approach and the mindset that make the difference between failing and achieving. Before we talk about Swift and iOS programming, I want to get you equip with the right mindset and understand the most effective way to learn programming.
Get Your Hands Dirty
One of the most popular questions about learning how to code is:
What's the best way to learn iOS programming?
First, thanks for reading this book. Unfortunately, I have to tell you that you cannot learn programming just by reading books. This book has everything you need to learn Xcode, Swift, and iOS app development.
But the most important part is taking action.
If I have to provide an answer to the question, I will say "Learn by Doing". It is at the heart of my teaching approach.
Let me change the question a little bit:
What's the best way to learn English (or other foreign languages)?
What's the best way to learn cycling (or any other sports)?
You probably know the answer. I especially like this answer on Quora about learning a new language:
Follow this routine: listen 1 hour a day, speak 1 hour a day, publish 1 journal entry.
- Dario Mars Patible
You learn through practice, not by just studying grammar. Learning programming is somewhat very similar to learning a language. You need to take actions. You have to work on a project or some exercises. You have to sit in front of your Mac, immerse yourself in Xcode, and write the Swift code. It doesn't matter how many mistakes you make during the process. Just remember to open Xcode and code while reading this book.
Motivations
Why do you want to learn app development? What motivates you to sacrifice the weekends and holidays to learn how to code?
Some people begin learning app development just because of money. There is nothing wrong with that. You may want to build your app business to earn some side income and eventually turn it into a full-time business. That's completely understandable. Who doesn't want to live a rich life?
As of August 2022, however, there were over 2.2 million apps on the App Store. It is really hard to put up an app on the App Store and expect to make a load of money overnight. You'll be easily discouraged or even give up if money is your primary reason for building apps, especially when you come across articles like this:
- How Much Money I Made on the App Store (https://juejin.cn/post/6844903422802706440)
Then reality set in.
199 units old = US$209 in sales = US$135 proceeds (net to me). In order to get the app on the app store I needed to pay the $99 developer fee.
So after 2 months and 1 week my (before tax) profit was $36.
- James
Programming is hard and challenging. I find people who successfully master the language are those who have a strong desire to build apps and are enthusiastic to learn programming. They usually have an idea in their mind and want to turn it into a real app. Making money is not their number one concern. They know the app can solve their own problems and will be beneficial to others. With such a powerful purpose in mind, they can overcome any obstacles come up.
So, think again why you want to learn programming.
Find a Buddy
"The best way to learn is to teach" is an old saying. It still works in the modern world, however. You don't need to be an expert to teach. I'm not talking about giving a lecture at a university or teaching a bunch of students in a formal class. Teaching does not always happen that way. It can be as simple as sharing your knowledge with a colleague or a classmate sitting next to you.
Try to find someone who is also interested in learning iOS programming. When you learn something new, try to explain the materials to your buddy. For example, after building your first app, teach your close friend how it works and how he/she can create an app too.
What if you can't find a buddy to share what you've learned? No worries. Start a blog on medium.com (or whatever platforms you like), write a blog post every day, and document everything you learn.
This is one of the most effective ways of learning as I learn so much while publishing tutorials on appcoda.com, as well as, developing my first book.
Sometimes you think you know the materials well. But once you need to explain the concept to someone else and answer questions, chances are that you didn't understand the material thoroughly. And this will motivate you to study the materials even harder. Give this method a shot while you learn iOS programming.
Be Patient
Grit is passion and perseverance for very long-term goals. Grit is having stamina. Grit is sticking with your future, day-in, day-out. Not just for the week, not just for the month, but for years. And working really hard to make that future a reality. Grit is living life like it’s a marathon, not a sprint.
- Dr. Angela Lee Duckworth
Some of my students asked, "How long would it take to become a good developer?"
It takes time to master programming and become a great developer. It usually takes years. Not weeks, not months but years.
This book will help you kick start the journey. You will learn all the basics of Swift and iOS programming and eventually, build an app. That said, it takes time and lots of practices to become a professional programmer.
Be patient. Don't set your expectations too high for your first app. Just enjoy the process, create something simple and fun. Keep reading and coding daily. You will eventually master the skill.
Find Your App Idea
I always encourage my students to come up with their own app idea when start learning app development. The idea doesn't have to be big. You do not need to build the next Uber app or come up with a new idea to change the world. You just need to start with a very small idea that solves a problem.
Let me give you a couple of the examples.
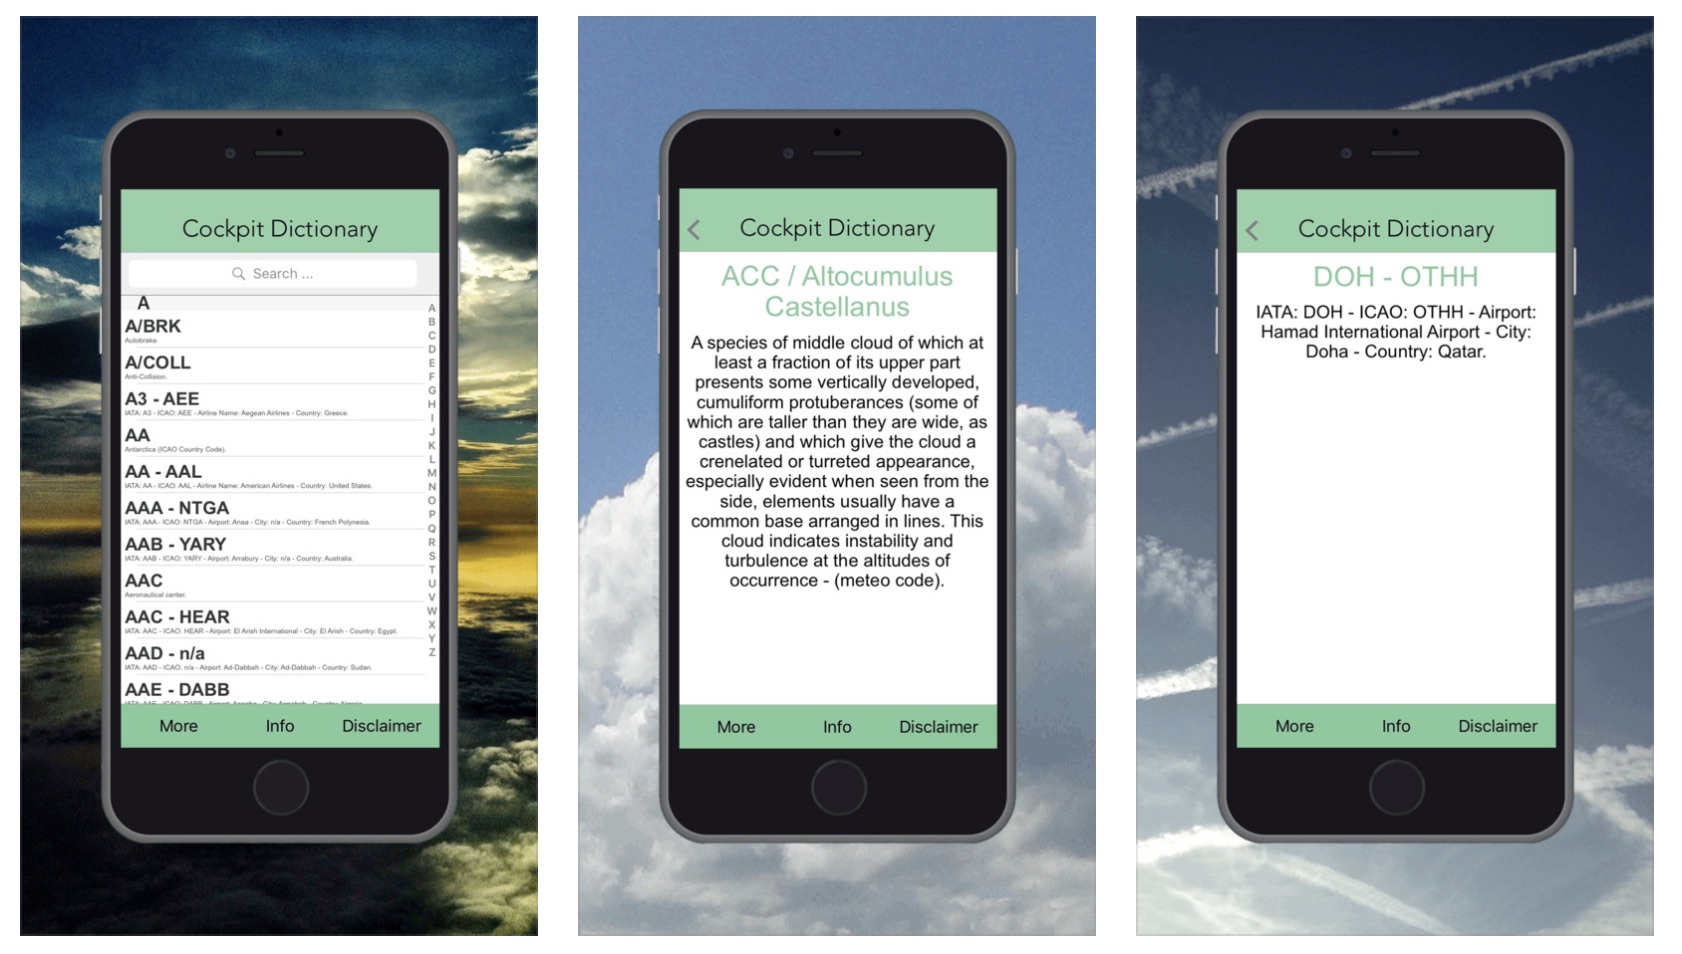
One classic example that I used to mention is Cockpit Dictionary. It is an app built by Manolo Suarez, who is a pilot by profession. He had an app idea while learning app programming. The idea was not fancy but solved his own problem. There are tens of thousands of Aviation terms in abbreviated form. Even for an experienced pilot with over 20 years of aviation experience, it is impossible to remember all the acronyms and technical terms. Instead of using a print dictionary, he thought of building a handy app for pilots to look up all kinds of Aviation terms. A simple, yet a great idea to solve his own problem.
Another example is the NOAA Buoy Data app. While this app is no longer available on the App Store, I still want to quote it as an example. The app was designed to retrieve the latest weather, wind, and wave data from the National Oceanic and Atmospheric Administration’s (NOAA) National Data Buoy Center (NDBC). Developed by Leo Kin, he came up with the app idea during his recovery from surgery.
"After the surgery, I had to wear a neck brace for three months. During those three months, I couldn’t move a lot and even had a hard time walking or even raising my arms. My physical therapist advised that I go walking as much as I can to get exercise and to build back my atrophied leg muscles.
There is an island close to where I was living that I really enjoyed walking to. The only problem was that it can only be reached during low tide. And if the tide came in, there’s no way to get back home except by swimming. Since I was very physically weakened, I was very scared of getting stuck on the island with no way back. While walking, I was always going to NOAA’s website to check how high or low the tide was and if I had enough time to walk to the island and back.
During one of my walks, the idea came to me that I should build an app. Even if no one else uses the app, it wouldn’t matter because it would help me keep track of the tides and get back in time."
- Leo Kin
His app may not interest you, but it was solving a problem he faced at the time. Probably people on that island would benefit from his app too.

Having your own app idea will give you a clear goal and motivate you to keep learning. Now spare some time and write down three app ideas below:
UIKit vs SwiftUI
Which UI framework should you learn? As a beginner, you may have heard of these two terms: UIKit and SwiftUI. Some people said you should learn UIKit to build apps but some said you could ignore UIKit and dive right into SwiftUI because it's Apple's brand new UI framework.
I guess you may be confused with these technical terms. Let me give you a quick overview to both, so you know which one you should focus on.
First, both frameworks allow you to build great apps. The UIKit framework is the original UI framework available since the first release of iOS. With UIKit, you can write code to build the mobile app UI or create app layouts using Xcode's Interface Builder. One of the downsides, however, is that the framework is more complicated to learn as compared to SwiftUI.
With SwiftUI, you can develop the app's UI with a declarative Swift syntax. What that means to you is that the UI code is easier and more natural to write. Compared with the existing UI frameworks like UIKit, you can create the same UI with way less code.
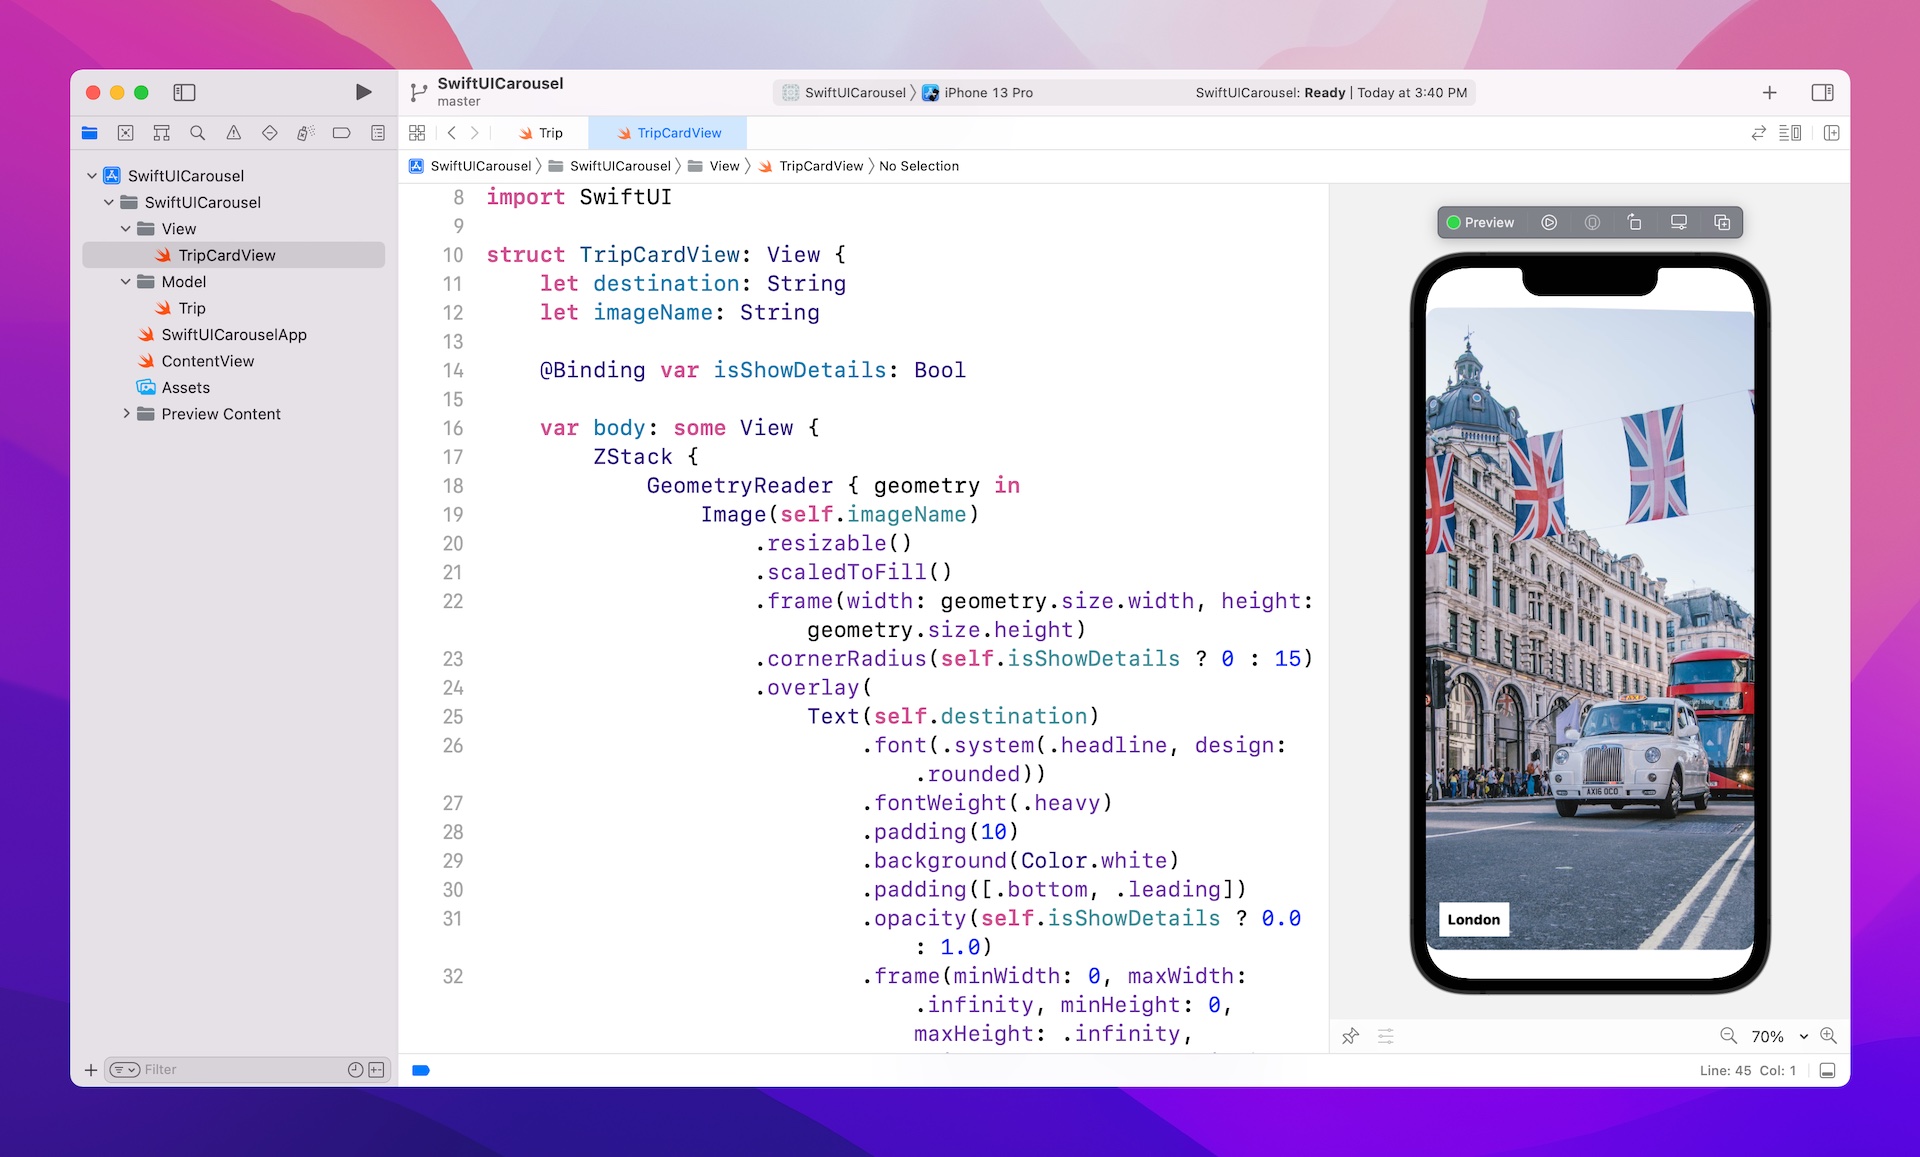
The preview function has always been a weak point of Xcode. While you can preview simple layouts in Interface Builder (or Storyboard), you usually can't preview the complete UI until the app is loaded onto the simulators. With SwiftUI, Xcode gives you immediate feedback of the UI you are coding. For example, you add a new record to a table, Xcode renders the UI change on the fly in a preview canvas. If you want to preview how your UI looks in dark mode, you just need to change an option. This instant preview feature simply makes UI development a breeze and iteration much faster.
Not only does it allow you to preview the UI, the new canvas also lets you design the user interface visually using drag and drop. What's great is that Xcode automatically generates the SwiftUI code as you add the UI component visually. The code and the UI are always in sync. This is a feature Apple developers anticipated for a long time.
Now it comes to the core question. As a beginner, which framework should you learn?
You should ask yourself why you want to learn iOS programming. What's your goal? Do you want to become a professional iOS developer and get hired? Or you just want to learn something new as a hobby?
If you want to develop a career in iOS development, my short answer is to learn both frameworks. But it's better to begin with UIKit because many companies are still developing apps using UIKit. It's an essential skill to help you get hired. This is why I recommend you to get familiar with UIKit, followed by SwiftUI.
On the other hand, if you take up programming as a hobby or create an app as a side project, I suggest you to jump right into SwiftUI. It is easier to learn and lets you build apps using less code. From time to time, you may still need to use some UI components from UIKit. When that time comes, you can learn how to use that specific UIKit components. So, focus on SwiftUI first and then UIKit.
Summary
That's all for the introduction. Take some time to install Xcode on your Mac, come up with your own app idea, and pick the framework you want to focus on. We have both UIKit and SwiftUI books to help you learn the required skills for building your own apps.
If UIKit is your focus, proceed to the next chapter and we will start programming in Swift.
So get ready!
To access the full version of the book, please get the full copy here. You will also be able to access the full source code of the project.