Chapter 15
Navigation Bar Customization, Dark Mode, and Dynamic Type
Fun is one of the most important and underrated ingredients in any successful venture. If you're not having fun, then it's probably time to call it quits and try something else.
- Richard Branson
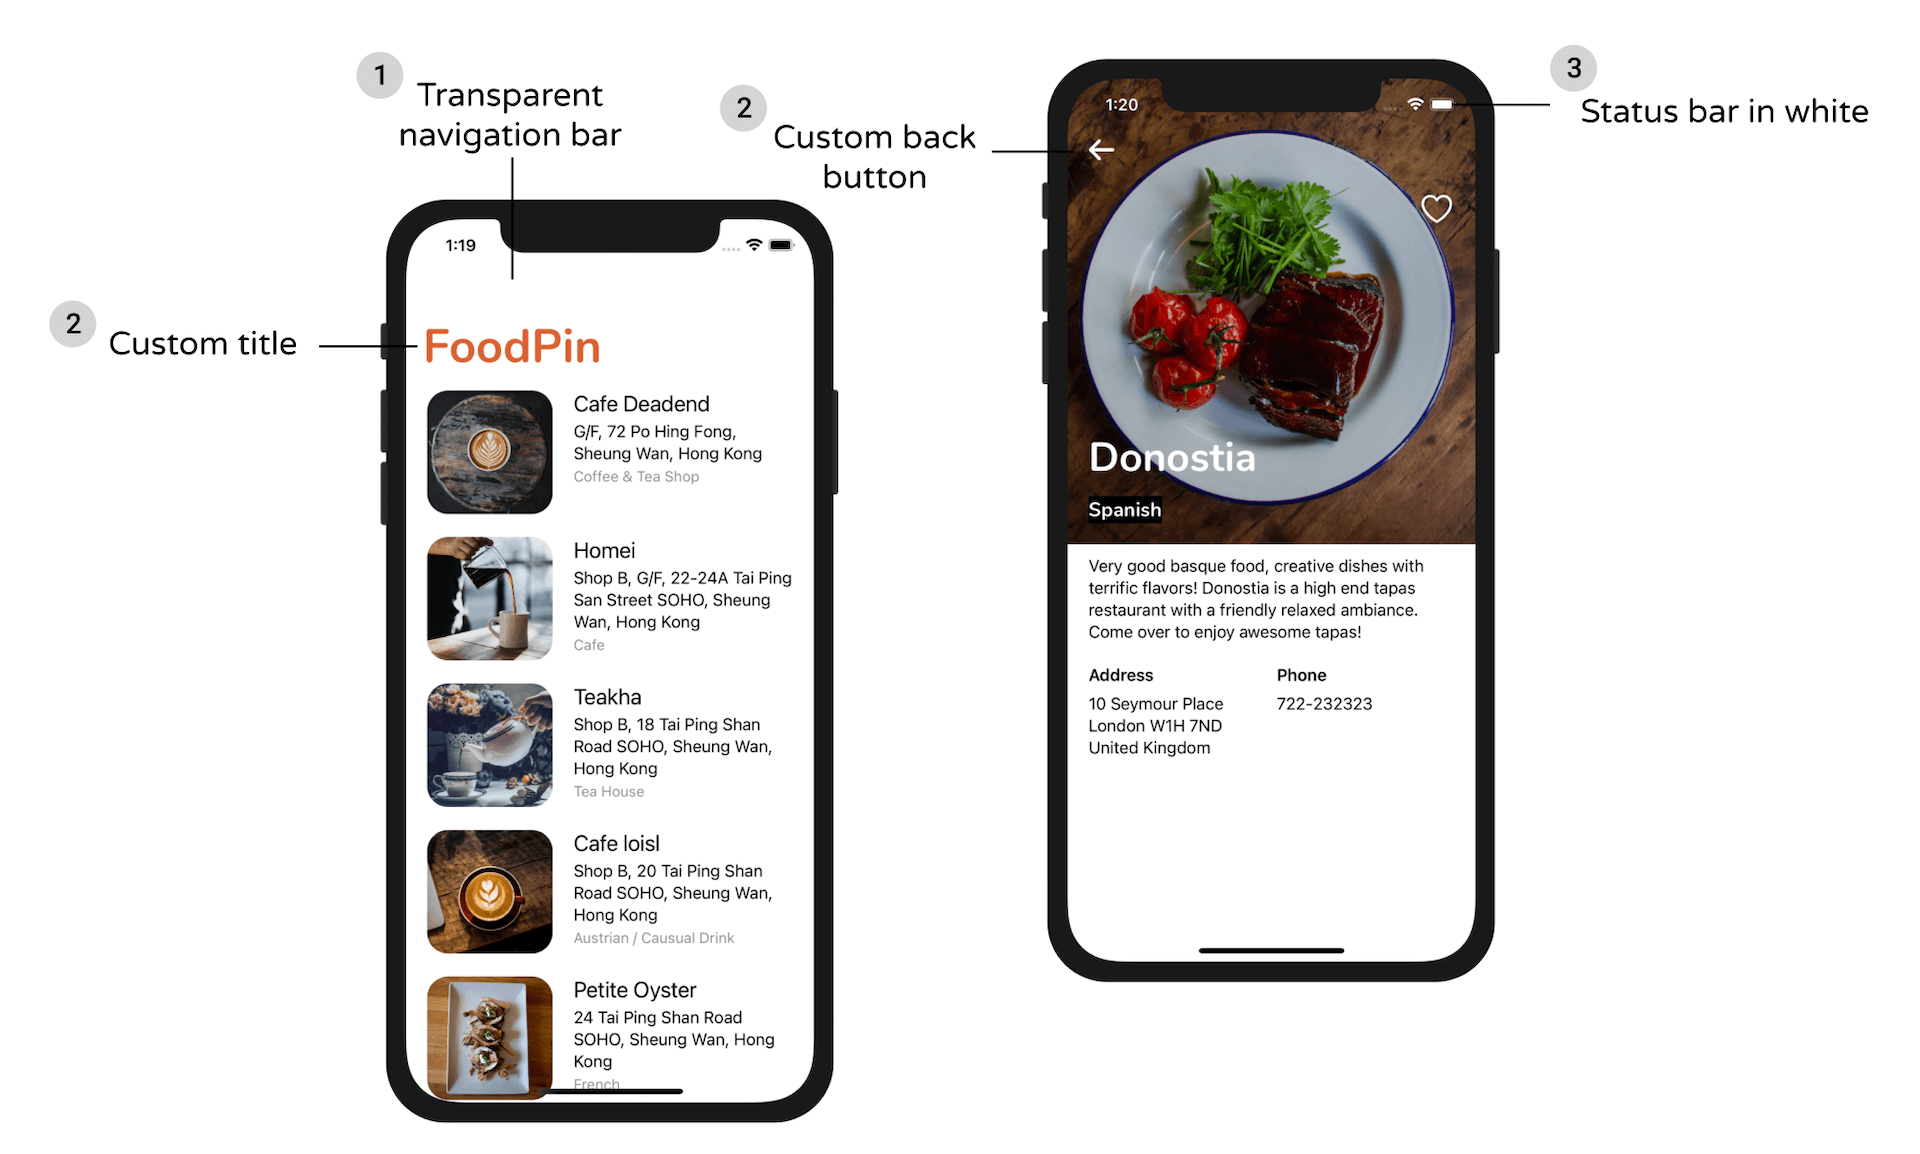
The detail view that we built is already great, but we will make it even more attractive in this chapter. Figure 15-1 shows the improved design with the following changes:
- Customizing the navigation bar to make it transparent, so that the restaurant image shifts to the top of the screen.
- Customizing the back button. Instead of using the default back button, we use our own back icon and remove the title of the back button.
- Changing the color of the status bar. To cater for dark content, it is better for us to change the color of the status bar to white.
On top of that, I want to show you how to customize the large title of the navigation bar on the home screen. There are three changes we are going to perform:
- Customizing the background of the navigation bar and make it transparent.
- Change the font of the large title and make its color adaptable to different interface style (light/dark mode).
- Hide the navigation bar when users swipe the table view.
In the first two section of this chapter, we will focus on the customization of the navigation bar and status bar. Thereafter, I will discuss with you about Dynamic Type, a technology built into iOS that lets users choose their preferred text size. While working on the project, I will also show you how to use Swift extensions to simplify our code.
Let's start with the navigation bar customization.
To access the full version of the book, please get the full copy here. You will also be able to access the full source code of the project.