Chapter 33
Using CocoaPods in Swift Projects
Understanding CocoaPods, a dependency manager for Swift and Objective-C projects, is a critical skill every iOS developer should have. If you have no experience with CocoaPods, this chapter is written for you.
We’re going to take a look at what CocoaPods is, why you should start using it, and how to setup a project with cocoa pods installed!
What is CocoaPods?
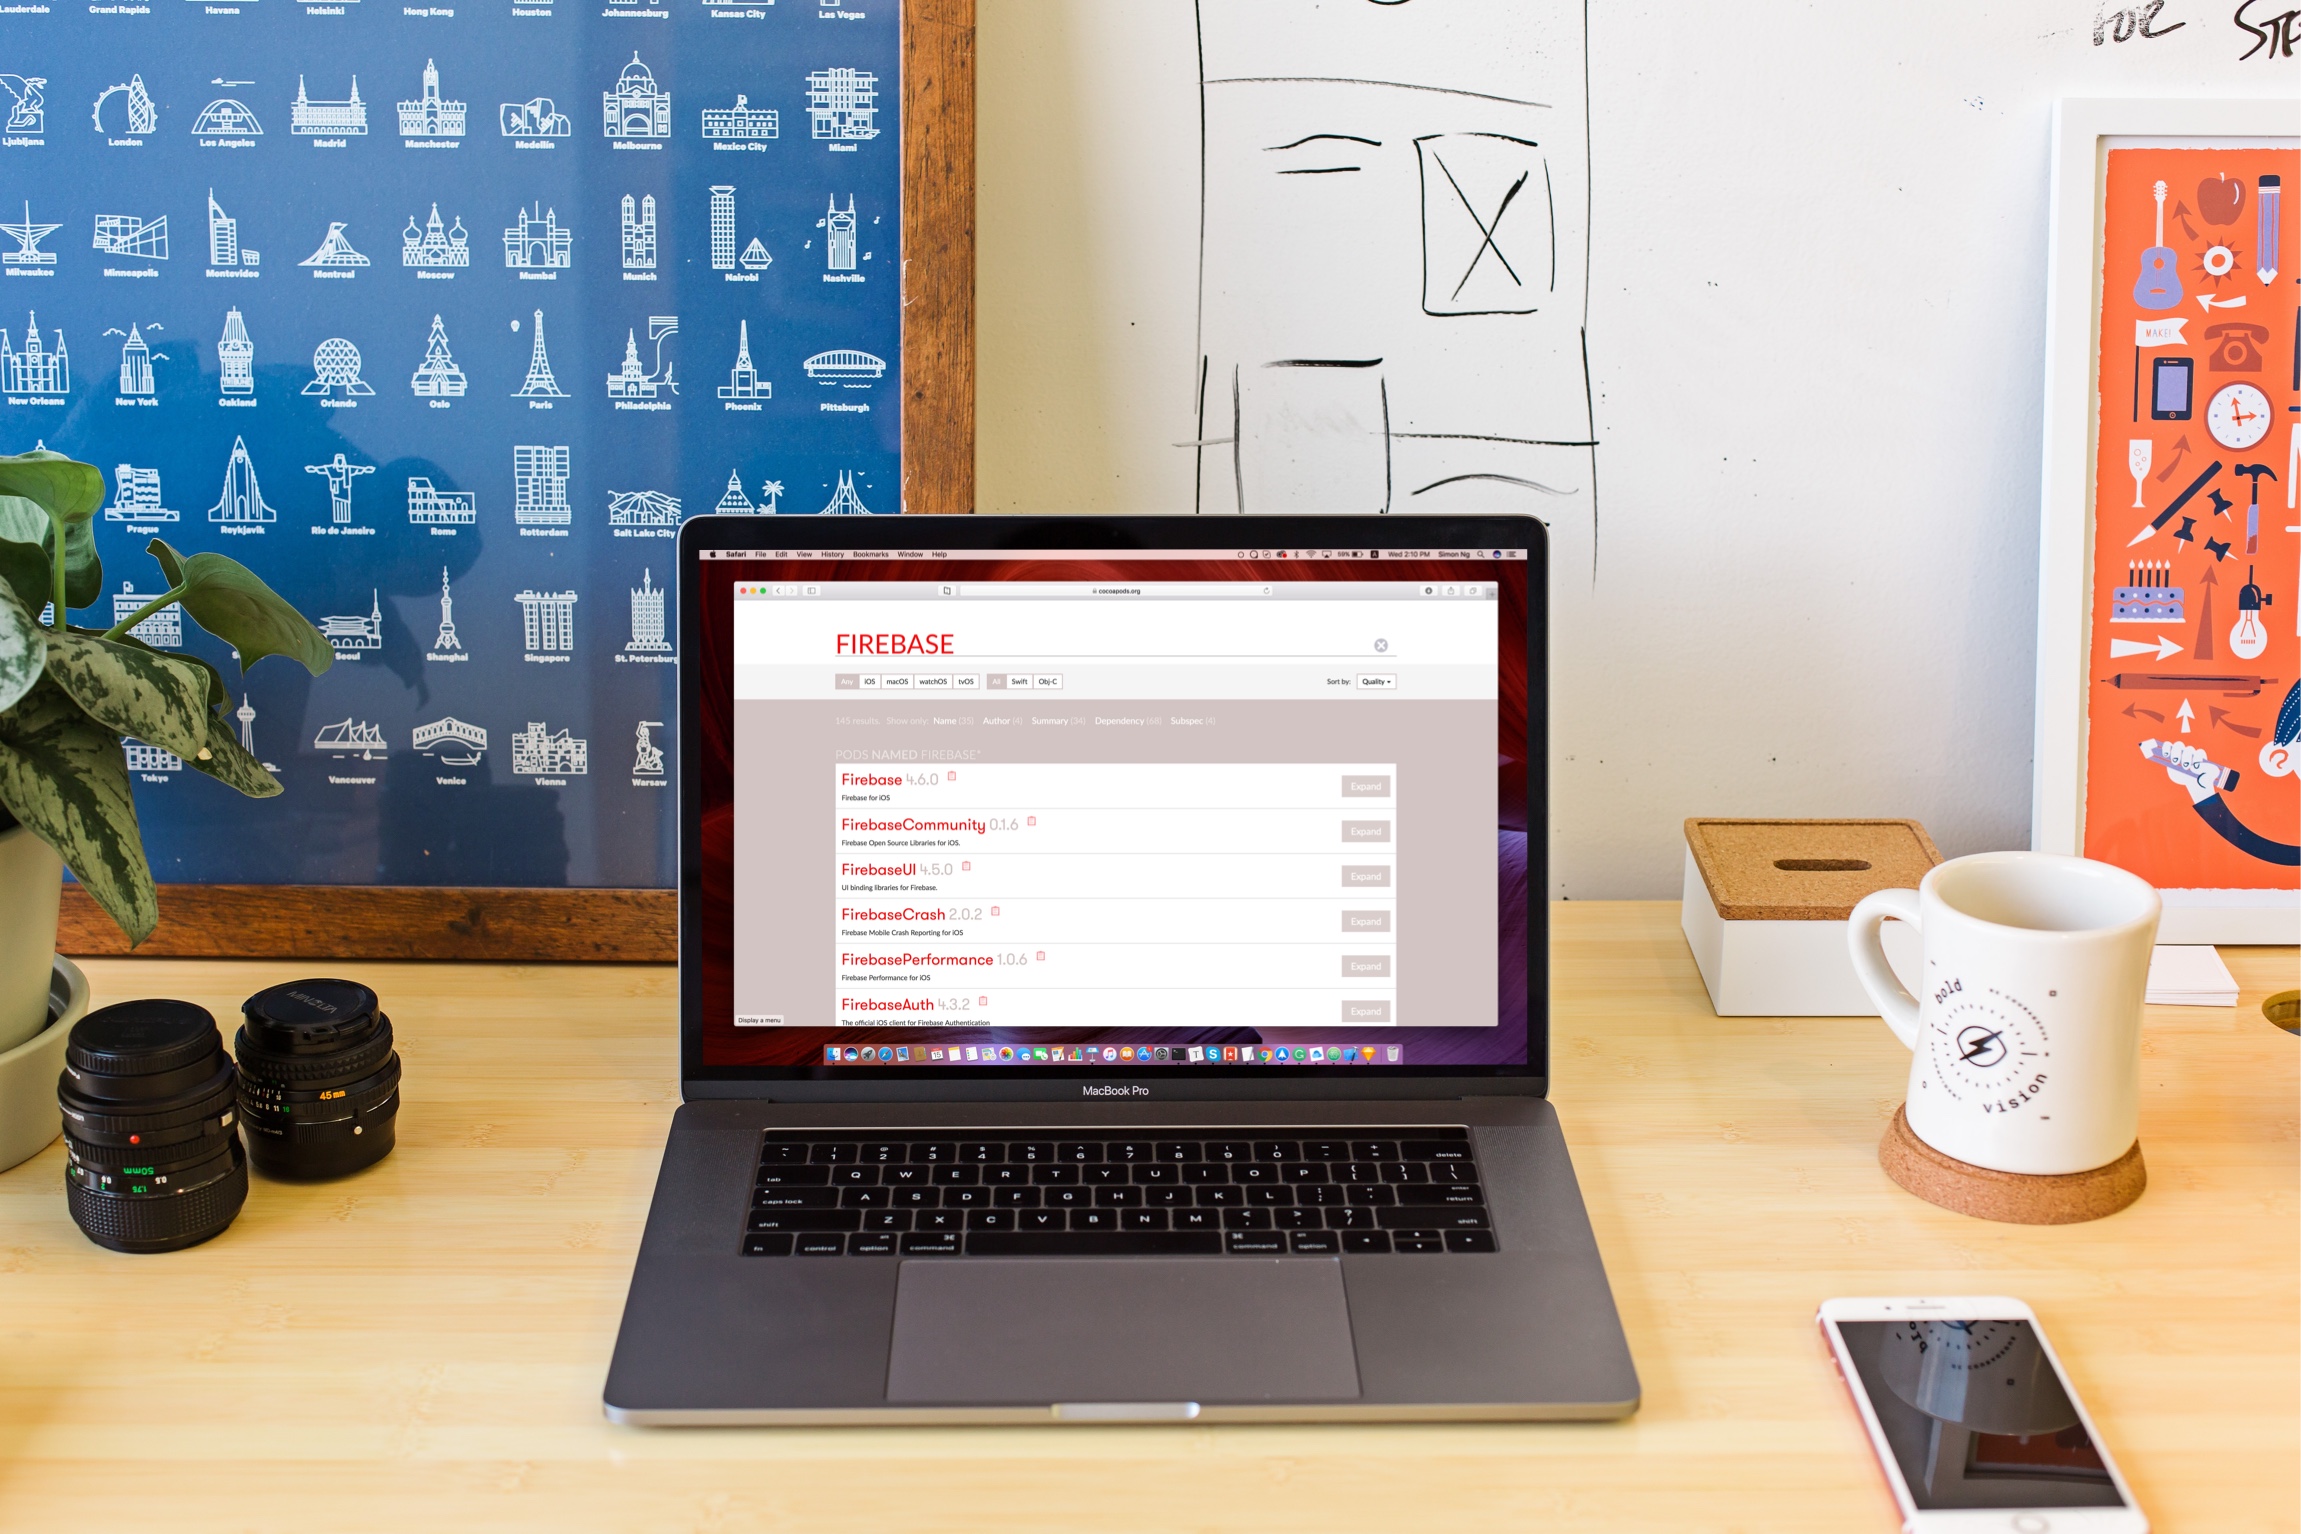
First things first, what is CocoaPods? CocoaPods is the dependency manager for your Xcode projects. It helps developers manage the library dependencies in any Xcode projects.
The dependencies for your projects are specified in a single text file called a Podfile. CocoaPods will resolve dependencies between libraries, fetch the resulting source code, then link it together in an Xcode workspace to build your project.
You may be confused what this means to you. Let's consider an example.
Suppose you want to integrate your app with Google AdMob for monetisation. AdMob uses the Google Mobile Ads SDK (which is now part of the Firebase SDK). To display ad banners in your apps, the first thing you need is to install the SDK into your Xcode project.
The old fashioned way of doing the integration is to download the Google Mobile Ads SDK from Google and install it into your Xcode project manually. The problem is that the whole procedures are complicated, and the SDK also depends on other frameworks to function properly. Just take a look at the manual procedures as provided by Google:
- Find the desired SDK in the list.
- Make sure you have an Xcode project open in Xcode.
- In Xcode, hit
⌘-1to open the Project Navigator pane. It will open on left side of the Xcode window if it wasn't already open.- Drag each framework from the "Analytics" directory into the Project Navigator pane. In the dialog box that appears, make sure the target you want the framework to be added to has a checkmark next to it, and that you've selected "Copy items if needed". If you already have Firebase frameworks in your project, make sure that you replace them with the new versions.
- Drag each framework from the directory named after the SDK into the Project Navigator pane. Note that there may be no additional frameworks, in which case this directory will be empty. For instance, if you want the Database SDK, look in the Database folder for the required frameworks. In the dialog box that appears, make sure the target you want this framework to be added to has a checkmark next to it, and that you've selected "Copy items if needed."
- If the SDK has resources, go into the Resources folders, which will be in the SDK folder. Drag all of those resources into the Project Navigator, just like the frameworks, again making sure that the target you want to add these resources to has a checkmark next to it, and that you've selected "Copy items if needed".
- Add the -ObjC flag to "Other Linker Settings": a. In your project settings, open the Settings panel for your target b. Go to the Build Settings tab and find the "Other Linking Flags" setting in the Linking section. c. Double-click the setting, click the '+' button, and add "-ObjC"
- Drag the
Firebase.hheader in this directory into your project. This will allow you to#import "Firebase.h"and start using any Firebase SDK that you have.- If you're using Swift, or you want to use modules, drag module.modulemap into your project and update your User Header Search Paths to contain the directory that contains your module map.
- You're done! Compile your target and start using Firebase.
CocoaPods is the dependency manager that saves you from doing all the above manual procedures. It all comes down to a single text file called PodFile. If you use CocoaPods to install the Google Mobile Ads SDK, all you need is create a PodFile under your Xcode project with the following content:
source 'https://github.com/CocoaPods/Specs.git'

platform :ios, '9.0'

target 'BannerExample' do
  pod 'Google-Mobile-Ads-SDK'
end
When you run the pod install command, CocoaPods will download and install the specified libraries/dependencies for you.
This is why CocoaPods has its place. It simplifies the whole process by automatically finding and installing the frameworks, or dependencies require. You will experience the power of CocoaPods in a minute.
To continue reading and access the full version of the book, please get the full copy here. You will also be able to access the full source code of the project.