Chapter 42
Creating PDF Documents Using ImageRenderer

Earlier, we showed you how to use ImageRenderer to capture a SwiftUI view and save it as an image. This new class, introduced in iOS 16, can also allow you to convert a view into a PDF document.

In this chapter, we will build on top of the previous demo and add the Save to PDF function.

Revisit the Demo App

If you haven't read the previous chapter, I suggest you to check it out first. It already covered the basics of ImageRenderer and explained the implementation of the demo app.

Figure 1. App Demo
Figure 1. App Demo

To follow this chapter, you can first download the starter project from https://www.appcoda.com/resources/swiftui4/SwiftUIImageRendererPDFStarter.zip.

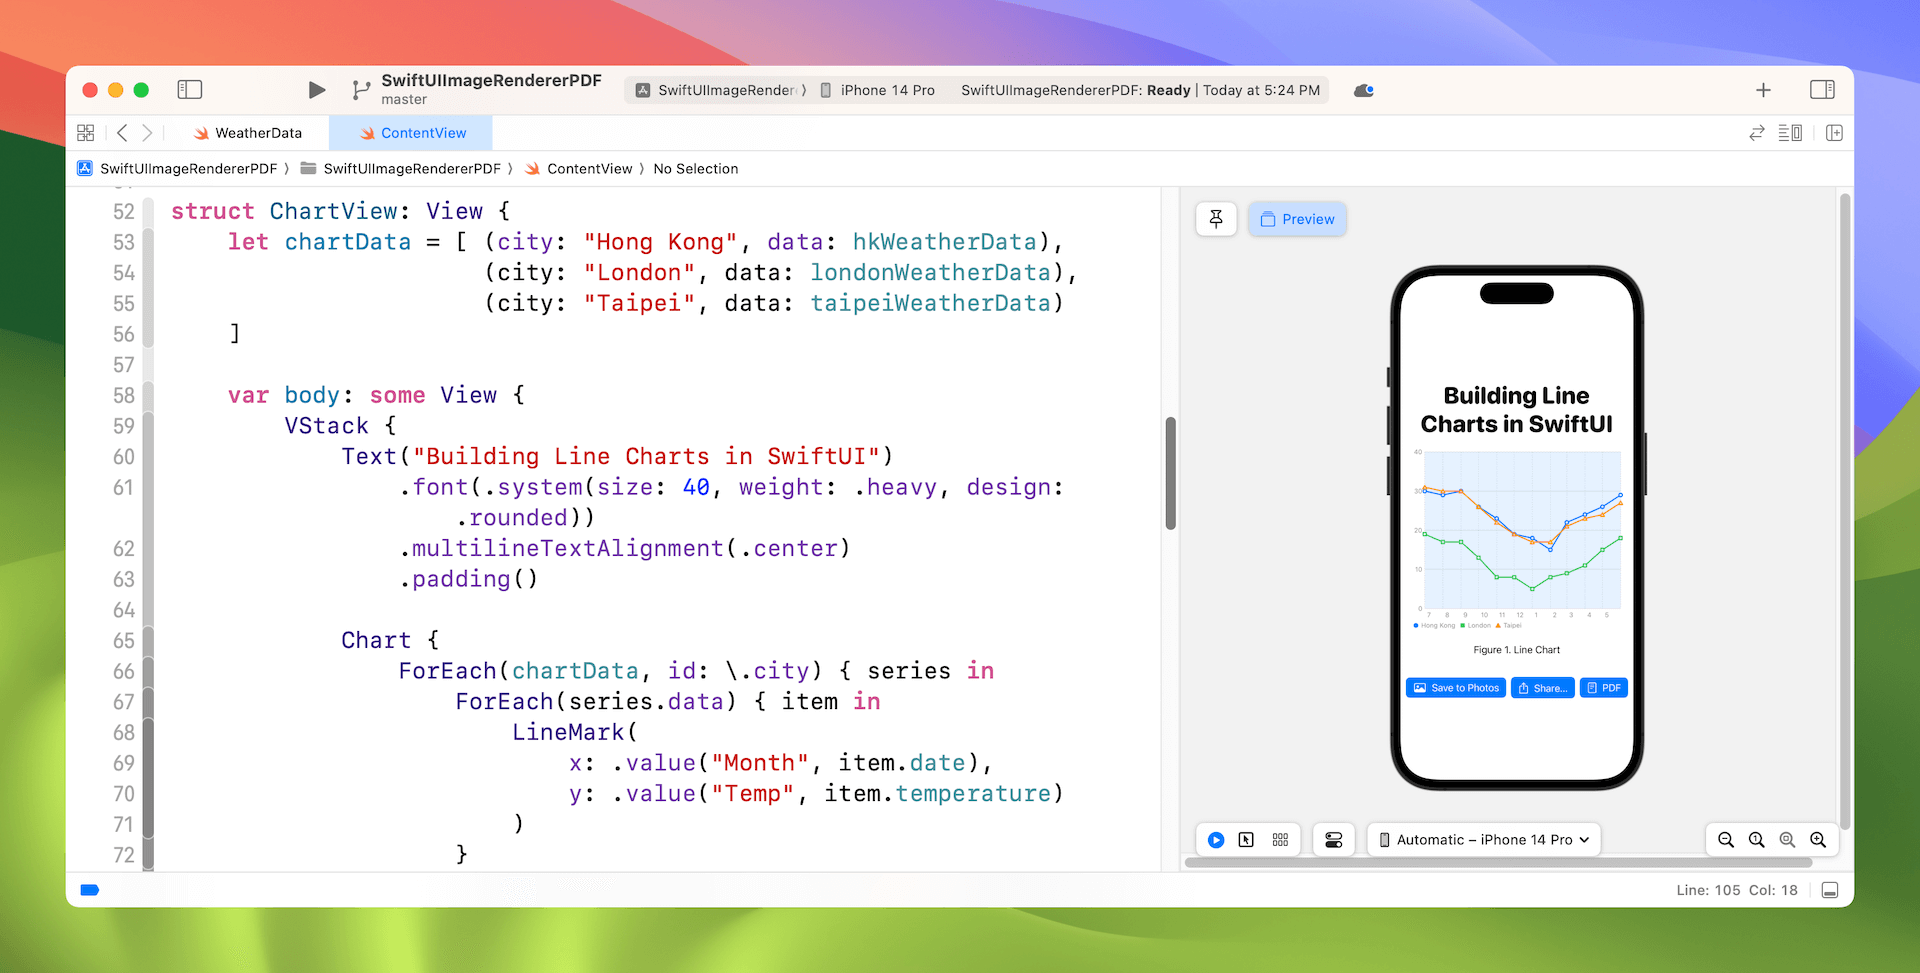
I have made some modifications to the demo app by adding a heading and a caption for the line chart. You can refer to the code of the ChartView struct below:

struct ChartView: View {
    let chartData = [ (city: "Hong Kong", data: hkWeatherData),
                      (city: "London", data: londonWeatherData),
                      (city: "Taipei", data: taipeiWeatherData)
    ]

    var body: some View {
        VStack {
            Text("Building Line Charts in SwiftUI")
                .font(.system(size: 40, weight: .heavy, design: .rounded))
                .multilineTextAlignment(.center)
                .padding()

            Chart {
                ForEach(chartData, id: \.city) { series in
                    ForEach(series.data) { item in
                        LineMark(
                            x: .value("Month", item.date),
                            y: .value("Temp", item.temperature)
                        )
                    }
                    .foregroundStyle(by: .value("City", series.city))
                    .symbol(by: .value("City", series.city))
                }
            }
            .chartXAxis {
                AxisMarks(values: .stride(by: .month)) { value in
                    AxisGridLine()
                    AxisValueLabel(format: .dateTime.month(.defaultDigits))

                }

            }
            .chartPlotStyle { plotArea in
                plotArea
                    .background(.blue.opacity(0.1))
            }
            .chartYAxis {
                AxisMarks(position: .leading)
            }
            .frame(width: 350, height: 300)

            .padding(.horizontal)

            Text("Figure 1. Line Chart")
                .padding()

        }
    }
}

The demo app now also comes with a PDF button for saving the chart view in a PDF document.

Saving the Chart View as a PDF Document Using ImageRenderer

What we are going to do is create a PDF document for the ChartView using ImageRenderer. While it only takes a couple of lines of code to convert a SwiftUI view into an image, we need a little more work for PDF rendering.

For image conversion, you can access the uiImage property to get the rendered image. To draw the chart into a PDF, we will use the render method of ImageRenderer. Here is what we are going to implement:

  • Look for the document directory and prepare the rendered path for the PDF file (e.g. linechart.pdf).
  • Prepare an instance of CGContext for drawing.
  • Call the render method of the renderer to render the PDF document.

For the implementation, we create a new method named exportPDF in ContentView. Below is the code of the method :

To access the full content and the complete source code, please get your copy at https://www.appcoda.com/swiftui.

The first two lines of the code retrieves the document directory of the user and set up the file path of the PDF file (i.e. line chart.pdf). We then create the instance of CGContext. The mediaBox parameter is set to nil. In this case, Core Graphics uses a default page size of 8.5 by 11 inches (612 by 792 points).

The renderer closure receives two parameters: the current size of the view, and a function that renders the view to the CGContext. To begin the PDF page, we call the context's beginPDFPage method. The renderer method draws the chart view. And remember that you need to close the PDF document to complete the whole operation.

To call this exportPDF method, we update a PDF button like this:

Button {
    exportPDF()
} label: {
    Label("PDF", systemImage: "doc.plaintext")
}
.buttonStyle(.borderedProminent)

You can run the app in a simulator to have a test. After you tap the PDF button, you should see the following message in the console:

Saving PDF to /Users/simon/Library/Developer/CoreSimulator/Devices/CA9B849B-36C5-4608-9D72-B04C468DA87E/data/Containers/Data/Application/04415B8A-7485-48F0-8DA2-59B97C2B529D/Documents/linechart.pdf

If you open the file in Finder (choose Go > Go to Folder...), you should see a PDF document like below.

Figure 2. The rendered PDF document

To adjust the position of the drawing, you can insert this line of code before calling renderer:

pdfContext.translateBy(x: 0, y: 200)

This will move the chart to the upper part of the document.

Figure 3. Adjusting the chart position

Make the PDF file available to the Files app

You may wonder why the PDF file can't be found in the Files app. Before you can make the file available to the built-in Files app, you have to change a couple of the settings in Info.plist. Switch to Info.plist and add the following keys:

To access the full content and the complete source code, please get your copy at https://www.appcoda.com/swiftui.

results matching ""

    No results matching ""