Chapter 37
Implementing Search Bar Using Searchable

Prior to iOS 15, SwiftUI didn't come with a built-in modifier for handling search in List views. Developers had to create their own solutions. In earlier chapters, I showed you how to implement a search bar in SwiftUI using TextField and display search results. With the release of iOS 15, the SwiftUI framework introduced a new modifier named searchable for List views.

In this chapter, we will look into this modifier and see easily it is to implement search for a list.

Basic Usage of Searchable

To demonstrate the usage of Searchable, please download the demo project from https://www.appcoda.com/resources/swiftui5/SwiftUISearchableStarter.zip.

Figure 1. The starter project

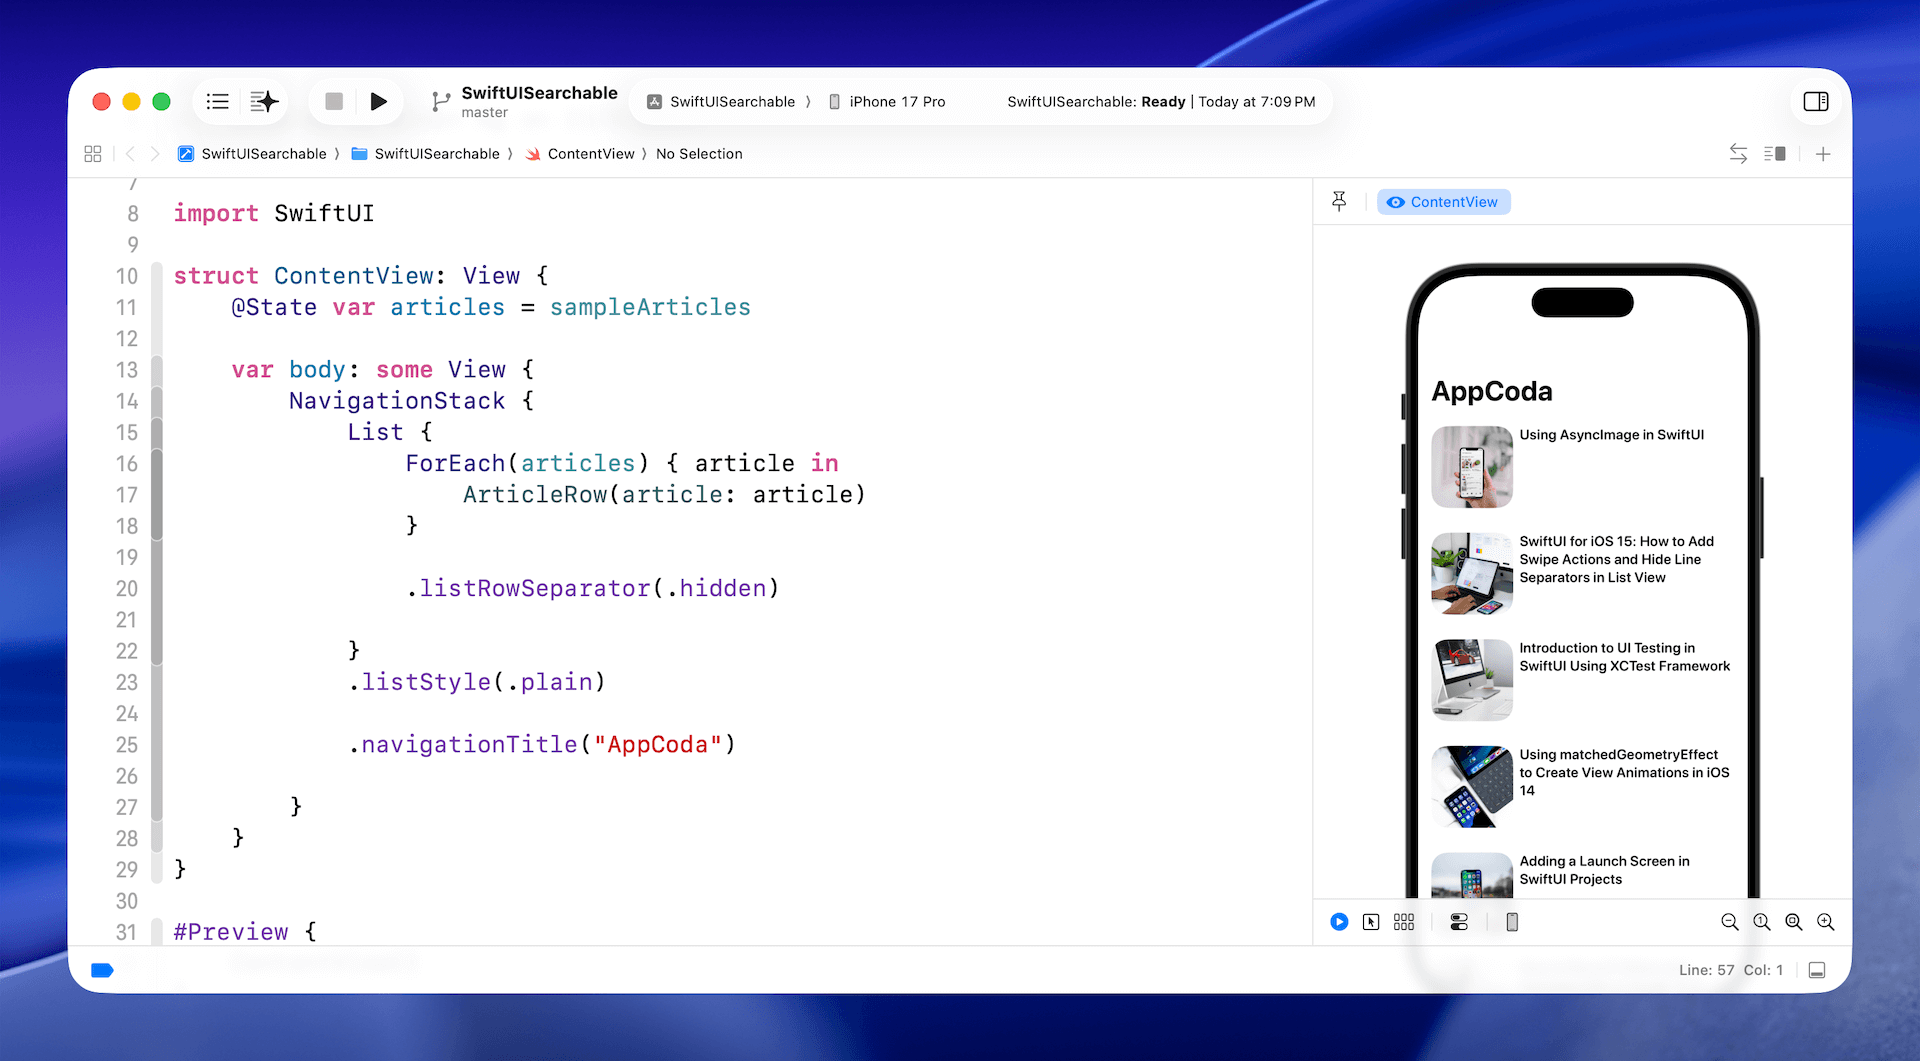
The starter project already includes a list view that displays a set of articles. What I want to do is provide an enhancement by adding a search bar for filtering the articles. To add a search bar to the list view, all you need to do is declare a state variable (e.g., searchText) to hold the search text and attach a searchable modifier to the NavigationStack, like this:

struct ContentView: View {

    @State var articles = sampleArticles
    @State private var searchText = ""

    var body: some View {
        NavigationStack {
            .
            .
            .
        }
        .searchable(text: $searchText)
    }
}

SwiftUI automatically renders the search bar for you and put it under the navigation bar title. If you can't find the search bar, try to run the app and drag down the list view. The search box should appear.

Figure 2. The searchable modifier automatically renders a search field

By default, it displays the word Search as a placeholder. In case if you want to change it, you can write the .searchable modifier like this and use your own placeholder value:

.searchable(text: $searchText, prompt: "Search articles...")

Search Bar Placement

The .searchable modifier has a placement parameter that allows you to specify where to place the search bar. By default, it's set to .automatic. On iPhone, the search bar is placed under the navigation bar title. When you scroll up the list view, the search bar is hidden.

If you want to permanently display the search field, you can change the .searchable modifier and specify the placement parameter like this:

.searchable(text: $searchText, placement: .navigationBarDrawer(displayMode: .always))

So far, we attach the .searchable modifier to the navigation view. You can actually attach it to the List view and achieve the same result on iPhone.

Having that said, the placement of the .searchable modifier affects the position of the search field when using split view on iPadOS. Let's change the code to use NavigationSplitView:

NavigationSplitView {
    List {
        ForEach(articles) { article in
            ArticleRow(article: article)
        }

        .listRowSeparator(.hidden)

    }
    .listStyle(.plain)

    .navigationTitle("AppCoda")
} detail: {
    Text("Article details")
}
.searchable(text: $searchText, placement: .navigationBarDrawer(displayMode: .always))

As usual, we attach the .searchable modifier to the navigation stack. If you run the app on iPad, the search bar is displayed on the sidebar of the split view.

Figure 3. Search bar for split view on iPad

What if you want to place the search field in the detail view? You can try to insert the following code right above the .navigationTitle modifier:

Text("Article details")
    .searchable(text: $searchText)

iPadOS will then render an additional search bar at the top right corner of the detail view.

Figure 4. Adding a search bar to the detail view

Again, you can further change the placement of the search bar by adjusting the value of the placement parameter. Here is an example:

Text("Article details")
    .searchable(text: $searchText, placement: .navigationBarDrawer)

By setting the placement parameter to .navigationBarDrawer, iPadOS places the search field beneath the navigation bar title.

Figure 5. Using .navigationBarDrawer to adjust the position of the search field

Performing Search and Displaying Search Results

There are different ways to filter a list of data. You can create a computed property that performs real-time data filtering, or you can attach the .onChange modifier to keep track of changes to the search field. Update the code of NavigationStack as follows:

NavigationSplitView {
    List {
        ForEach(articles) { article in
            ArticleRow(article: article)
        }

        .listRowSeparator(.hidden)

    }
    .listStyle(.plain)

    .navigationTitle("AppCoda")
} detail: {
    Text("Article details")
}
.searchable(text: $searchText)
.onChange(of: searchText) { oldValue, newValue in

    if !newValue.isEmpty {
        articles = sampleArticles.filter { $0.title.contains(newValue) }
    } else {
        articles = sampleArticles
    }
}

The .onChange modifier is called whenever the user types in the search field. We then perform the search in real-time by using the filter method. The Xcode preview doesn't work properly for search, so please test the search feature on simulators.

Figure 6. Performing search

Adding Search Suggestions

The .searchable modifier lets you add a list of search suggestions for displaying some commonly used search terms or search history. For example, you can create tappable search suggestion like this:

.searchable(text: $searchText) {
    Text("SwiftUI").searchCompletion("SwiftUI")
    Text("iOS 15").searchCompletion("iOS 15")
}

This displays a search suggestion with two tappable search terms. Users can either type the search keyword or tap the search suggestion to perform the search.

Figure 7. Displaying search suggestions

On iOS 16, Apple introduces an independent modifier named .searchSuggestions for adding search suggestions. The same piece of the code can be written like this:

.searchable(text: $searchText)
.searchSuggestions {
    Text("SwiftUI").searchCompletion("SwiftUI")
    Text("iOS 15").searchCompletion("iOS 15")
}

Summary

The .searchable modifier simplifies the implementation of a search bar and saves us time from creating our own solution. The downside is that this feature is only available on iOS 15 (or later). If you're building an app that needs to support older versions of iOS, you still need to build your own search bar.

To access the full content and the complete source code, please get your copy at https://www.appcoda.com/swiftui.

results matching ""

    No results matching ""