Chapter 40
How to Use ShareLink for Sharing Data Like Text and Photos
In iOS 16, SwiftUI released a new view called ShareLink. When users tap on the share link, it presents a share sheet for users to share content with other applications or copy the data for later use.
The ShareLink view is designed to share any type of data. In this chapter, we will show you how to use ShareLink to let users share text, URLs, and images.
Basic Usage of ShareLink
Let's begin with an example. Assuming you've created a new Xcode project, you can create a share link for sharing a URL by writing the code like this:
struct ContentView: View {
    private let url = URL(string: "https://www.appcoda.com")!

    var body: some View {
        VStack {
            ShareLink(item: url)
        }
    }
}
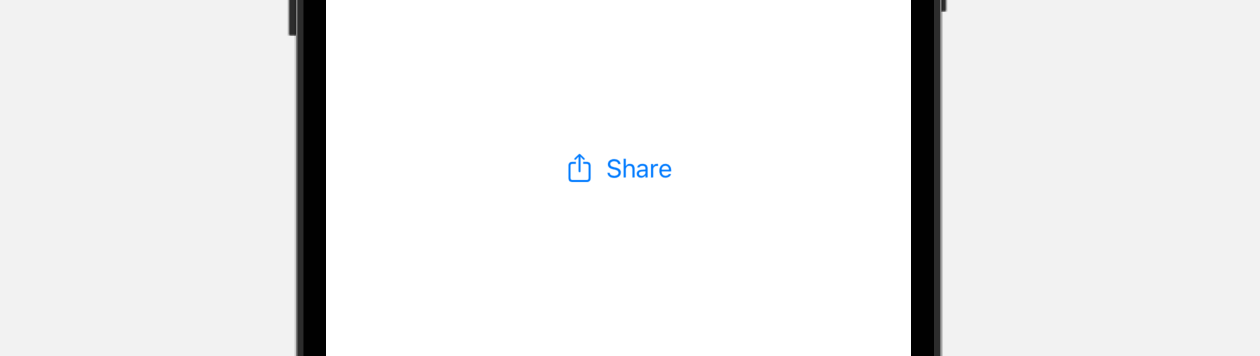
SwiftUI automatically renders a Share button with a small icon.
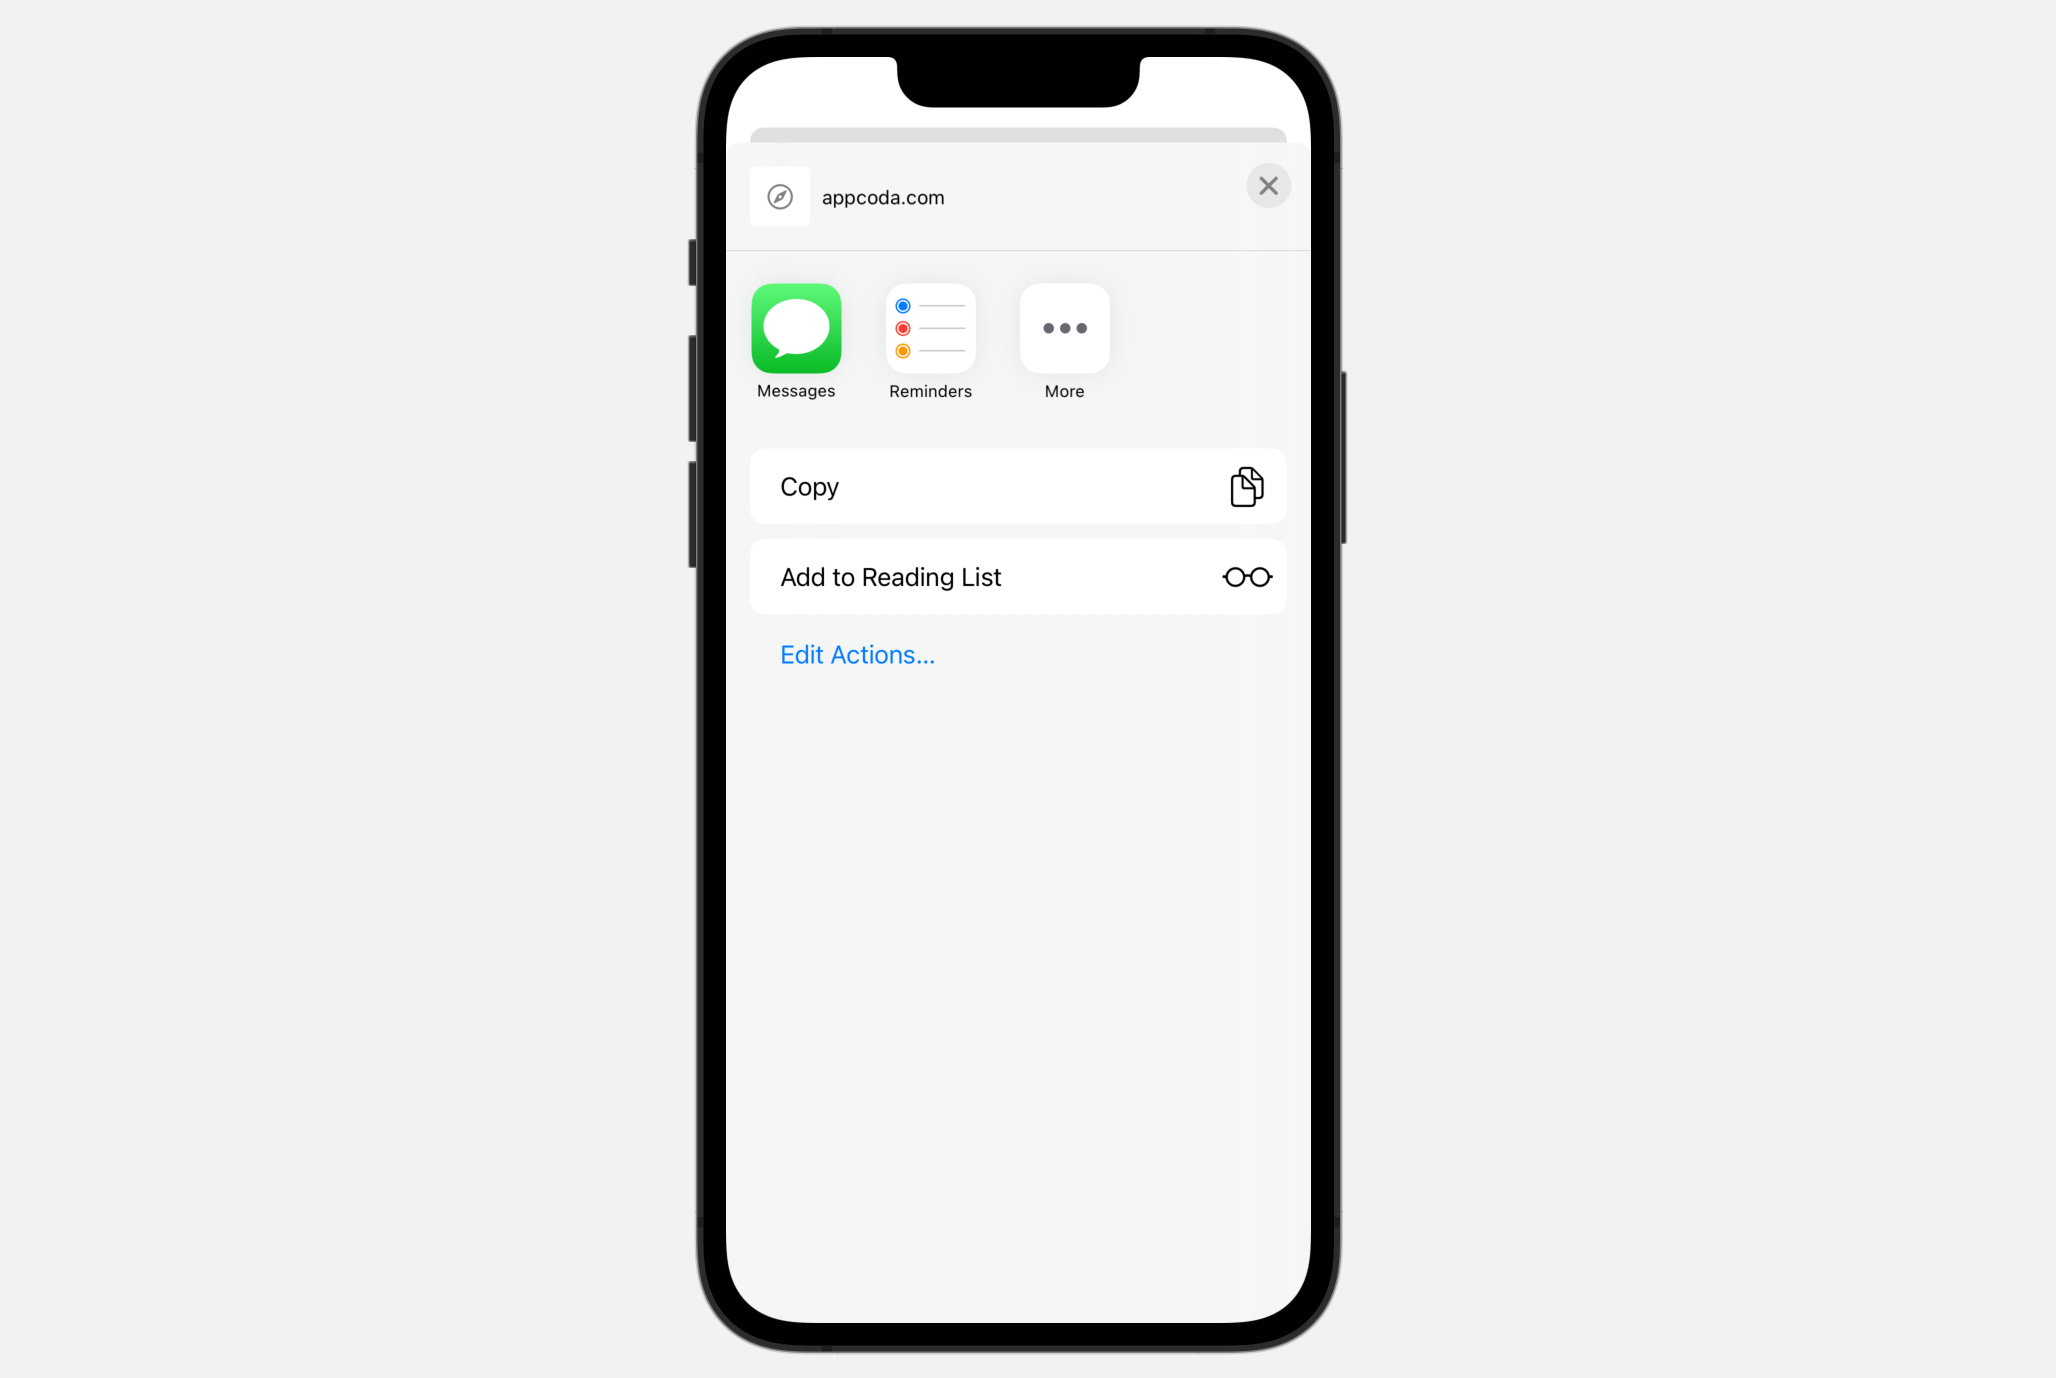
When tapped, iOS brings up a share sheet for users to perform further actions such as copy and adding the link to Reminders.
To share text, instead of URL, you can simply pass the a string to the item parameter.
To access the full content and the complete source code, please get your copy at https://www.appcoda.com/swiftui.