Chapter 33
Using matchedGeometryEffect to Create View Animations
With the continued evolution of SwiftUI alongside iOS 26, Apple has introduced numerous enhancements to the framework. Among these, matchedGeometryEffect remains a particularly compelling feature, allowing developers to craft stunning view animations with remarkable simplicity. While earlier chapters covered foundational view animation techniques, matchedGeometryEffect elevates the implementation of these animations to an entirely new level.
In mobile apps, transitioning between views is common. Creating smooth transitions enhances the user experience. The matchedGeometryEffect modifier lets you define the appearance of two views. It calculates the differences and automatically animates changes in size and position.
Feeling confused? No worries. You will understand what I mean after going through the demo apps.
Revisiting SwiftUI Animation
Before I walk you through the usage of matchedGeometryEffect, let's take a look at how we implement animation using SwiftUI. Figure 1 shows the initial and final states of a view. When you tap the circle view on the left, it grows bigger and moves upward. Conversely, if you tap the one on the right, it returns to its original size and position.
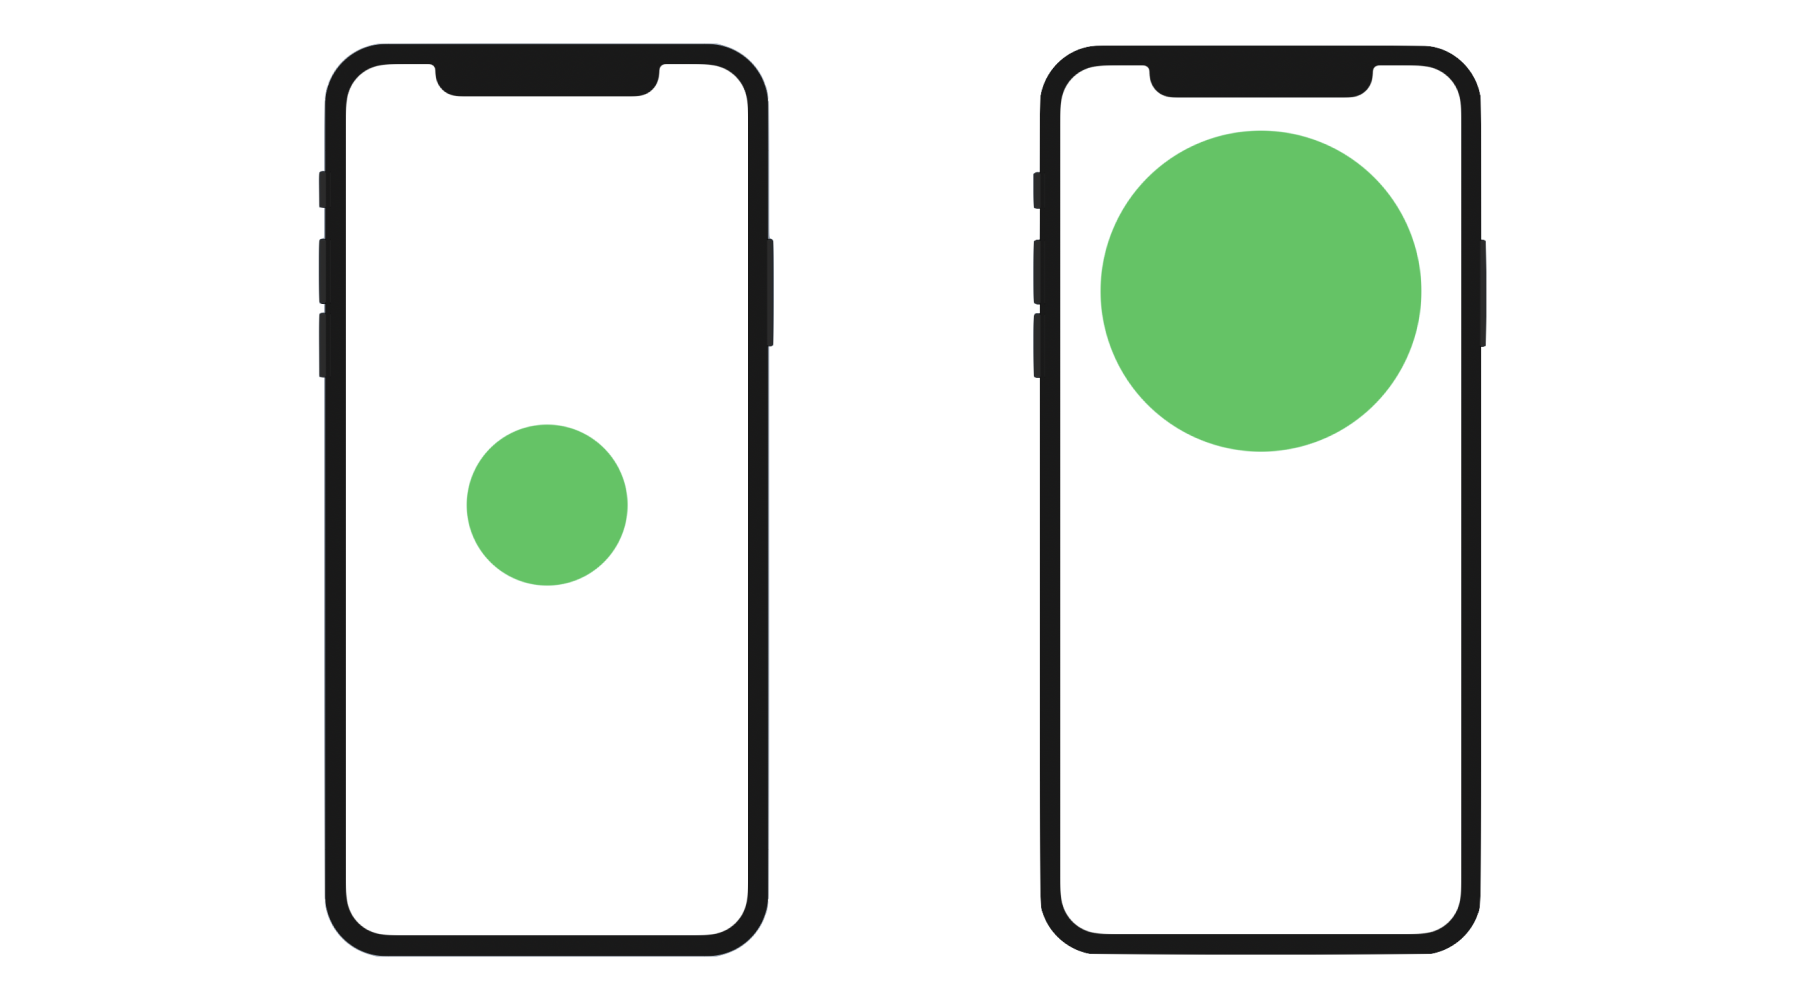
The implementation of this tappable circle is very straightforward. Assuming you've created a new SwiftUI project, you can update the ContentView struct like this:
To access the full content and the complete source code, please get your copy at https://www.appcoda.com/swiftui.