Chapter 60
Using TextRenderer to Create Visual Text Effects
Apple's introduction of the TextRenderer API in iOS 18 marks a significant leap forward in text manipulation capabilities for SwiftUI developers. This powerful new tool opens up a world of possibilities for creating dynamic, visually striking text effects that were once difficult to achieve.
At its core, TextRenderer grants developers unprecedented control over the rendering process of text in SwiftUI. By allowing customization at the character, word, or line level, it enables the creation of fluid animations and unique visual styles that can truly make your app's text come alive.
In this chapter, we'll explore how this API helps developers create impressive text effects.
The Basics of TextRenderer
TextRenderer is a protocol that you can implement to modify how SwiftUI's Text view is drawn. It gives you control over the rendering process, allowing you to apply custom effects, animations, and more to your text.
Let's start with a simple example:
struct SimpleTextRenderer: TextRenderer {

    func draw(layout: Text.Layout, in context: inout GraphicsContext) {

        for (index, line) in layout.enumerated() {
            context.opacity = (index % 2 == 0) ? 0.4 : 1.0
            context.translateBy(x: 0, y: index % 2 == 0 ? -15 : 15)

            context.draw(line)
        }
    }
}
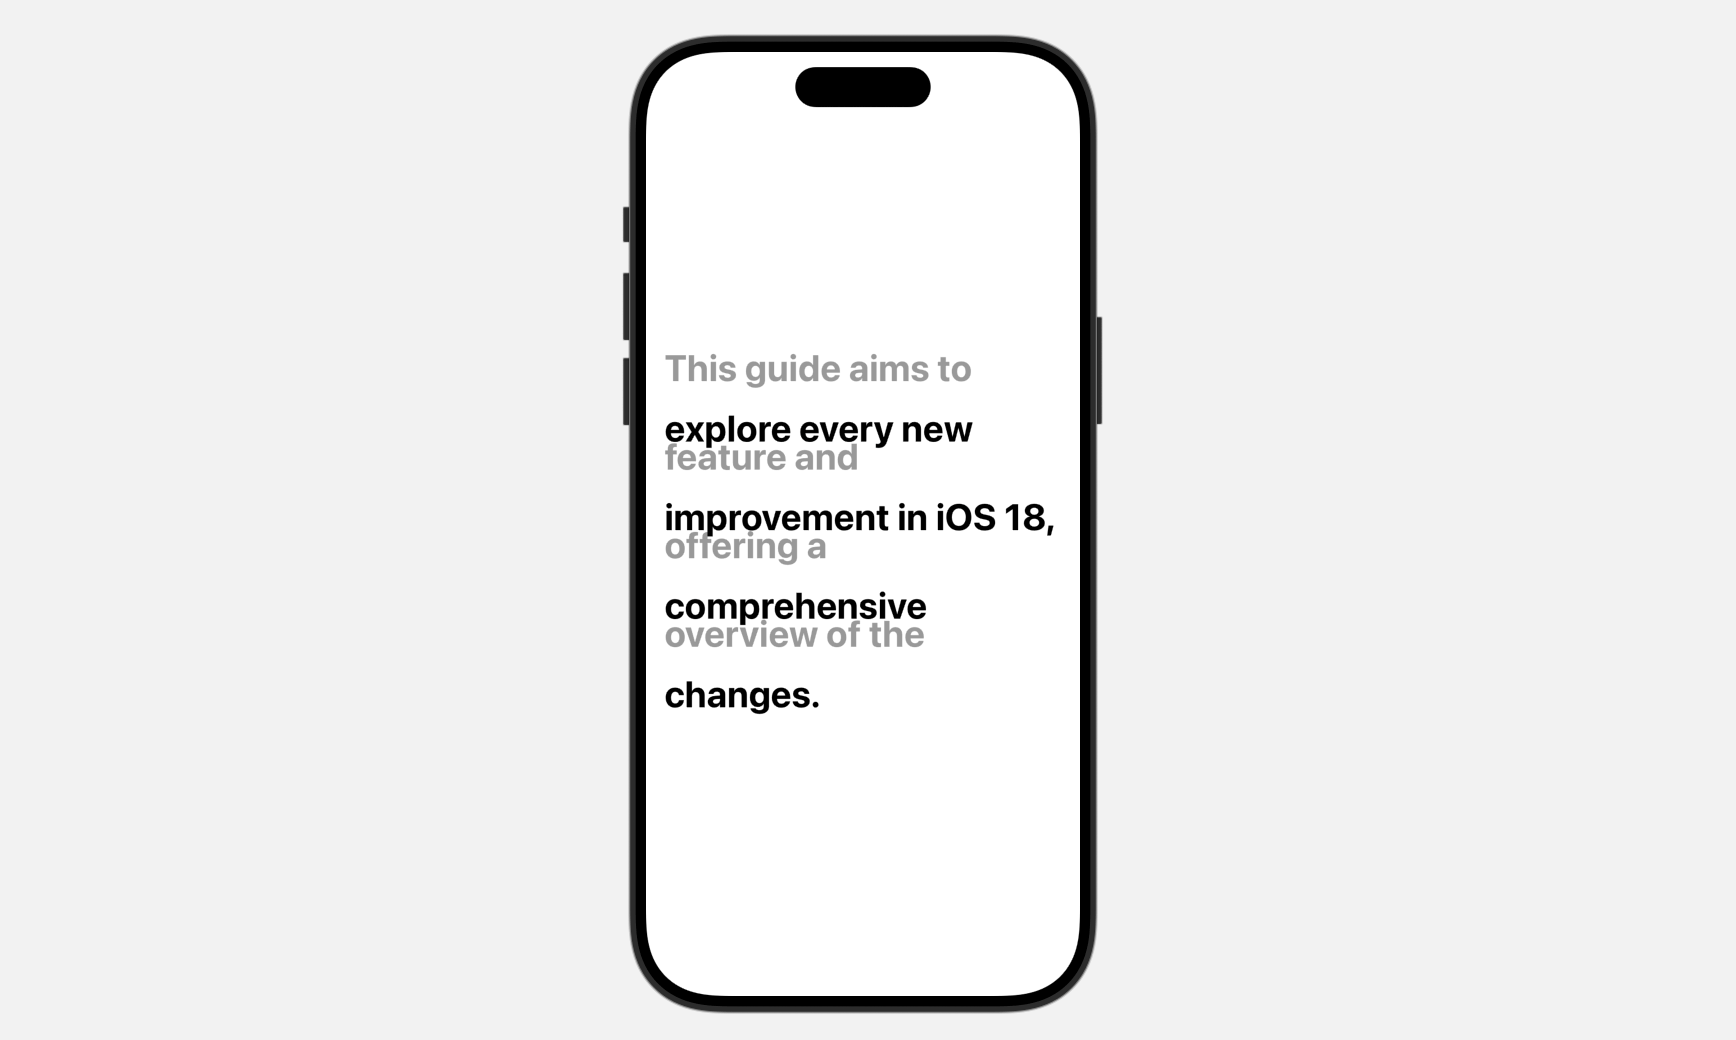
We aim to build a custom text renderer that alternates the opacity and vertical positioning of text lines. Odd-numbered lines will have lower opacity than even-numbered lines. Additionally, lines will be shifted up or down based on their position in the text.
To achieve this, we'll create a struct conforming to SwiftUI's TextRenderer protocol. This protocol mandates the implementation of the draw function, which houses the logic for our desired text rendering effects.
The draw function is where we customize how our text is rendered. It provides access to the text layout information through the layout parameter and a drawing context through the context parameter.
Our implementation iterates through each line of text. We use the index to track the line number and the line variable to hold the content of the current line. Even-numbered lines are set to 40% opacity and moved up by 15 points, while odd-numbered lines remain fully opaque and are moved down by 15 points. Finally, each line is drawn with its calculated opacity and position using context.draw(line).
To use SimpleTextRenderer, you can update ContentView like this:
struct ContentView: View {
    var body: some View {
        Text("This guide aims to explore every new feature and improvement in iOS 18, offering a comprehensive overview of the changes.")
            .font(.largeTitle.bold())
            .textRenderer(SimpleTextRenderer())
            .padding()
    }
}
You attach the textRenderer modifier to the Text view and pass in a SimpleTextRenderer instance. In the preview, the text should appear as shown in the figure below.
To add an underline to the first line of the text, we can enhance the draw function in our SimpleTextRenderer. Here's how we can modify it:
To access the full content and the complete source code, please get your copy at https://www.appcoda.com/swiftui.